H3C Technologies H3C WX3000E Series Wireless Switches User Manual
Page 491

470
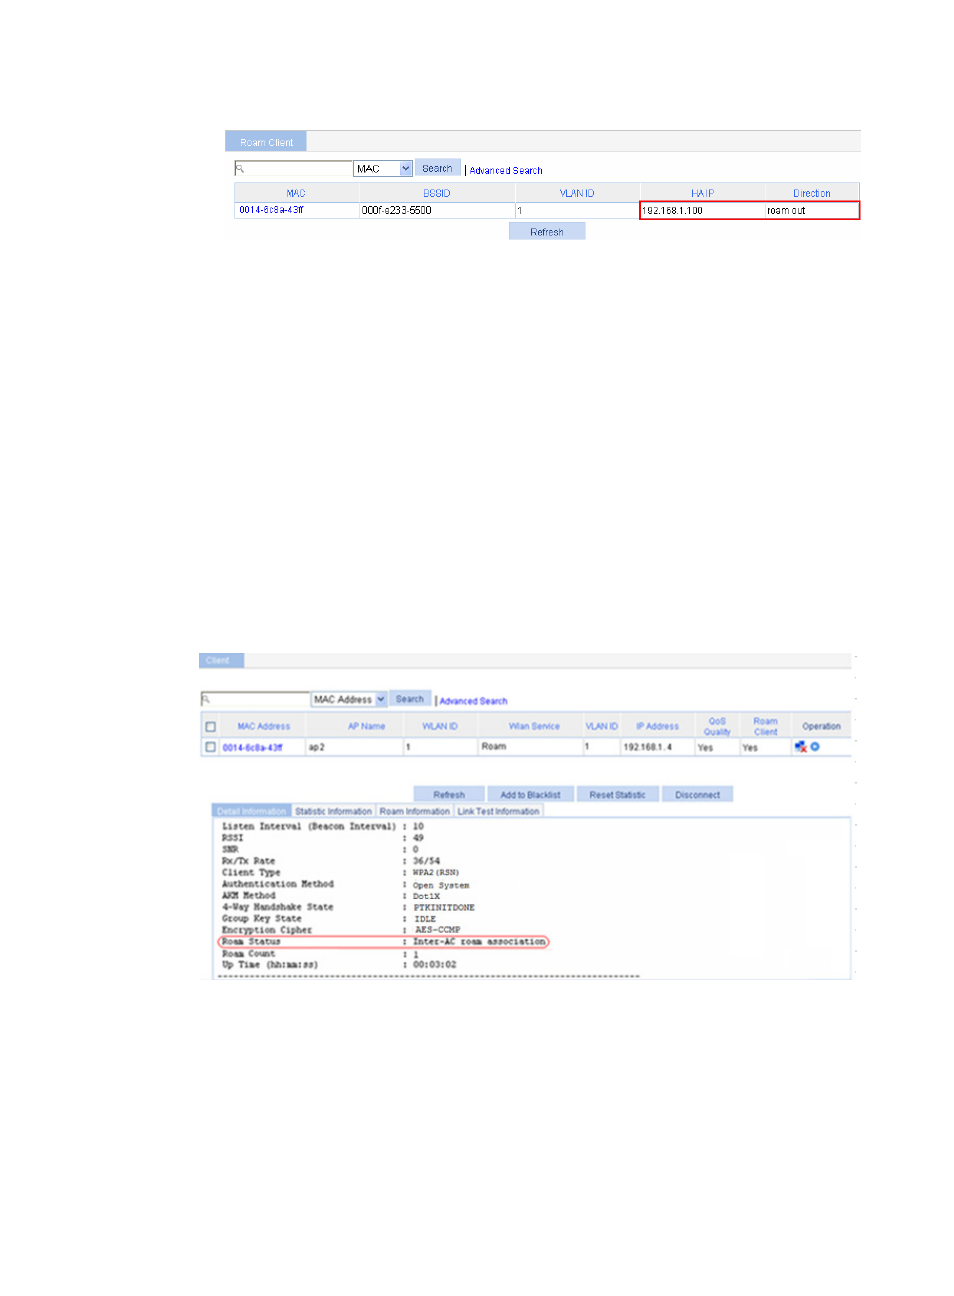
Figure 512 Viewing client information
b.
Select Roam > Roam Client on AC 2.
You can see that the client roams in to 192.168.1.1.100.
3.
View connection information about the client that is associated with the AP, and the Roam Status
field in the client detailed information:
a.
Before roaming, select Summary > Client from the navigation tree on AC 1.
You can see that the client is associated with AP 1.
b.
After roaming: Select Summary > Client from the navigation tree on AC 1.
The client has roamed from AP 1 to AP 2, so no client information is displayed on the page.
c.
Select Summary > Client from the navigation tree on AC 2.
You can view the client information.
d.
Select the Detail Information tab, and then click the desired client.
Inter-AC roam association appears in the Roam Status field. This indicates that the client has
roamed to AP 2.
Figure 513 Verifying inter-AC roaming
4.
View the BSSID field:
a.
Before roaming, select Summary > Client from the navigation tree on AC 1, select the Detail
Information tab, and click the desired client to view the roaming information of the client.
The roaming information in
shows that the client connects to the WLAN through AP
1, and the BSSID of AP 1 is 000f-e27b-3d90.
- H3C WX5500E Series Access Controllers H3C WX3500E Series Access Controllers H3C WX2500E Series Access Controllers H3C WX6000 Series Access Controllers H3C WX5000 Series Access Controllers H3C LSUM3WCMD0 Access Controller Module H3C LSUM1WCME0 Access Controller Module H3C LSRM1WCM2A1 Access Controller Module
