H3C Technologies H3C WX3000E Series Wireless Switches User Manual
Page 164

143
3.
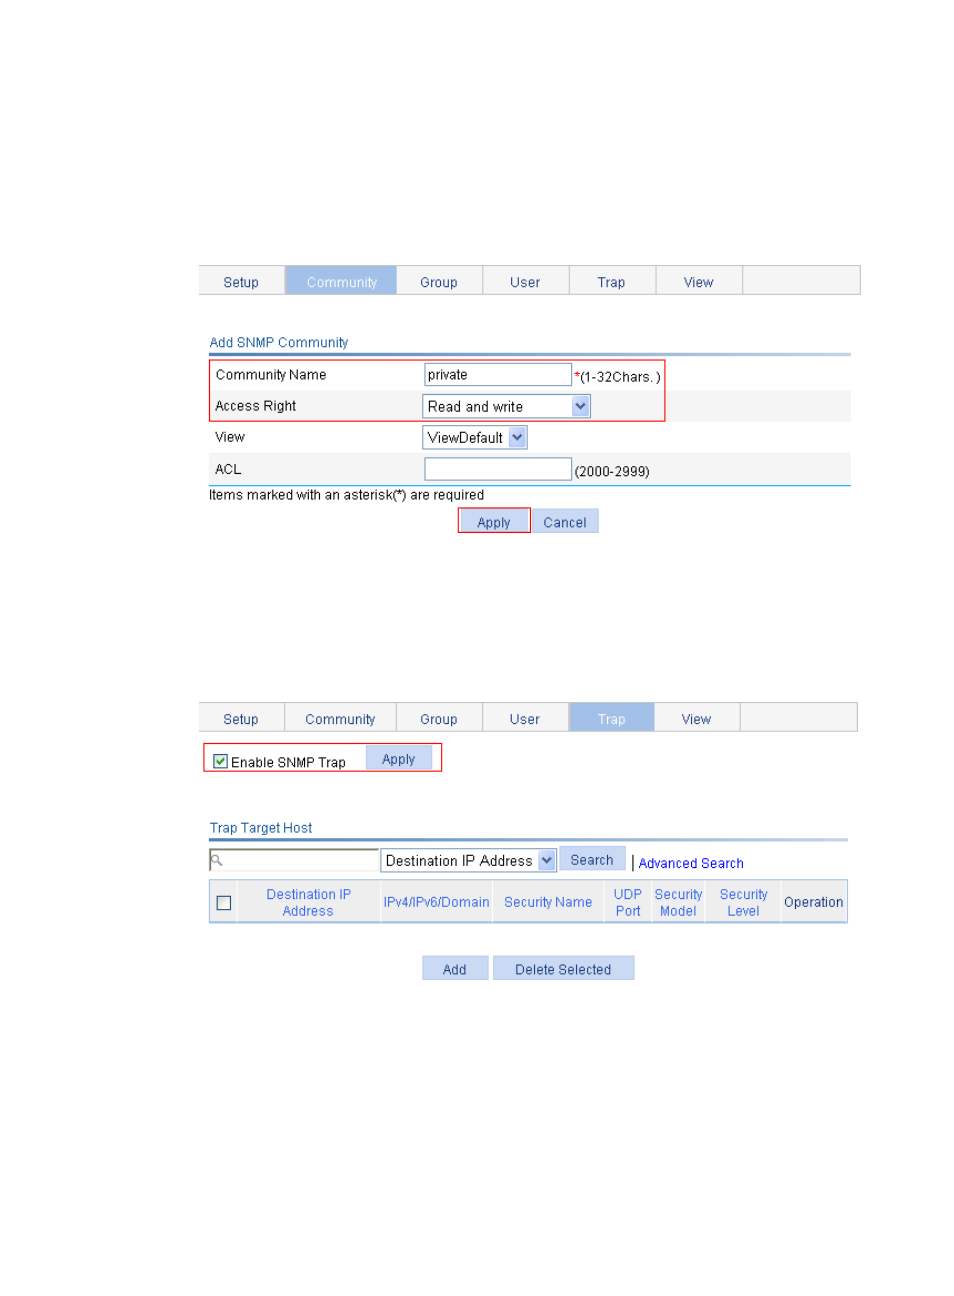
Configure an SNMP read/write community:
a.
Click Add on the Community tab.
b.
Enter private in the Community Name field and select Read and write from the Access Right list,
as shown in
.
c.
Click Apply.
Figure 104 Creating an SNMP read/write community
4.
Enable the agent to send SNMP traps:
a.
Click the Trap tab.
b.
Select the Enable SNMP Trap box.
c.
Click Apply.
Figure 105 Enabling the agent to send SNMP traps
5.
Configure an SNMP trap target host:
a.
Click the Trap tab.
b.
Click Add.
c.
Select the IPv4/Domain option, enter the destination address 1.1.1.2, enter public in the
Security Name field, and select v1 from the Security Model list, as shown in
To make sure the NMS can receive traps, specify the same SNMP version as configured on the
NMS.
- H3C WX5500E Series Access Controllers H3C WX3500E Series Access Controllers H3C WX2500E Series Access Controllers H3C WX6000 Series Access Controllers H3C WX5000 Series Access Controllers H3C LSUM3WCMD0 Access Controller Module H3C LSUM1WCME0 Access Controller Module H3C LSRM1WCM2A1 Access Controller Module
