6 arc, Arc drawing procedure, Arc -14 – IDEC High Performance Series User Manual
Page 308
1 Shapes
7-14
WindO/I-NV2 User’s Manual
1.6 Arc
●
Arc Drawing Procedure
This section describes the procedure for drawing arcs.
1
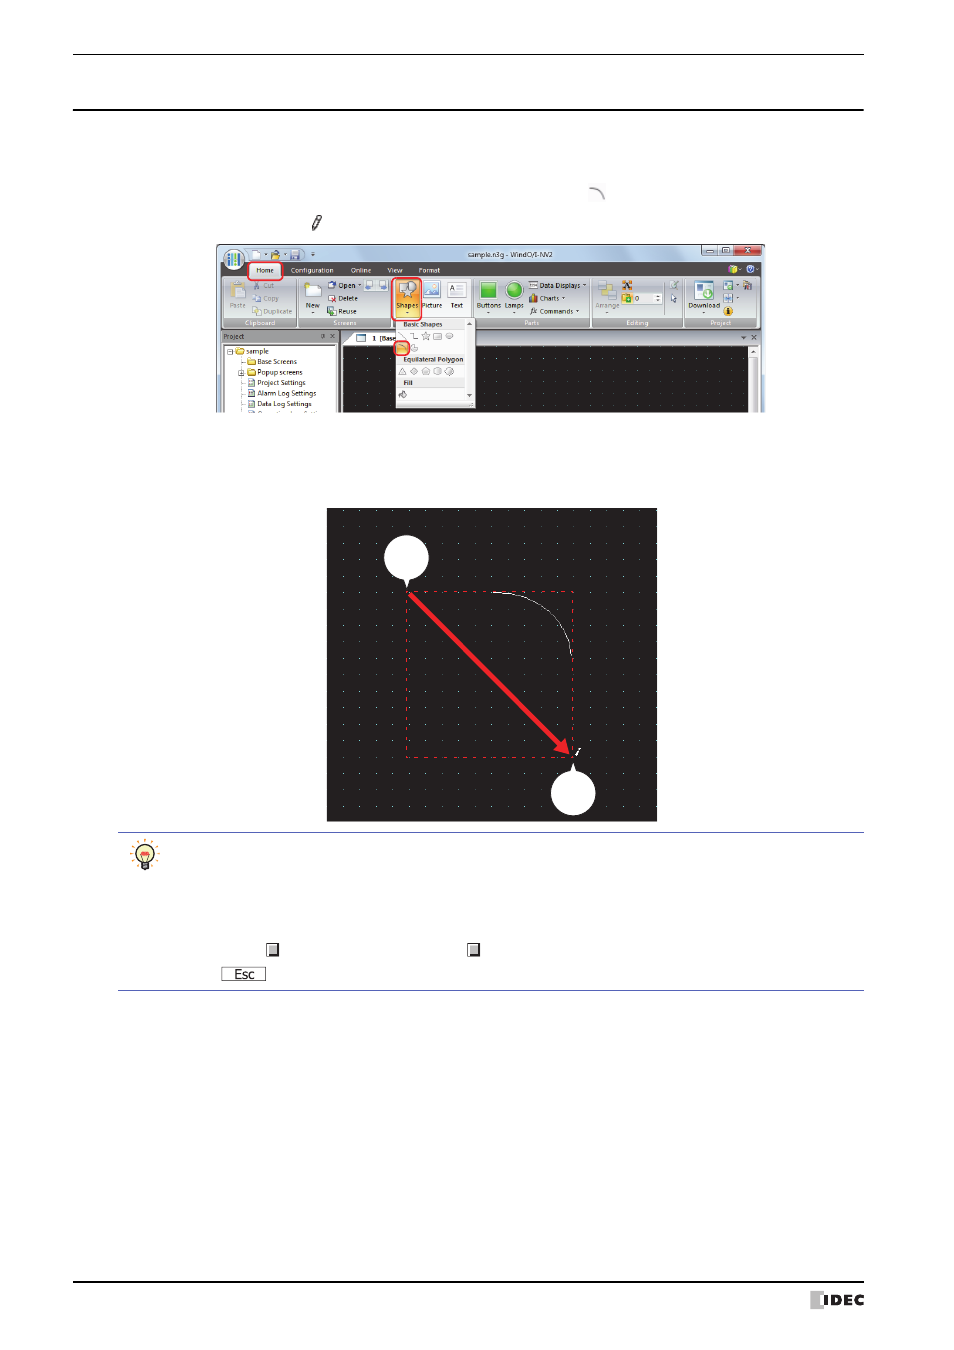
On the Home tab, in the Drawings group, click Shapes, and then click
(Arc) under Basic Shapes.
The mouse cursor changes to (pencil).
2
Click and hold the mouse button at the location (start point) to start drawing the arc on the edit screen.
3
Drag the mouse to the stop point location so that location becomes the opposite angle of the rectangle.
An arc is drawn that inscribes the rectangle made from the opposite angles of the start point and the stop point.
Stop
point
Drag
Start
point
• To change the style of the drawn arc, perform one of the following operations.
- Double click the arc to open the Properties dialog box
- Select the arc and select the style with Shape Style on the Format tab
- Select the arc and right click to display the popup menu
• To change the start point or the stop point of the drawn arc, select the arc and right click on it, then click
Reshape. is displayed on the arc. Drag to the desired location. Double click the edit screen or press
the
key to finish changing the shape.