Setting the switch’s ip address (ip version 6), Figure 335 s, Setting the switch’s ip address (ip – Brocade 6910 Ethernet Access Switch Configuration Guide (Supporting R2.2.0.0) User Manual
Page 1106: Version 6), Ipv6 configuration
1050
Brocade 6910 Ethernet Access Switch Configuration Guide
53-1002651-02
44
Setting the Switch’s IP Address (IP Version 6)
If the address assigned by DHCP is no longer functioning, you will not be able to renew the IP
settings via the web interface. You can only restart DHCP service via the web interface if the
current address is still available.
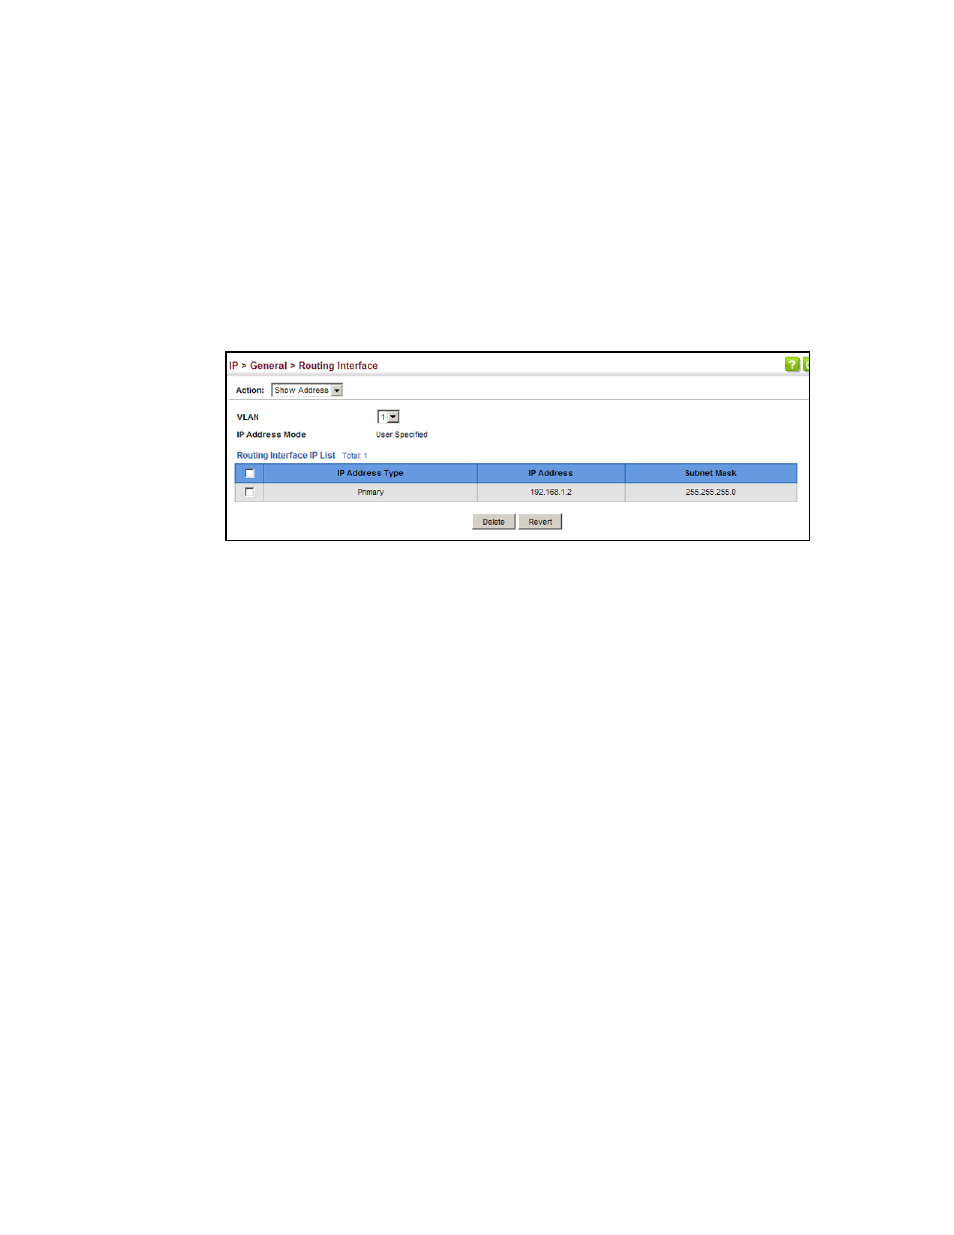
To show the IPv4 address configured for an interface:
1. Click IP, General, Routing Interface.
2. Select Show Address from the Action list.
3. Select an entry from the VLAN list.
FIGURE 335
Showing the IPv4 Address Configured for an Interface
Setting the Switch’s IP Address (IP Version 6)
This section describes how to configure an IPv6 interface for management access over the
network, or for creating an interface to other subnets. This switch supports both IPv4 and IPv6, and
can be managed through either of these address types. For information on configuring the switch
with an IPv4 address, see
“Setting the Switch’s IP Address (IP Version 4)”
Command Usage
•
IPv6 includes two distinct address types – link-local unicast and global unicast. A link-local
address makes the switch accessible over IPv6 for all devices attached to the same local
subnet. Management traffic using this kind of address cannot be passed by any router outside
of the subnet. A link-local address is easy to set up, and may be useful for simple networks or
basic troubleshooting tasks. However, to connect to a larger network with multiple segments,
the switch must be configured with a global unicast address.
•
Both link-local and global unicast address types can either be dynamically assigned (using the
Configure Interface page) or manually configured (using the Add IPv6 Address page).