Grass Valley Xstudio Vertigo Suite v.4.10 User Manual
Page 92
Xstudio User Manual
4-23
Creating and opening Xstudio projects and assets
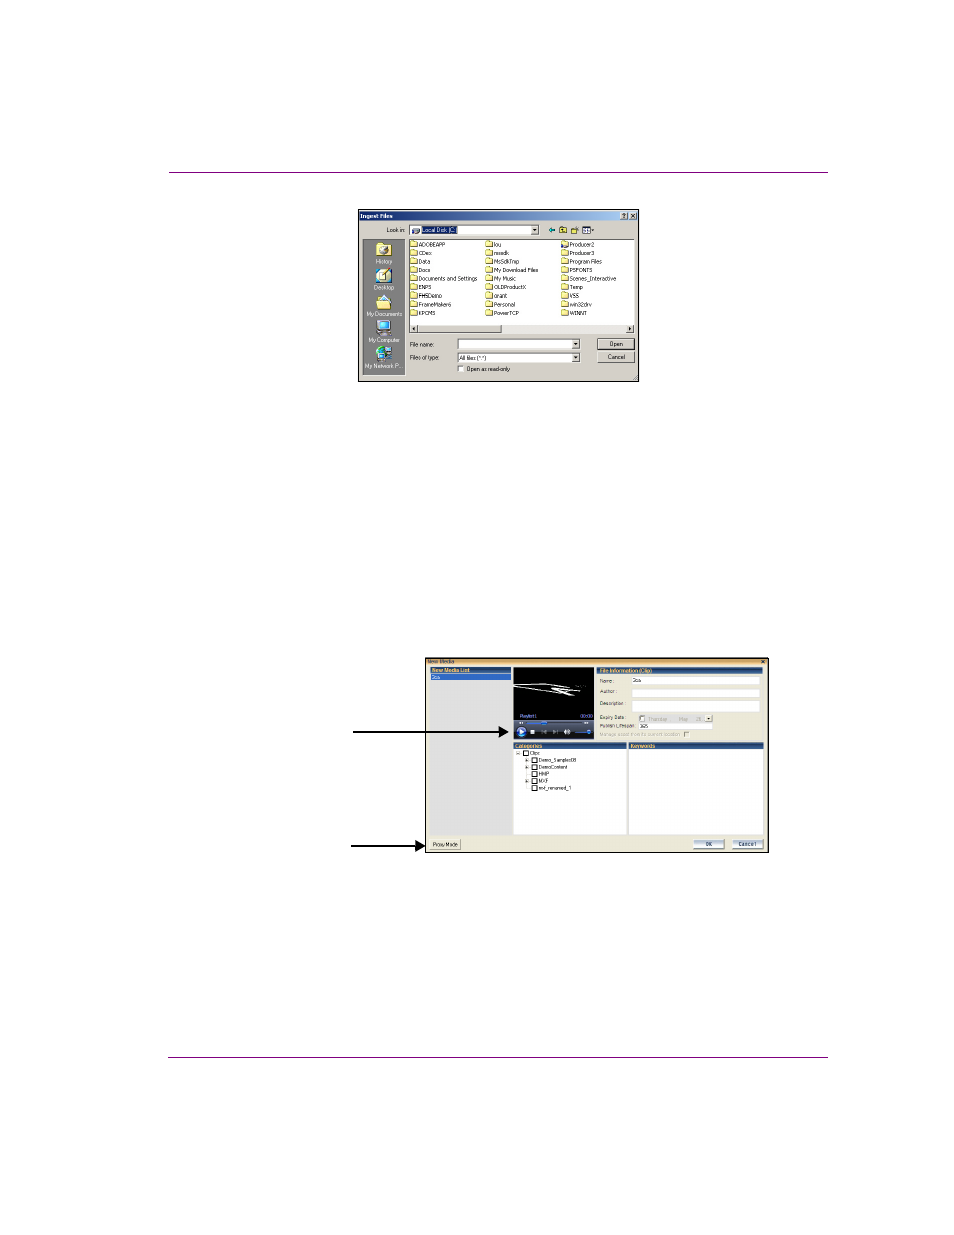
Figure 4-13. Navigate through and select the files to be ingested into the Xmedia Server
3.
When the N
EW
M
EDIA
dialog box appears, select the first file name in the N
EW
M
EDIA
L
IST
panel and complete the following tasks. Repeat this step for each file listed in the
N
EW
M
EDIA
L
IST
panel.
a.
Optional - Preview the clip in the Windows Media Player in the middle panel to
confirm that this is the correct video file to be ingested.
b.
Optional - Assign a proxy image to the clip by clicking the P
ROXY
M
ODE
button in
the lower-left corner of the New Media dialog box. Click on the P
ROXY
N
OT
A
VAILABLE
panel (where the Media Player was). The Assign Asset Proxy dialog
box appears and lets you select the .jpg image that will be associated as the proxy
image for the clip asset. Click the O
PEN
button. The image now appears in the
middle panel of the New Media dialog box.
c.
In the N
AME
field, assign a name to the asset. By default, the file’s name is used.
Note: If you are ingesting an edited version of a file that already exists on the
selected device, saving it under the same name in the same category overwrites
the previous version of the asset. To avoid overwriting the asset, rename it or save
it to another category.
d.
Enter your name in the A
UTHOR
field.
e.
Optional - Enter a short description in the D
ESCRIPTION
field.
Proxy Mode assigns
Media Player for
previewing the clip
an image to represent
the clip asset in the
Asset Gallery