Applying lookup tables – Grass Valley Xstudio Vertigo Suite v.4.10 User Manual
Page 248
Xstudio User Manual
9-25
Linking objects to a data source
To create a new lookup table:
1.
Select the F
ILE
>N
EW
menu command. This displays the C
REATE
N
EW
dialog box.
2.
Select the O
THER
tab and L
OOKUP
T
ABLE
. This opens a new lookup table.
3.
In the K
EY
column enter the string expressions to be flagged for substitution.
4.
In the V
ALUE
column enter the substitution value. This can be:
• another text string (text or numbers)
• an asset (when dragged into the Value column it appears in bold to indicate
that it’s an asset)
5.
To delete the contents of a row, click in the gray cell to the left of the row (this selects
the entire row) and press the DELETE key.
6.
To save the lookup table, press CTRL + S.
Now that the lookup table exists it must be applied to a specific data source. Refer to
below.
Applying lookup tables
A lookup table will not work until you apply it to specific data or text.
How you apply a lookup table depends on where the data is coming from:
•
If data is being fed in from a data source, you would use the L
OOKUP
T
ABLE
row in the
P
ROPERTIES
B
ROWSER
.
•
If the lookup table is replacing text coming from somewhere other than a data source,
e.g. the contents of a text box being set into another text box, you would use the
E
XPRESSION
B
UILDER
to create a LOOKUP expression. Since this requires using the
Action Editor, you may want to read the chapter
“Adding logic to control objects” on
(which also includes a section on the Expression Builder) before proceeding
to the instructions on how to create a LOOKUP expression.
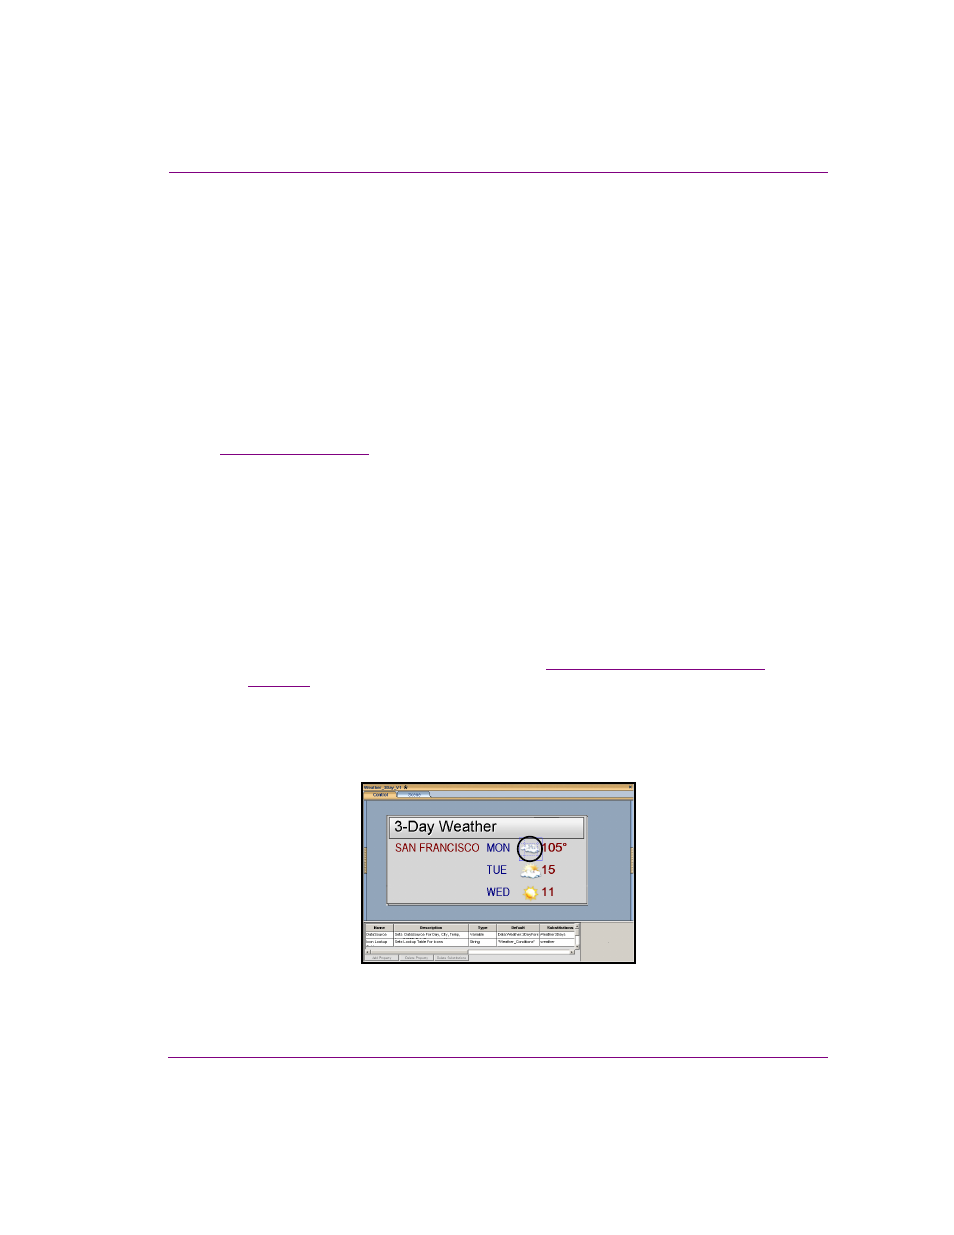
To apply a lookup table to data from a data source:
1.
Open the asset to which the lookup table will be applied (e.g. control panel or template).
2.
Select the control object to which you would like the lookup table applied.
Figure 9-21. Object selected for a lookup table