Grass Valley Xstudio Vertigo Suite v.4.10 User Manual
Page 16
Xstudio User Manual
1-7
Introducing Xstudio
3
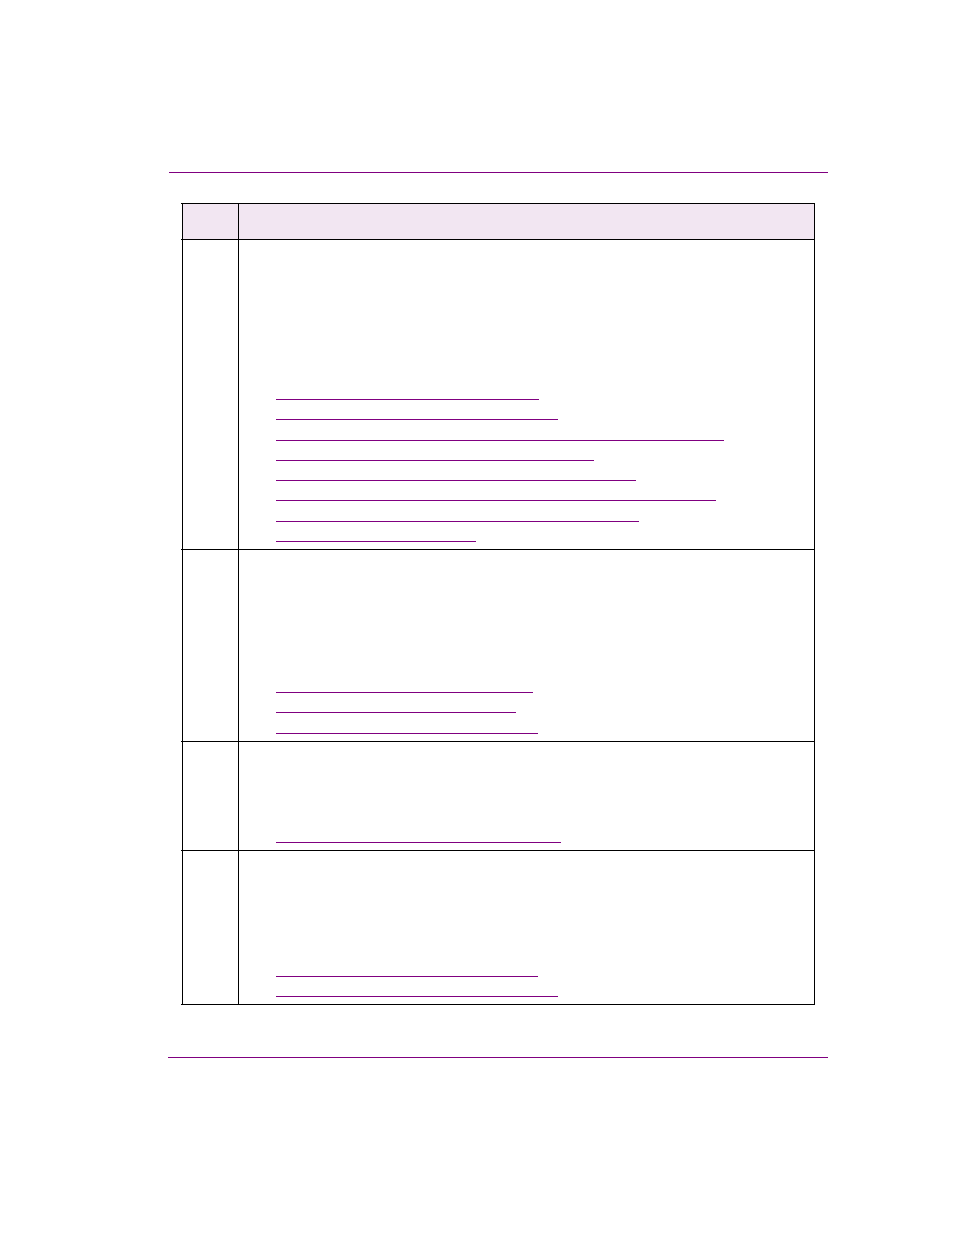
Add and position objects (assets and/or primitives) on both the scene side and the
control side.
Create your graphic’s desired “playout” look by adding and arranging assets and/or
primitives objects to the scene’s canvas.
Add primitives to the control side to provide operators with a means to control the scene.
For example, drop-down lists, buttons, textboxes, or images for changing the scene’s
content without affecting the layout.
•
“Adding assets to the canvas” on page 5-3
•
“Adding primitives to the canvas” on page 5-4
•
“Selecting, grouping, and/or layering objects on the canvas” on page 5-9
•
“Resizing objects using object zones” on page 5-13
•
“Moving and aligning objects on the canvas” on page 5-14
•
“Cutting, copying and pasting objects to/from the canvas” on page 5-17
•
“Modifying the font properties of text objects” on page 5-18
•
“Editing an image” on page 5-19
4
Set the objects’ properties and/or animate the scene objects
Using the Xstudio’s Properties Browser, set the properties which determine the individual
object’s static look and behavior.
Using Xstudio’s Animation Editor, create scene animations by changing the properties of
the objects on the scene over a period of time to create visual effects, like fading an object’s
visibility in/out or moving the object around the screen.
•
“Working with scene objects” on page 6-1
•
“Animating scene objects” on page 7-1
•
“Working with control objects” on page 8-1
5
Optional: Link the control objects to a data source
You can create data-driven graphics by linking control objects to data sources (databases
or data feeds) that provide live data to the scene upon playout. Xstudio also allows you to
create and use lookup tables to define replacement values for incoming data.
•
“Linking objects to a data source” on page 9-1
6
Connect the control objects to the scene objects and add control logic
Connect control objects to the scene objects that will be controlled and/or edited by objects
on the control-side.
Use the Action Editor the logic that will later be applied to the control objects will be linked
to the appropriate scene objects.
•
“Working with control objects” on page 8-1
•
“Adding logic to control objects” on page 10-1
Step
Task Description