Grass Valley Xstudio Vertigo Suite v.4.10 User Manual
Page 351
14-10
Xstudio User Manual
Appendix B - Gallery Browser
Viewing and editing asset properties using the Gallery Browser
When you save an asset in Xstudio, you are prompted to provide information that helps to
characterize and archive the asset, such as the author’s name, a description of the asset,
category and keyword assignments, the creation date... etc. We refer to this information as
the asset’s Properties.
Once the asset has been saved, its properties can be viewed and some property fields can
be edited. There is a set of property fields that are common to all assets, but there are also
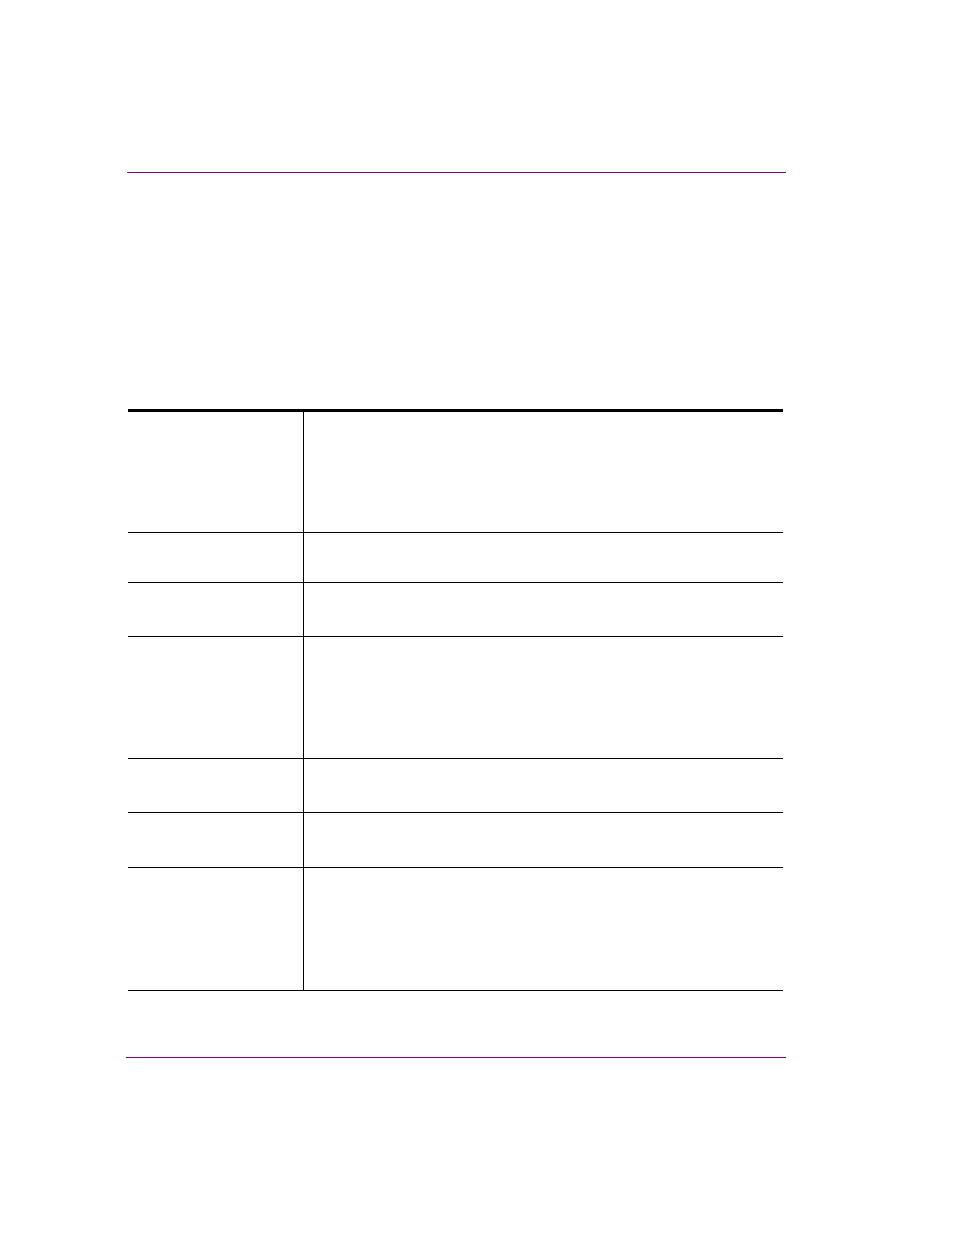
property fields that are specified to the type of asset. The following table identifies the asset
property fields that are common to all assets:
Name
Displays asset’s name.
•
This is a read-only field. However, if you would like to change the name
of the asset, you can by using the Asset Browser’s R
ENAME
command.
•
It is recommended that you give assets names that reflect their content
or use, so that they are easily recognizable and distinguish from similar
assets.
Type
Displays the asset type.
•
This is a read-only field that cannot be changed.
Author
Displays the name of the creator/author of the asset.
You can edit this field by clicking in the text box and typing the desired name.
Description
Displays a textual description of the asset.
•
You can edit this field by clicking in the text box and typing the desired
description.
•
It is recommended that you provide a concise description for each
asset that identifies its content or use, so that it is easily recognizable
and distinguish from similar assets.
Created Time
Displays the date and time of when the asset was originally created.
This is a read-only field that cannot be changed.
Modified Time
Displays the time of the asset’s most recent modification.
This is a read-only field that cannot be changed.
Expiry Date
Displays the calendar date when the asset will be deleted from the
XmediaServer.
You can edit this field by clicking in the field’s text box, which activates a
button on the right side of the field. Click the button to display a calendar
from which you can select the desired date, or select the N
ONE
button at the
bottom of the calendar to set no expiration date.