Locked, Justification, Limit – Grass Valley Xstudio Vertigo Suite v.4.10 User Manual
Page 361: Width, Lookup location
15-8
Xstudio User Manual
Appendix C - Xstudio properties
Justification
[Justification]
•
Applies to: Text and text box objects.
•
Description: Indicates how text should be positioned within the object.
•
Accepted values: Select from the drop-down list:
• T
OP
L
EFT
- Left-justifies text along top of object.
• T
OP
C
ENTER
- Centers text along top of object.
• T
OP
R
IGHT
- Right-justifies text along top of object.
• M
ID
L
EFT
- Left-justifies text in middle of object.
• M
ID
C
ENTER
- Centers text in middle of object.
• M
ID
R
IGHT
- Right-justifies text in middle of object.
• B
OTTOM
L
EFT
- Left-justifies text along bottom of object.
• B
OTTOM
C
ENTER
- Centers text in middle of object.
• B
OTTOM
R
IGHT
- Right-justifies text along bottom of object.
Limit Width
[LimitWidth]
•
Applies to: Text and text box objects.
•
Description: Limits the amount of text entered in Production mode to the
width of the text box.
•
Accepted values: Select from the drop-down list: T
RUE
or F
ALSE
.
Locked
[Locked]
•
Applies to: Text, text box, drop box, check box, image, radio button,
ActiveX, timer and button objects.
•
Description: When the lock is enabled (True), then you can no longer
select, move, or change the object’s properties from the canvas. This is
a safeguard to help prevent accidental edits.
To unlock or make edits to a locked object, right-click on the object in the
Control Tree and choose the P
ROPERTIES
command. Make the
appropriate edit and/or unlock the object by setting the L
OCKED
property
to F
ALSE
.
•
Accepted values: Select from the drop-down list: T
RUE
or F
ALSE
.
Lookup Location
[StringMapLocation]
•
Applies to: Text, text box, image and drop box objects.
•
Description: Indicates the lookup table’s location within Xstudio. A lookup
table substitutes incoming data with new values. See
applying lookup tables” on page 9-24
for more information.
•
Accepted values: This property’s setting is automatically populated when
you drag and drop a lookup table from the Asset Browser or Gallery
Browser onto the L
OOKUP
T
ABLE
property’s text box in the Properties
Browser.
Or,
If you would prefer to enter the location manually, you must enter XMS:
to indicate the Xmedia Server, followed by the category name, e.g.
XMS:LookupTables.
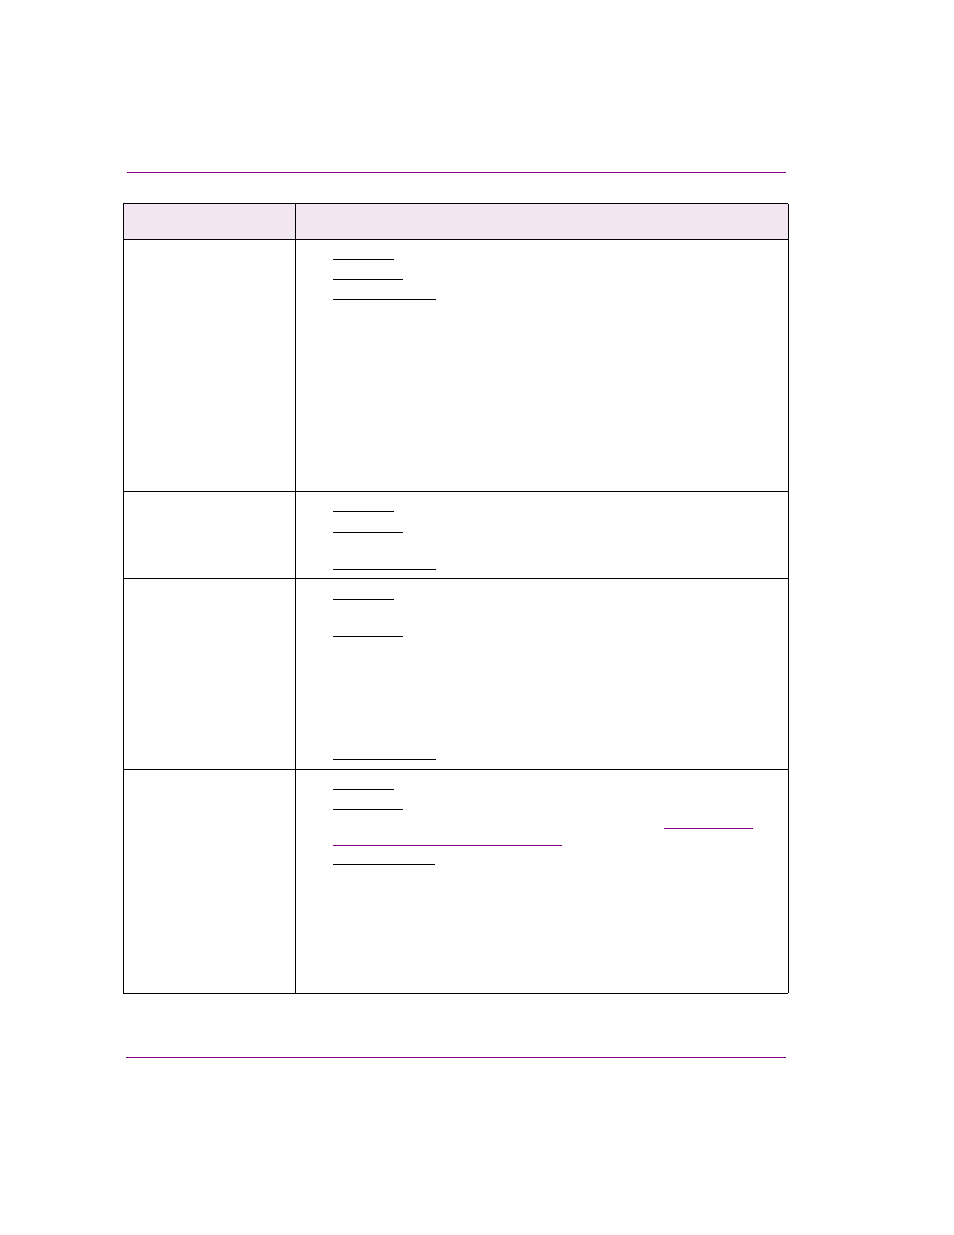
Control-side property
Description