Keyframes – Grass Valley Xstudio Vertigo Suite v.4.10 User Manual
Page 162
Xstudio User Manual
7-19
Animating scene objects
Keyframes
A keyframe is a snapshot of an object’s property settings at a particular frame during the
animation. The Animation Editor uses keyframes to change an object’s properties over time
to create an animated effect. The idea is to create sets of keyframes that define the starting
and ending points of the desired effect. Then when the animation is played, the transition
from one keyframe state to the other is executed. Depending on the property or the
interpolation, some transitions might take effect immediately, while others might occur as
gradual changes in values between keyframes (interpolation).
When a property channel is added to the animation’s timeline, an initial keyframe (white
circle) is automatically added to the first frame, and reports the current, or beginning,
settings for that object property in the Keyframe Editor fields. You must then add additional
keyframes to the channel and set their values to create the desired effect (see
setting keyframes” on page 7-27
Figure
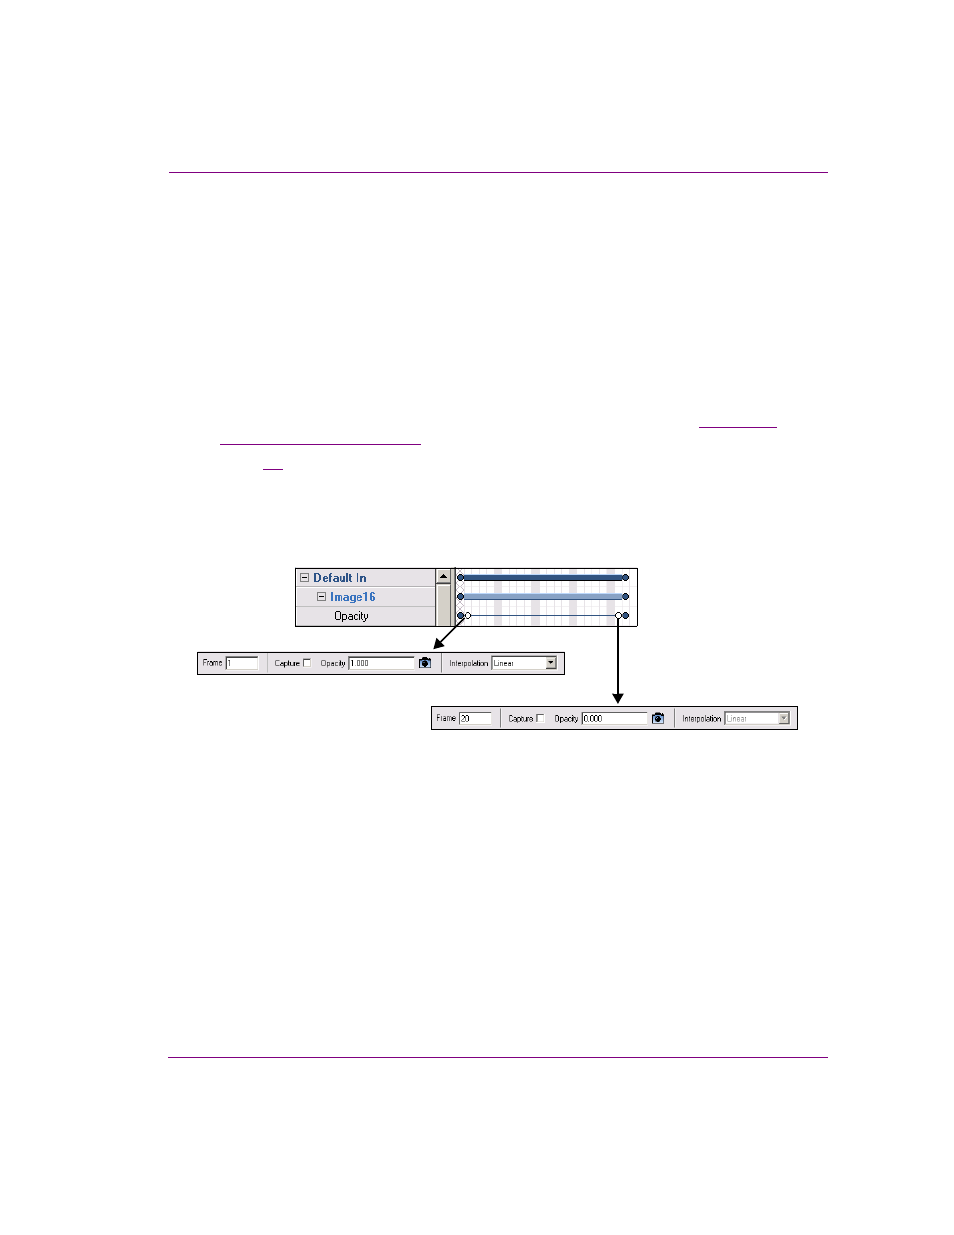
demonstrates the use of two keyframes on an object’s Opacity property channel
that are set to produce the effect of fading out the object from being completely opaque (1.0)
to completely transparent (0.0). The first keyframe’s Interpolation field is set to Linear, which
means that the fading effect will occur evenly over the duration between the two keyframes,
starting at frame 1 and finishing at frame 20.
Figure 7-8.
These keyframe settings produce the visual effect of the object fading out (opaque to transparent)