The timeline’s ruler and slider – Grass Valley Xstudio Vertigo Suite v.4.10 User Manual
Page 163

7-20
Xstudio User Manual
Animating scene objects
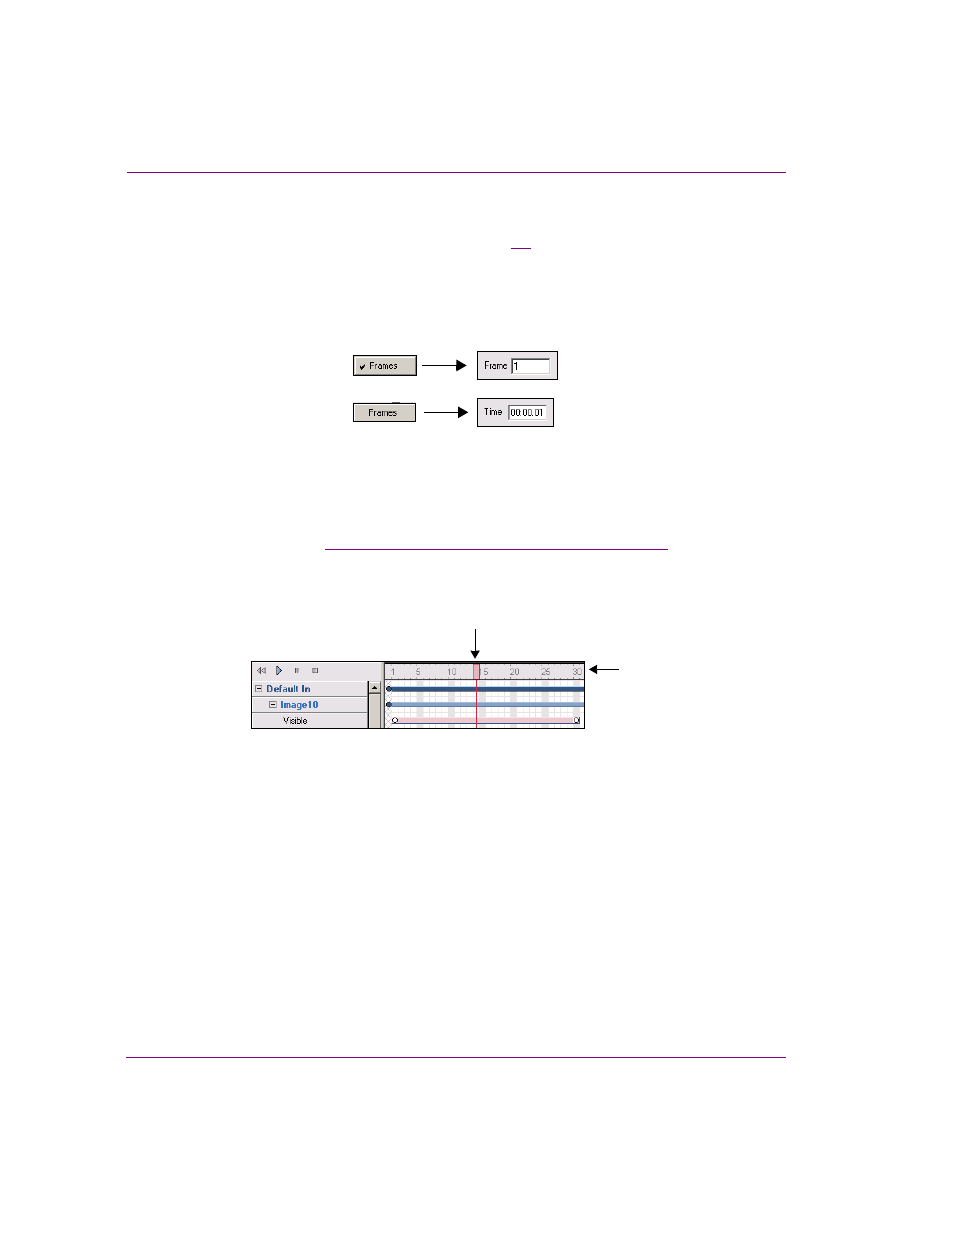
The Timeline’s Ruler and Slider
The ruler above the Animation Editor’s Timeline (figure
) allows you to visually determine
the duration of timeline channels, or the precise location of a keyframe on a property
channel. The units that the ruler displays can be set to either F
RAMES
or T
IME
. As
demonstrated in the images below, you can toggle back and forth between F
RAME
and T
IME
when assigning keyframes by right-clicking on F
RAME
or T
IME
field, then selecting or
deselecting F
RAMES
from the context menu.
The relationship between the frame number and time comes from the V
IDEO
F
ORMAT
property of the scene. For instance, if the NTSC format is chosen, there are 30 frames per
second.
A slider is also available on the ruler, which can be dragged along the Timeline. The slider’s
main function is to scrub (preview) the behavior of certain animated properties directly on
the Scene window (see
“Previewing and scrubbing the animation” on page 7-32
). You can
also use the slider as a guide to help you identify precise cells within the timeline, by visually
finding the intersection of a channel and a frame.
Figure 7-9. The Timeline’s Ruler and Slider can be used for scrubbing the animation
Another important use of the slider is that keyer frames are added where it is positioned.
For instance, if the slider is moved to frame 30 and then a new property channel is dragged
(or add a new command channel or keyer or fader channel) onto the timeline, then the
keyframe added is be positioned at frame 30. This is useful as you don't want your first
keyframe to start at 1.
Ruler
Slider
