Brocade Mobility Access Point System Reference Guide (Supporting software release 5.5.0.0 and later) User Manual
Page 165
Brocade Mobility Access Point System Reference Guide
155
53-1003100-01
5
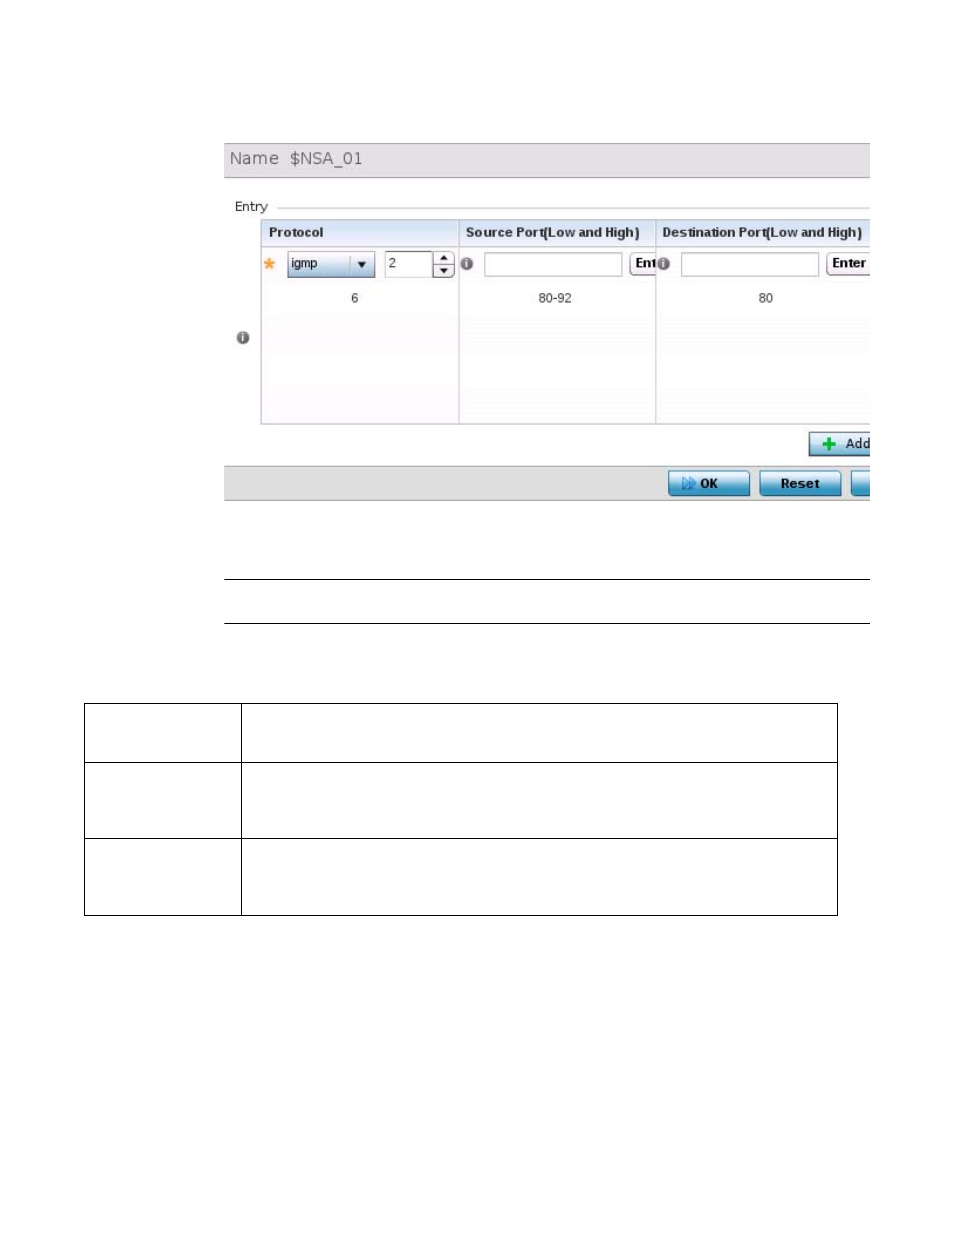
FIGURE 59
Network - Alias - Network Service Alias Add screen
2. If adding a new Network Service Alias, provide it a name up to 32 characters.
NOTE
The Network Service Alias Name always starts with a dollar sign ($).
3. Within the Range field, use the + Add Row button to specify the Start IP address and End IP
address for the service alias range or double-click on an existing service alias range entry to
edit it.
4. Select OK when completed to update the network service alias rules. Select Reset to revert the
screen back to its last saved configuration.
Profile Network Configuration and Deployment Considerations
Before defining a profile’s network configuration, refer to the following deployment guidelines to
ensure the profile configuration is optimally effective:
Protocol
Specify the protocol for which the alias has to be created. Use the drop down to select the protocol from
eigrp, gre, icmp, igmp, ip, vrrp, igp, ospf, tcp and udp. Select other if the protocol is not listed. When a
protocol is selected, its protocol number is automatically selected.
Source Port
(Low and High)
Use this field only if the protocol is tcp or udp.
Specify the source ports for this protocol entry. A range of ports can be specified. Select the Enter Range
button next to the field to enter a lower and higher port range value. Up to eight (8) such ranges can be
specified.
Destination Port
(Low and High)
Use this field only if the protocol is tcp or udp.
Specify the destination ports for this protocol entry. A range of ports can be specified. Select the Enter
Range button next to the field to enter a lower and higher port range value. Up to eight (8) such ranges
can be specified.