Changing a master timeline – Sony Multi Interface Shoe Adapter User Manual
Page 674
Chapt
674
Creating and Saving a Master Timeline
The regions selected in step
3
and the register numbers recalled in those
regions are saved in the master timeline register, and the [STORE] button
goes off. At the same time, the [RCALL] button lights.
Notes
• It is not possible to undo a master timeline save.
• Saving the master timeline does not carry out a save of effects. Save the
effects for each region first, then carry out the master timeline save.
Changing a master timeline
You can change information already saved in a master timeline.
As an example, to change the M/E-1 register from Effect 5 to Effect 10, use the
following procedure.
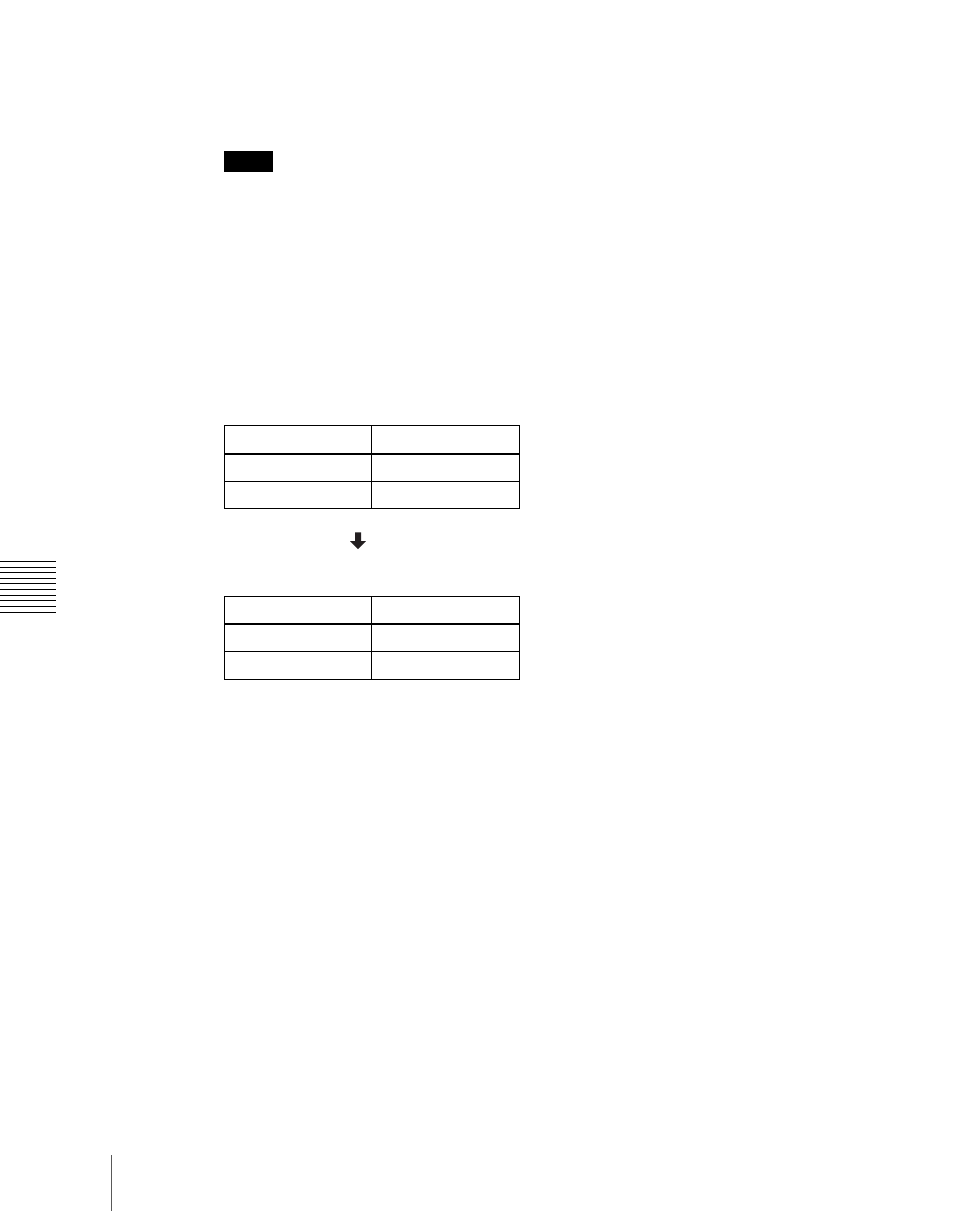
Information in master timeline register 1 before change
Information in master timeline register 1 after change
1
Recall the master timeline register you want to change.
(See
This simultaneously recalls M/E-1 register 5 and P/P register 5, and the
[M/E-1] and [P/P] region selection buttons light.
2
Press the region selection button [MASTR], turning it off.
3
Turn on only the button for the region you want to change (here, [M/E-1]),
and recall the desired register (here, Effect 10).
This recalls M/E-1 register 10, while on P/P register 5 remains selected.
4
Press the buttons for the regions you want to save on the master timeline
(here, [M/E-1] and [P/P]), turning them on.
5
Press the region selection button [MASTR], turning it on.
Region
Register
M/E-1
Effect 5
P/P
Effect 5
Region
Register
M/E-1
Effect 10
P/P
Effect 5