Sony Multi Interface Shoe Adapter User Manual
Page 556
Cha
556
DME Special Effect Operations
An install key must be entered to use the software.
(For details, see
“Installation and Device Setup (Install/Unit Config Menu)” in Chapter 18
(Volume 3).)
To set light source data
The following example shows how to set light source data with the Light 1
menu.
If you use multiple light sources, use the same procedure for all light sources.
1
In the
[Light 1].
The Light 1 menu appears.
2
Press [Light 1], turning it on.
This enables the Light 1 light source, and you can now use the knobs to
adjust the parameters.
3
Set the following parameters.
• Lowering the brightness of the image makes Spotlighting more
effective.
• The Total Ambient setting is shared with the Lighting function.
4
In the
Parallel:
Parallel light source. The direction can be set.
Point:
Point light source. The position can be set.
Line:
Line light source. The position and angle can be set.
Whole:
Non-directional light source which illuminates the whole image
(no settings).
For more information about light source types, see “Light source types”
(page 548).
5
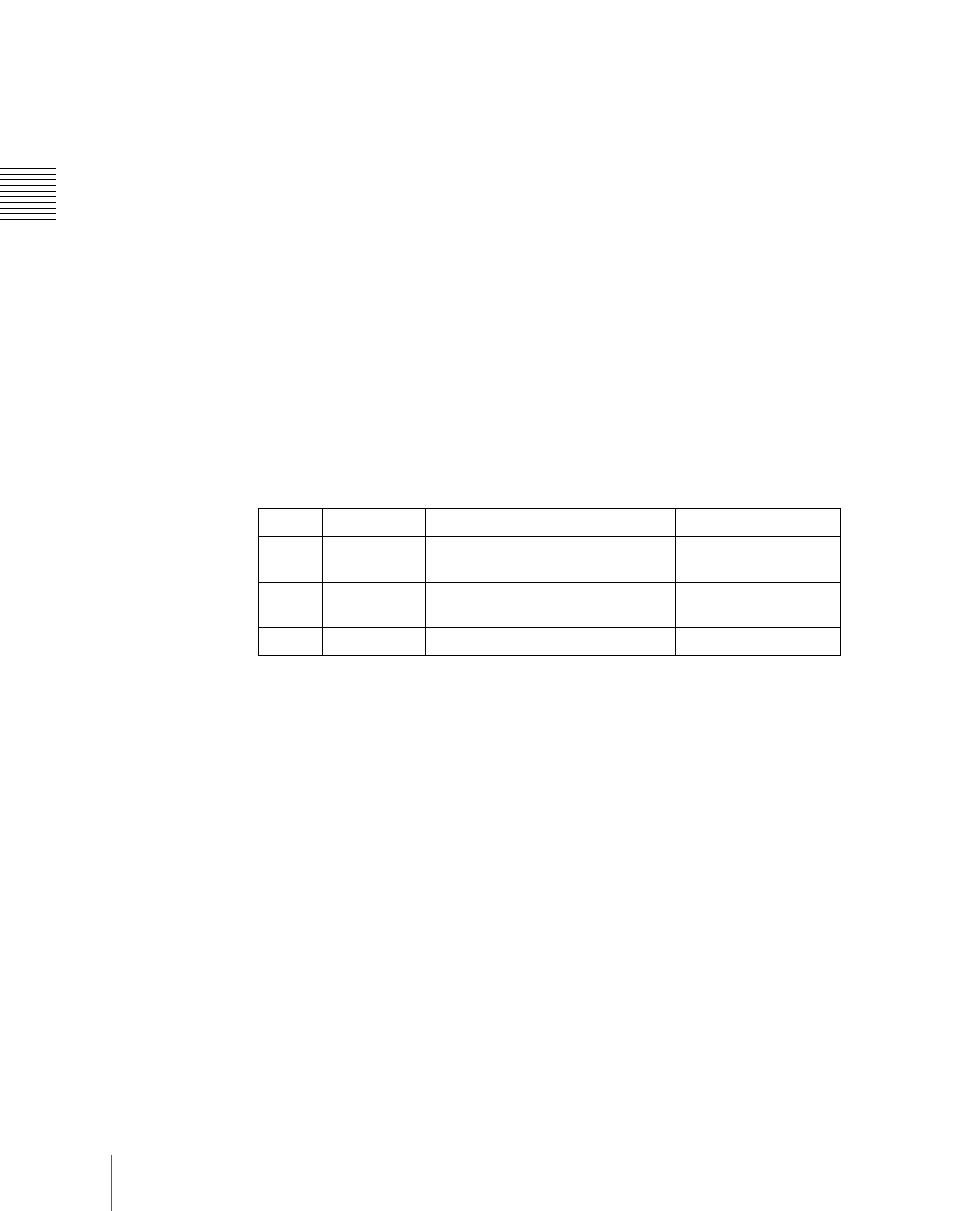
According to the selected light source type, set the following parameters.
When you selected Parallel
Knob
Parameter
Adjustment
Setting values
1
Total
Ambient
Brightness of whole image
0.00 to 100.00
2
Intensity
Intensity (brightness) of the light
source
0.00 to 100.00
3
Soft
Softness of the lighted area
0.00 to 100.00