Grain harvest calibration tab, Calibration tab buttons, Perform calibrations. for more information, see – Ag Leader InSight Ver.8.0 Users Manual User Manual
Page 308: Rain, Arvest, Alibration
294
• Color Scheme button
Selects the color scheme to use for the yield legend.
• Reset to Default Legend button
Press to reset legend to the display default.
• Ranges button
Select the number of ranges to display in the legend.
G
RAIN
H
ARVEST
C
ALIBRATION
T
AB
C
ALIBRATION
T
AB
B
UTTONS
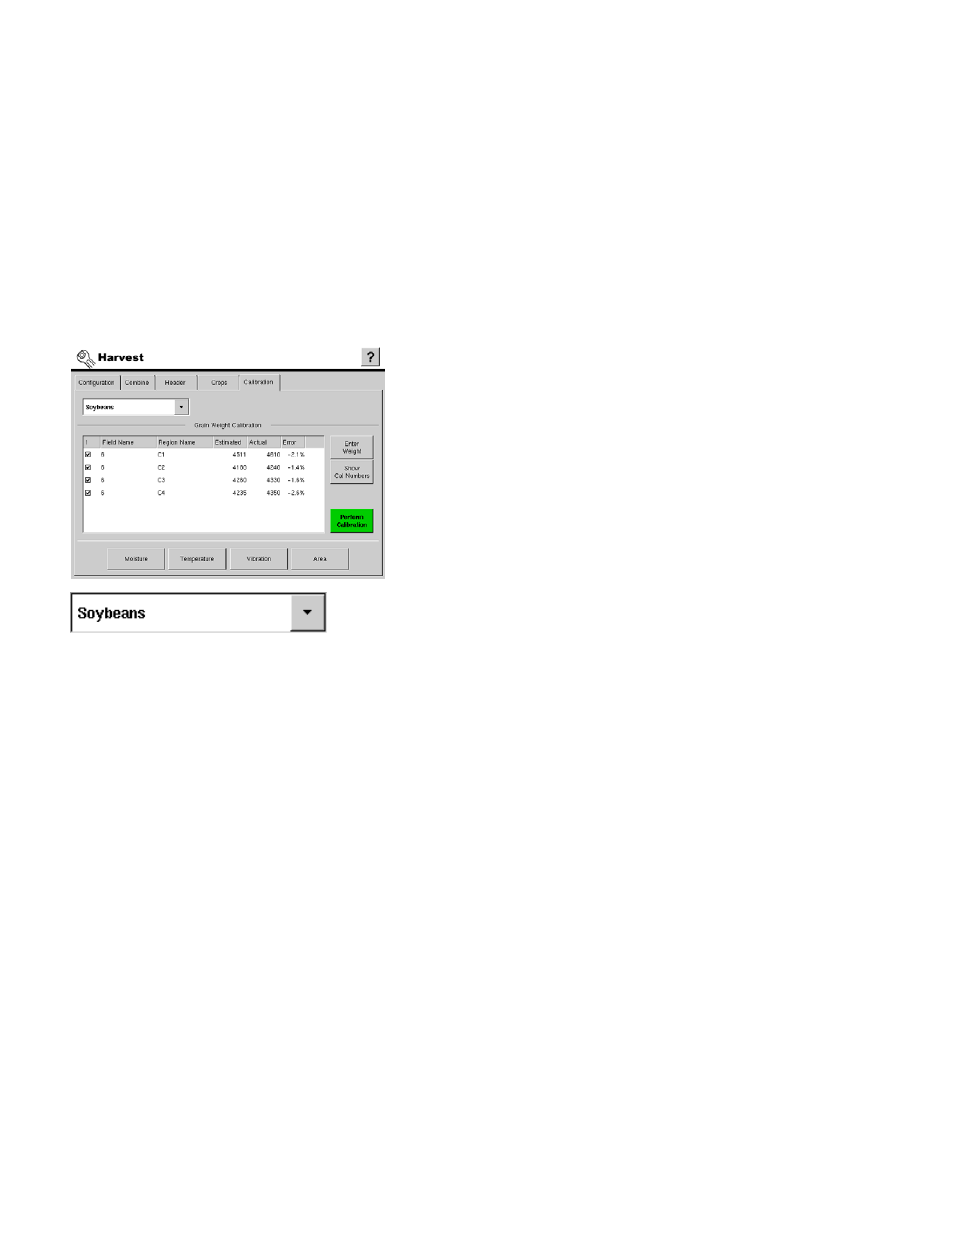
The Calibration Tab is where the following combine
calibrations are done. Some of the calibrations must be done
before harvest begins and some after. Distance,
temperature, and vibration must be completed before harvest
begins. Weight and moisture must be completed after
harvest has started.
For a Harvest Configuration Menu that includes detailed
information on the Calibration Tab, see
“Grain Harvest Menu
Tree” on page
171
.
The Crop Type box allows you to select the crop to calibrate.
• Moisture
The Moisture button allows you to calibrate the moisture for the selected crop type. This only needs to be
done once per crop per season. Changing this calibration will affect previously-harvested data. To calibrate,
first harvest one load of grain. Randomly sample grain from several locations in the grain tank to collect an
average moisture for this load, then measure the actual moisture using an accurate moisture tester. On the
display, choose the correct field and region the moisture sample was taken from. Use the arrow keys to
adjust the moisture so that it matches the known moisture of the sample. To use one constant moisture,
select the Use Manual Moisture check box and use the arrow keys to adjust to the desired percentage.
• Temperature
The Temperature button allows you to calibrate the temperature. This only needs to be done once per
season. Changing this calibration will affect previously harvested data. To calibrate leave the combine in a
shaded area or a shed for a few hours. Take an air temperature reading using a thermometer in the same
shaded area. Then use the arrow keys to enter that temperature into the calibration wizard. Then press Exit.
• Vibration
The vibration calibration helps eliminate any false grain flow readings while the combine is running empty.
To perform the vibration calibration, press the Vibration button. Start the separator and feeder house with
proper header attached and run at full speed. Press the Start button and it will count down from 60. When
it is done press Exit.
• Area
The area calibration will adjust the total area for a field. To perform press the Area button. Select the field
that you wish to calibrate and then press the calculator button. Enter in the correct area and press Accept
• Enter Weight