Autoswath notes, Auxiliary input settings (directcommand) – Ag Leader InSight Ver.8.0 Users Manual User Manual
Page 187
173
A
PPLICATION
Select one of the two options to determine system behavior when a swath section exits a field boundary or
prescription mapped area.
• Coverage Option
In the Coverage Option area, you must choose between three options:
- The Minimize Skip option turns off the boom section after the entire boom section is fully inside your
coverage area. This prevents the possibility of skips.
- The Minimize Overlap option turns off the boom section when that boom section first enters your
coverage area. This prevents the possibility of overlaps.
- The User Defined option allows you to choose what percentage of the boom section is within the
coverage area before that boom section turns off. For example, if you choose 50%, then the boom
section will switch off when half of it is within your coverage area.
AutoSwath Notes
• It is strongly recommended to use a 4 Hz or higher GPS output rate. AutoSwath control will not work until the
master and boom section switches are on. A less than 4 Hz GPS output rate can result in your boom sections
turning on and off too slow, even at speeds below 10 mph. If you have less than a 4 Hz GPS output rate and
your speed goes above 10 mph, a warning appears, advising you to use a 4 Hz GPS rate.
• If using AutoSwath on an implement that is raised out of the ground when not applying, it is recommended to
install an implement switch on the toolbar. This will prevent the display from turning on product flow when the
implement is out of the ground and the vehicle encounters unapplied area.
A
UXILIARY
I
NPUT
S
ETTINGS
(D
IRECT
C
OMMAND
)
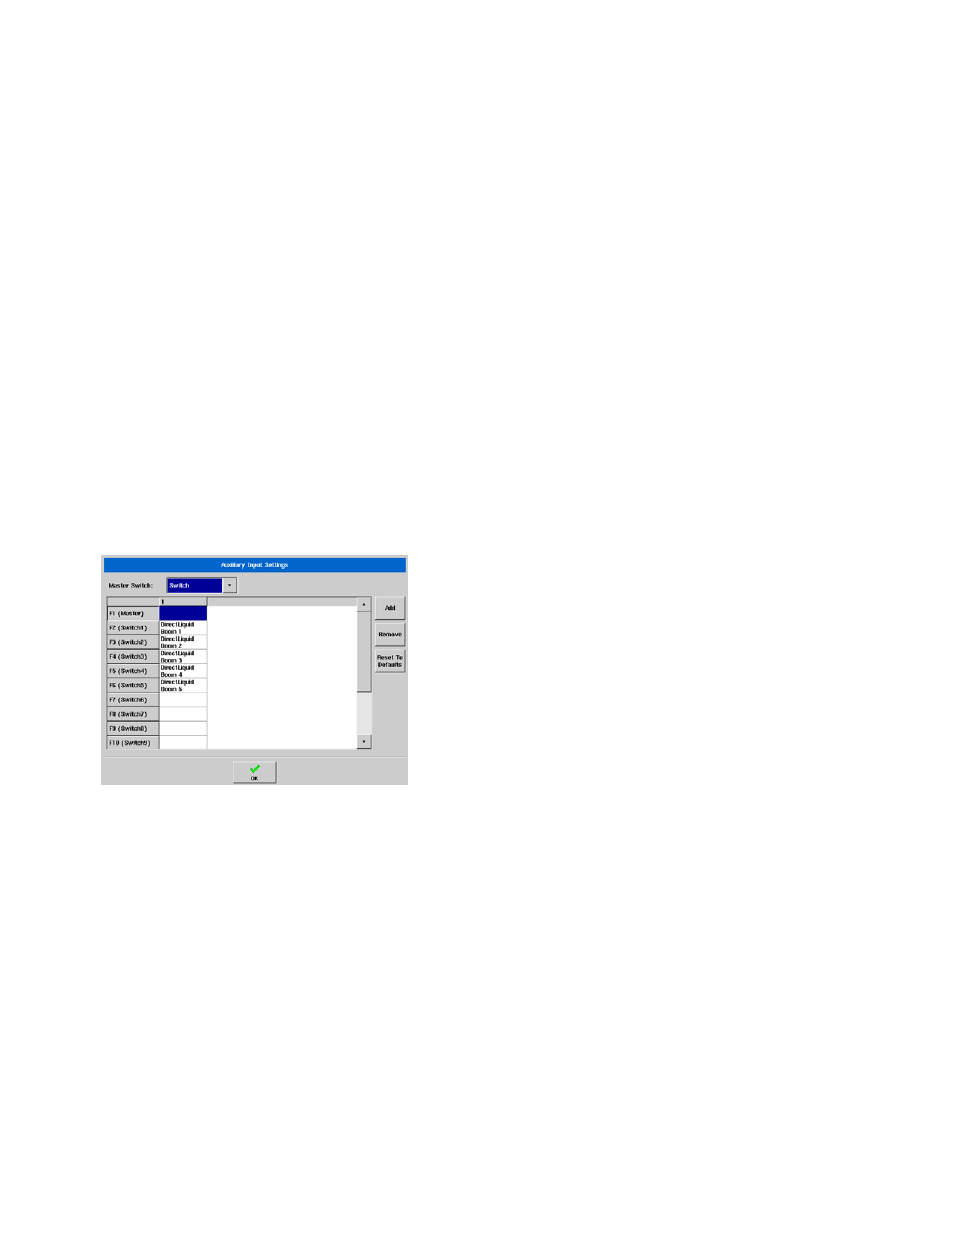
The Auxiliary Input Settings feature, (also called “Switch
Mapping”) allows you to specify which switches on a
DirectCommand switch box controls the boom sections of
your implement. This process is used for DirectCommand. (It
is not used for serial controllers or site verification scenarios).
The Auxiliary Input Settings window, shown at left, displays
settings for the Master Switch and other switches on a
DirectCommand Switch Box.
The Master Switch drop-down menu, shown at the top, controls the master switch for your entire
configuration. You may see the following options underneath this menu:
• Switch - Controls the master switch.
• External 2 - This setting can control an optional, floor-mounted master switch.
• External 1, 3 & 4 - Not used at this time.
The F1-F10 cells on the left can be assigned to any implement sections. You can use these to choose
the switches that control a particular boom section. From here, you can also make the following changes
to the switch settings.
• Add a switch setting. (See below).
• Remove a switch setting.
• Reset to default switch settings.