Hydraulic seed control seed meter calibration, The ground. see, Ydraulic – Ag Leader InSight Ver.8.0 Users Manual User Manual
Page 165: Ontrol, Eter, Alibration
151
P
LANTING
H
YDRAULIC
S
EED
C
ONTROL
S
EED
M
ETER
C
ALIBRATION
Note: Before calibrating the Hydraulic Seed Control Seed Meter, first make any necessary adjustments to the
Controller Settings. For more information, see
“Controller Settings for Hydraulic Seed Control” on page
“Controller Settings - Auxiliary Tab” on page
.
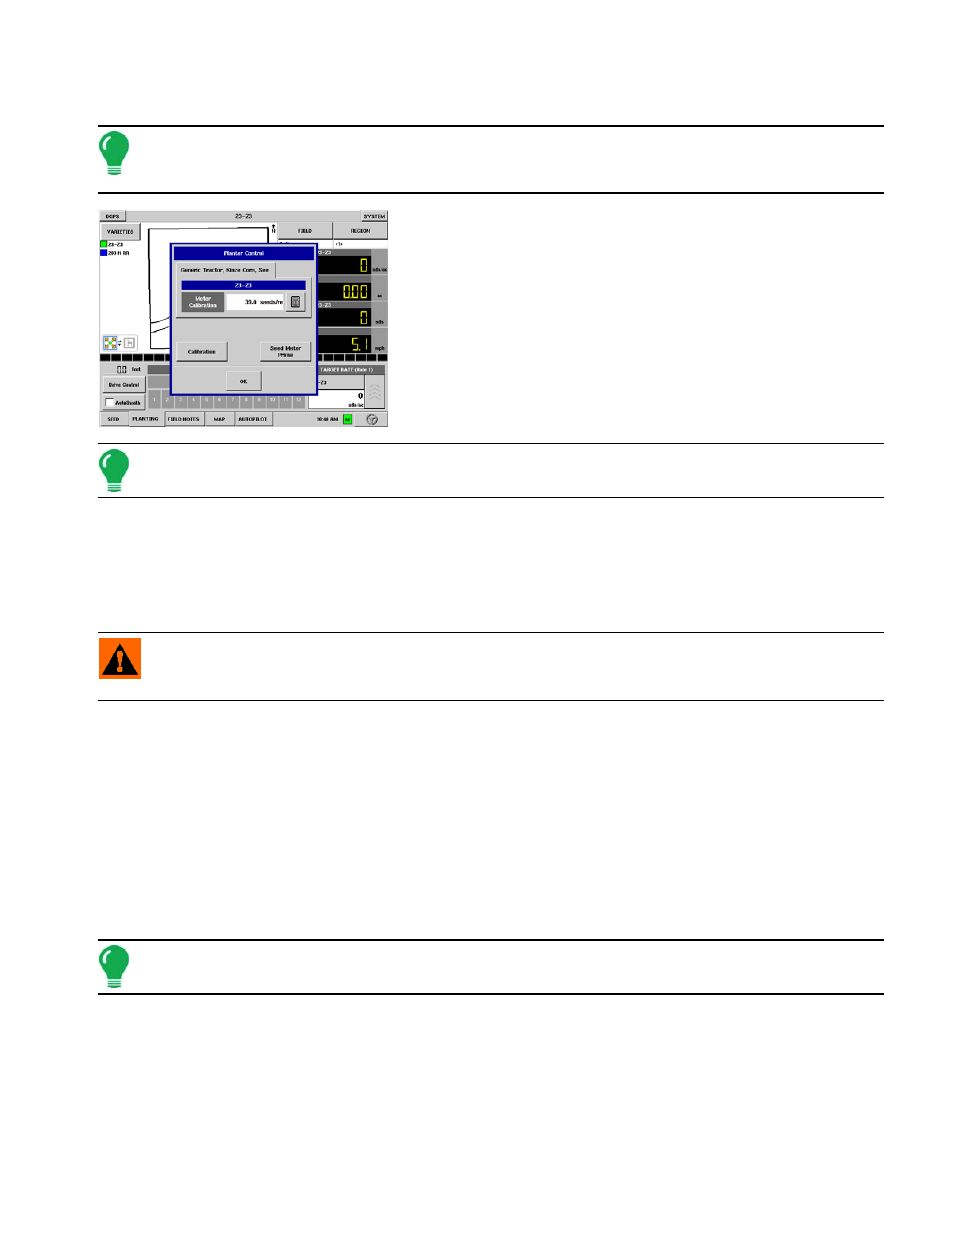
Operators using the Hydraulic Seed Control feature should
calibrate the seed meter at least once a year. To begin, press
the Drive Control button on the Run screen.
Press Calibration button on Planter Control window
On the Planter Control window, press the Calibration button, and
the Meter Calibration Wizard appears.
Note: Make sure a Meter Calibration Number greater than 0 is entered before starting the calibration
procedure.
1. Select Drive to Calibrate
a. Select the drive you wish to calibrate.
b. Press Next to continue.
Acknowledge the Warning
a. A warning appears, which you should read and then acknowledge by pressing OK.
WARNING: Maintain a safe distance from the planter during the calibration routine. The planter should be
lowered near the ground with the seed meter fully charged with seed and all necessary fans and/or auxiliary
metering devices on.
b. Press Next to continue.
2. Enter Simulated Ground Speed
a. Enter the target ground speed of your vehicle during the planting operation.
b. Press Next to continue.
3. Enter Simulated Target Rate
a. Enter the average target rate of seed distribution during the planting operation.
b. Press Next to continue.
4. Press the Start Button
a. Press Start, and the calibration procedure begins.
Note: Before starting the calibration procedure, be sure that you have seed loaded in the planting box, and
the vacuum turned on, if appropriate.
Wait while dispensing seed
Text flashes at the top of the Meter Calibration Wizard window, stating that the seed is dispensing. The
drive will stop automatically when calibration is finished.
Also the green button changes to red, indicating that you may stop the calibration procedure if
necessary.