Assigning a static ip address to the kaleido-rcp2 – Grass Valley Kaleido-X v.7.80 User Manual
Page 495
487
Kaleido-X
User’s Manual
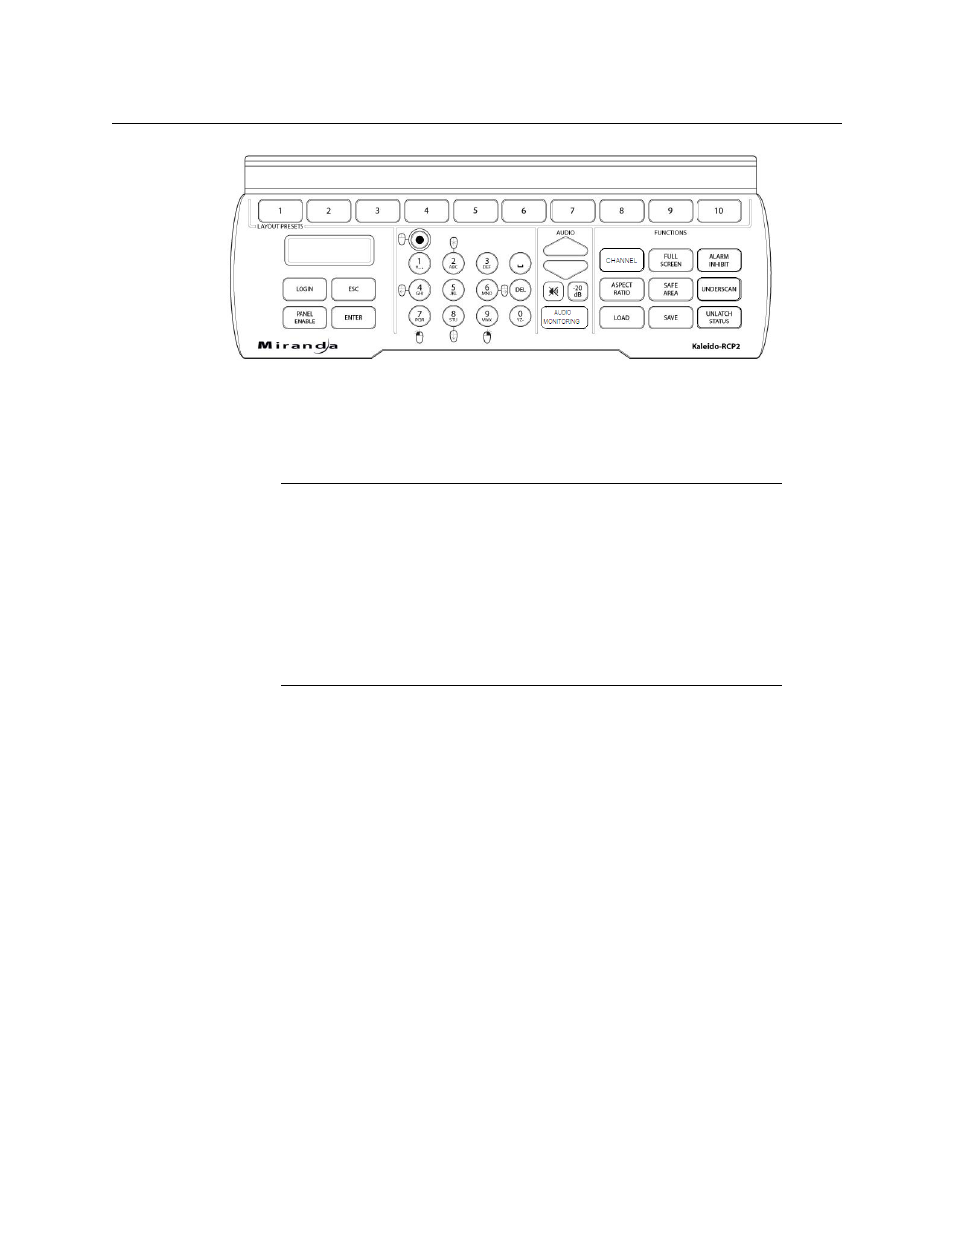
Before you can use the Kaleido-RCP2 to operate your Kaleido-X, you must set up the
Ethernet connection between the two devices. By default, the Kaleido-RCP2 is shipped with
DHCP enabled, so it will automatically be assigned an IP address by a DHCP server. If no
DHCP server is present on the network, the Kaleido-RCP2 will default to the static IP address
10.0.3.191.
Assigning a static IP address to the Kaleido-RCP2
To assign a static IP address to the Kaleido-RCP2
1 Press and hold the ENTER button until the ESC button lights up, to display the
configuration menu.
2 Press the 8 key (to move down the list) until ETHERNET OPTIONS appears on the LCD
display.
3 Press the ENTER key to display the ETHERNET OPTIONS menu.
4 Select the IP ADDRESS menu using the 2 key (to move up in the list) or the 8 key (to
move down the list), and then press ENTER.
5 Using the numeric keypad, type the chosen IP address, and then press ENTER.
6 Select the NETWORK MASK menu using the 2 key (to move up in the list) or the 8 key
(to move down the list), and then press ENTER.
7 Using the numeric keypad, type the chosen network mask, and then press ENTER.
You have assigned a static IP address to the Kaleido-RCP2.
Notes
• The Kaleido-RCP2 is powered through the RJ-45 Ethernet connector.
There is no power ON/OFF button, so the device is ON whenever a
powered Ethernet cable is connected.
• If you purchased more than one Kaleido-RCP2 units, keep in mind that
they all ship with the same default static IP address. Make sure to assign
them different static IP addresses before connecting them to the network
if DHCP is not used.
• The time-out period before the Kaleido-RCP2 defaults to its static address
is 1 minute. To speed up the initialization, disable the DHCP option.