Adding safe area markers, Adding a custom safe area image – Grass Valley Kaleido-X v.7.80 User Manual
Page 266
258
Creating Layouts
Configuring Video Monitors
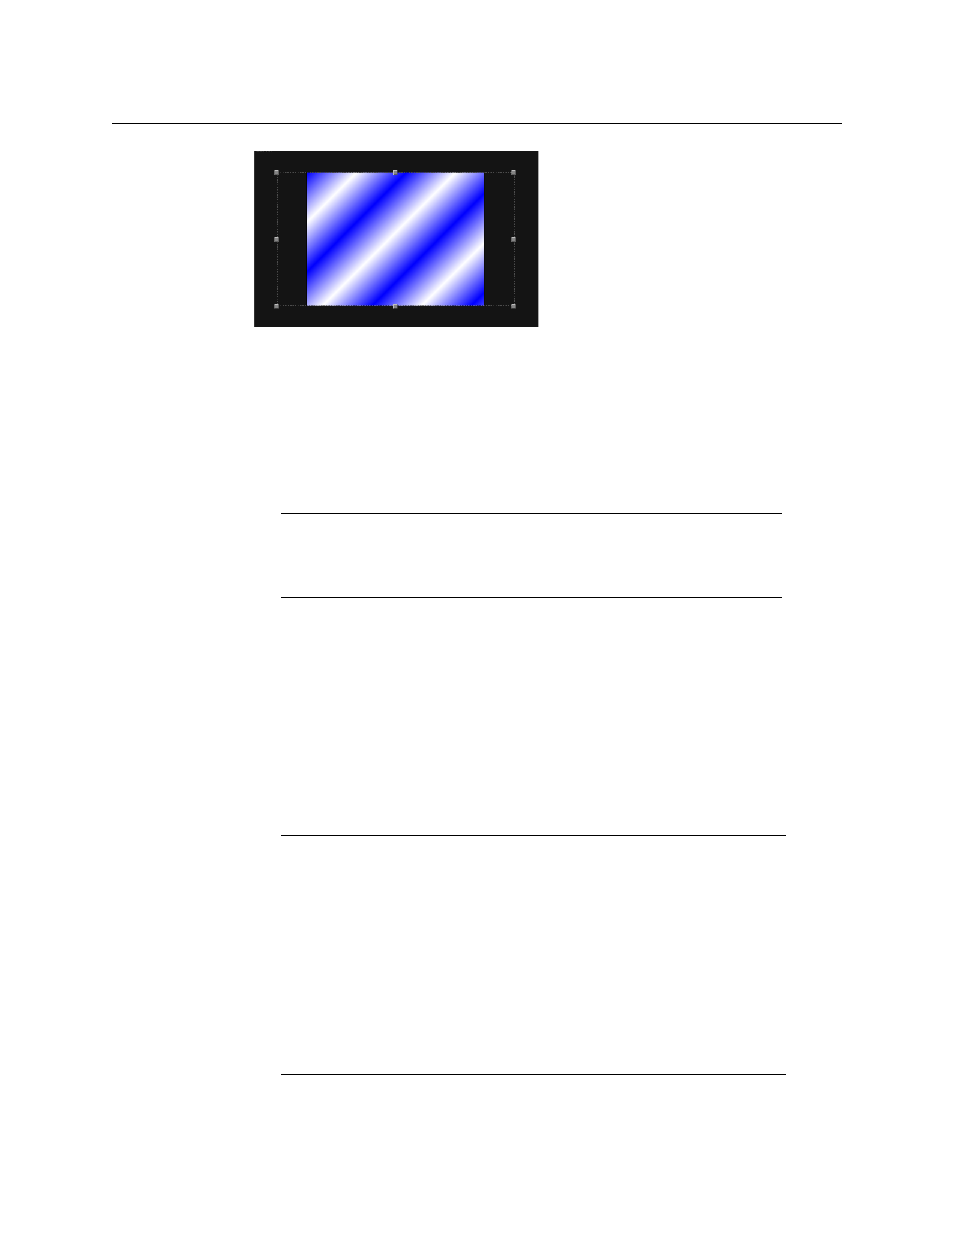
Video window’s aspect ratio changed to 4:3, within a 16:9 video monitor
To set a custom aspect ratio for a video monitor
1 In the Properties pane, click the Custom aspect ratio box.
The box becomes editable.
2 Type the appropriate aspect ratio, and then press Enter.
The new aspect ratio is applied to the video window, within the video monitor, and it is
added to both the Current aspect ratio, and Custom aspect ratio lists.
Adding Safe Area Markers
To add safe area markers for a video monitor in a layout
• In the Properties pane, select the appropriate options, under Safe area markers.
Adding a Custom Safe Area Image
XEdit allows you to superimpose an image, e.g., a brand graphics, on top of a video monitor
in such a way that a video signal will show through the transparent areas in the graphics.
This is accomplished by adding a free-form safe area image to the video monitor. The image
can be in PNG, GIF, or JPEG format.
Note:
The custom values are appended to the Custom aspect ratio list on
an ongoing basis. They can then be applied to other monitors in other
layouts. Current aspect ratio only lists the current custom ratio, if any, in
addition to the default 16:9, and 4:3 values.
Notes
• The maximum size for each image is 256 KB, and the maximum overall size
(for all images) is 10 MB. Images can be used on multiple layouts and only
need to be imported to the database once.
• To ensure that the aspect ratio of the imported image is preserved, you
should position the graphics on a fully transparent background with the
same aspect ratio as the video monitor on which it is to appear.
• In the case of a cascade system, XEdit must be connected to the
multiviewer that will provide the source for the corresponding video
monitor. A monitor that is not associated with a specific source is displayed
by the system closest to the display.