Creating full screen layouts – Grass Valley Kaleido-X v.7.80 User Manual
Page 253
245
Kaleido-X
User’s Manual
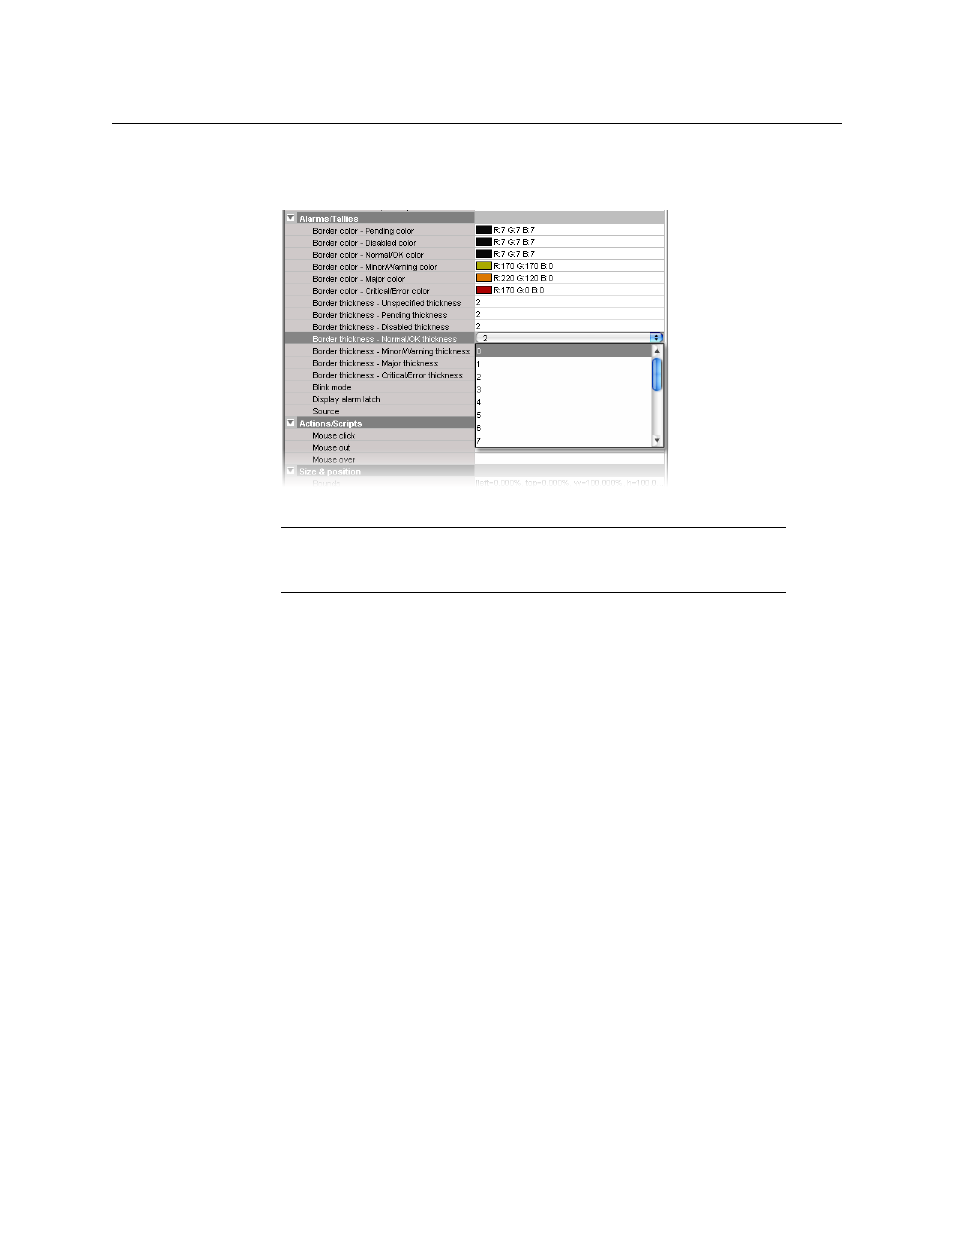
d With the monitor still selected in the main pane, remove the preconfigured
borders, at least for the Normal/OK alarm state, by clicking the Border thickness –
Normal/OK thickness box, and then selecting “0” from the list.
5 Add three more video monitors to the layout in the same fashion.
6 Assign each monitor the logical source associated with the matching quadrant
Assigning Logical Sources or Monitor Wall Destinations to Monitors
7 Also assign each monitor the monitor wall destination you will use when making
crosspoint changes, if needed.
8 On the File menu, click Save.
The Save Layout window appears.
9 Type a name for the layout, and then click Save.
Creating Full Screen Layouts
To create a full screen layout
1 Click the Layouts tab in the main window.
2 On the File menu, click New.
The Create a New Layout window appears. It lists all the existing rooms and full screen
zones in your system.
3 Click the name of the full screen zone in which this layout will be displayed.
Note:
Each video monitor must span an entire room display. This is the only
supported configuration for monitoring 4K UHD sources on a 4K UHD
display.