Adobe After Effects CS3 User Manual
Page 232

AFTER EFFECTS CS3
User Guide
227
Each Puppet tool is used to place and modify a specific kind of pin:
Puppet Pin tool
Use this tool to place and move Deform pins.
Puppet Overlap tool
Use this tool to place Overlap pins, which indicate which parts of an image should appear
in front of others when distortion causes parts of the image to overlap one another.
Puppet Starch tool
Use this tool to place Starch pins, which stiffen parts of the image so that they are distorted less.
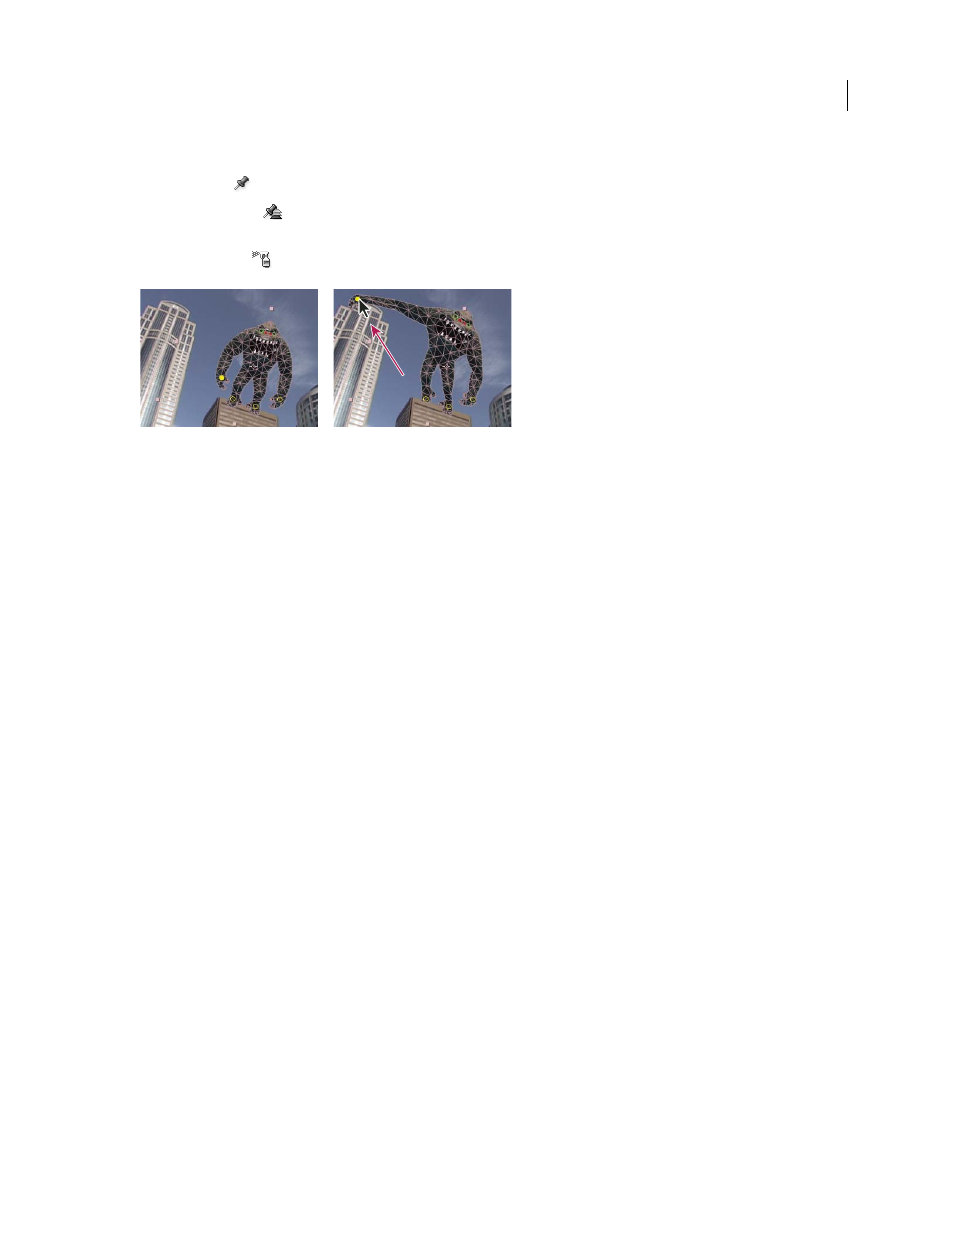
Puppet mesh created by placing Deform pins (left), and result of dragging a Deform pin
When you place the first pin, the area within an outline is automatically divided into a mesh of triangles. An outline
is only visible when the Puppet effect has been applied and a Puppet tool pointer is over the area that the outline
defines. (See “How the Puppet effect creates outlines” on page 230.) Each part of the mesh is also associated with the
pixels of the image, so the image’s pixels move with the mesh.
Note: To show the mesh, select Show in the Tools panel.
When you move one or more Deform pins, the mesh changes shape to accommodate this movement, while keeping
the overall mesh as rigid as possible. The result is that a movement in one part of the image causes natural, life-like
movement in other parts of the image.
For example, if you place Deform pins in a person’s feet and hands and then move one of the hands to make it wave,
the motion in the attached arm will be large, but the motion in the waist will be small, just as in the real world.
If a single animated Deform pin is selected, its Position keyframes are visible in the Composition panel and Layer
panel as a motion path. You can work with these motion paths as you work with other motion paths, including
setting keyframes to rove across time. (See “Smooth motion with roving keyframes” on page 216.)
You can have multiple meshes on one layer. This is useful for deforming several parts of an image individually—such
as text characters—as well as for deforming multiple instances of the same part of an image, each with a different
deformation.
The original, undistorted mesh is calculated at the current frame at the time at which you apply the effect. The mesh
does not change to accommodate motion in a layer based on motion footage, nor does the mesh update if you replace
a layer’s source footage item.
Note: Because the render order for continuously rasterized layers—such as shape layers and text layers—is different than
the render order for raster layers, you should not animate the position or scale of a continuously rasterized layer with
layer transformations if you are also animating the layer with the Puppet tools. You can precompose the shape layer and
use the Puppet tools on the precomposition layer, or you can use the Puppet tools to transform the shapes within the layer.
(See “Render order and collapsing transformations” on page 115 and “Continuously rasterize a layer containing vector
graphics” on page 151.)
The motion created by the Puppet tools is sampled by motion blur if motion blur is enabled for the layer and the
composition, though the number of samples used is half of the value specified by the Samples Per Frame value. (See
“Use motion blur” on page 200.)
