Chapter 8: animation, Animation basics, About animation, keyframes, and expressions – Adobe After Effects CS3 User Manual
Page 188
183
Chapter 8: Animation
Animation basics
About animation, keyframes, and expressions
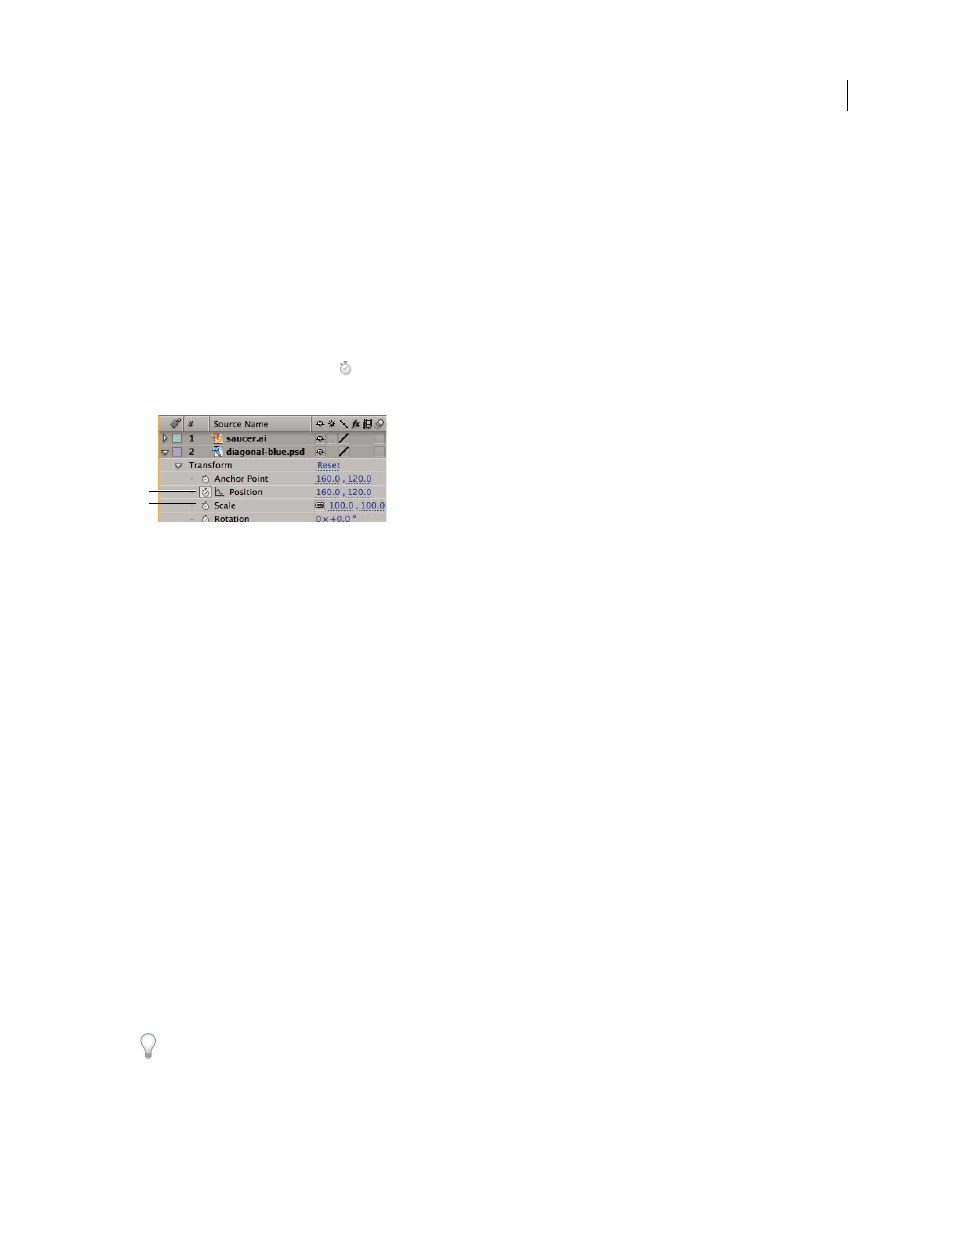
Animation is change over time. You animate a layer or an effect on a layer by changing one or more of its properties
over time. For example, you can animate a layer’s Opacity property from 0% to 100% to make the layer fade in. Any
property with a stopwatch button
to the left of its name in the Timeline panel or Effect Controls panel can be
animated.
Stopwatch icons
A. Active stopwatch B. Inactive stopwatch
You animate layer properties using keyframes, expressions, or both.
To see a video tutorial on animating using keyframes, visit the Adobe website at
.
Some tools, such as Motion Sketch and the Puppet tools, automatically set keyframes for you to match motion that
you sketch.
Many animation presets include keyframes and expressions so that you can simply apply the animation preset to the
layer to achieve a complex animated result.
You work with keyframes and expressions in After Effects in one of two modes: layer bar mode or Graph Editor mode.
Layer bar mode is the default, which shows layers as duration bars, with keyframes and expressions aligned vertically
with their properties in the Timeline panel. Graph Editor mode does not show layer bars, and shows keyframes and
expression results in value graphs or speed graphs. (See “Work with the Graph Editor” on page 184.)
Keyframes
Keyframes are used to set parameters for motion, effects, audio, and many other properties, usually changing them
over time. A keyframe marks the point in time where you specify a value, such as spatial position, opacity, or audio
volume. Values between keyframes are interpolated. When you use keyframes to create a change over time, you
typically use at least two keyframes—one for the state at the beginning of the change, and one for the new state at the
end of the change. (See “Set keyframes” on page 187.)
When a keyframe is selected, information regarding its value, speed, and interpolation method are shown in the Info
panel. Different information is shown depending on whether the Timeline panel is in Graph Editor mode or layer
bar mode. You can also place the pointer over a keyframe in the Graph Editor to see some of this information.
Right-click (Windows) or Control-click (Mac OS) a keyframe to open its context menu. Alt-click (Windows) or
Option-click (Mac OS) two keyframes in layer bar mode to display the duration between them in the Info panel.
B
A