Working with loudness logger and loudness analyzer, Working with loudness logger and loudness, Analyzer – Grass Valley iControl V.4.43 User Manual
Page 206
Logs
Working with Loudness Logger and Loudness Analyzer
196
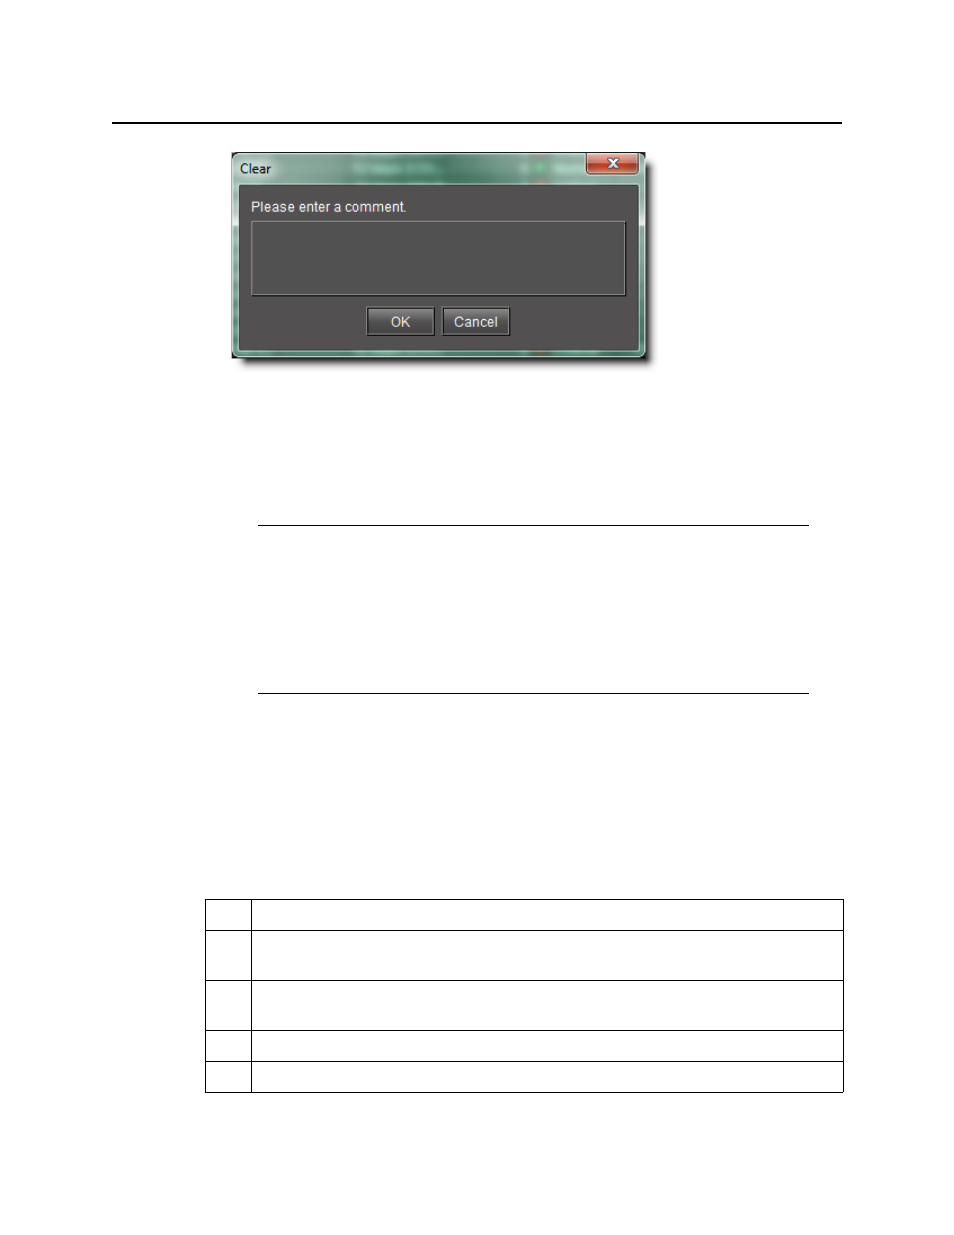
Figure 4-128
2. Enter a comment, such as your name or other information related to the clearing of the
incident.
3. Click OK.
The incident is cleared (the text for the incident entry turns gray).
Working with Loudness Logger and Loudness Analyzer
There are several tasks you can perform related to both logging and analyzing loudness data
in iControl. Certainly, before you do anything else, you must make sure your system is properly
configured. You must also make sure you log before you analyze. While the sequence of these
tasks may seem obvious, the sequence of other required tasks may not be. The following is an
approved workflow for configuring, logging, and analyzing loudness data in iControl.
Notes
• An incident can only be cleared after it has been resolved. A resolved incident
may get cleared automatically after a certain amount of time if the Clear
resolved incidents automatically after check box is selected. See
• It is possible to unclear an incident, which will put it back in its resolved state.
One reason for doing this is to be able to further investigate a problem.
Sample workflow: Logging and analyzing loudness
1.
Mount an external NAS drive to your Application Server (see
).
2.
[OPTIONAL] Map the external NAS drive onto your client PC (see your Windows®
documentation).
3.
Start the Loudness Logger and Loudness Analyzer services in iControl Webmin
(see
).
4.
Open Loudness Logger (see
).
5.
Configure desired event-logging settings for loudness alarms (see