Scale clip to sequence frame size, Import files with the media browser – Adobe Premiere Pro CS4 User Manual
Page 91
85
USING ADOBE PREMIERE PRO CS4
Capturing, digitizing, transferring, and importing
Last updated 11/6/2011
More Help topics
Import files with the Media Browser
Import files with the Import commands
Import files using Adobe Bridge
Export Settings Format options
Scale clip to sequence frame size
Premiere Pro can automatically scale clips you add to a sequence to the frame size set for that sequence.
1
Choose Edit >Preferences > General (Windows), or Premiere Pro > Preferences > General (Mac OS)
2
Check Default Scale To Frame Size.
3
Click OK.
Import files with the Media Browser
The Media Browser makes it easy to browse to files, and to find them by their type. Unlike the Import dialog box, the
Media Browser can be left open, and docked, like any other panel. The Media Browser gives you quick access to all
your assets while you edit. Also, you can use the Media Browser to import clips copied from video storage media such
as P2 cards, SxS cards, XDCAM disks, and DVDs. When you import an asset Premiere Pro leaves it in its current
location, and creates a clip in the Project panel that points to it. By default, Premiere Pro writes XMP files to the
directory where the media files are located, but you can turn off this behavior in Preferences. For best performance,
first transfer files from their file-based media to a local hard disk. Then, import them into Premiere Pro projects from
the hard disk.
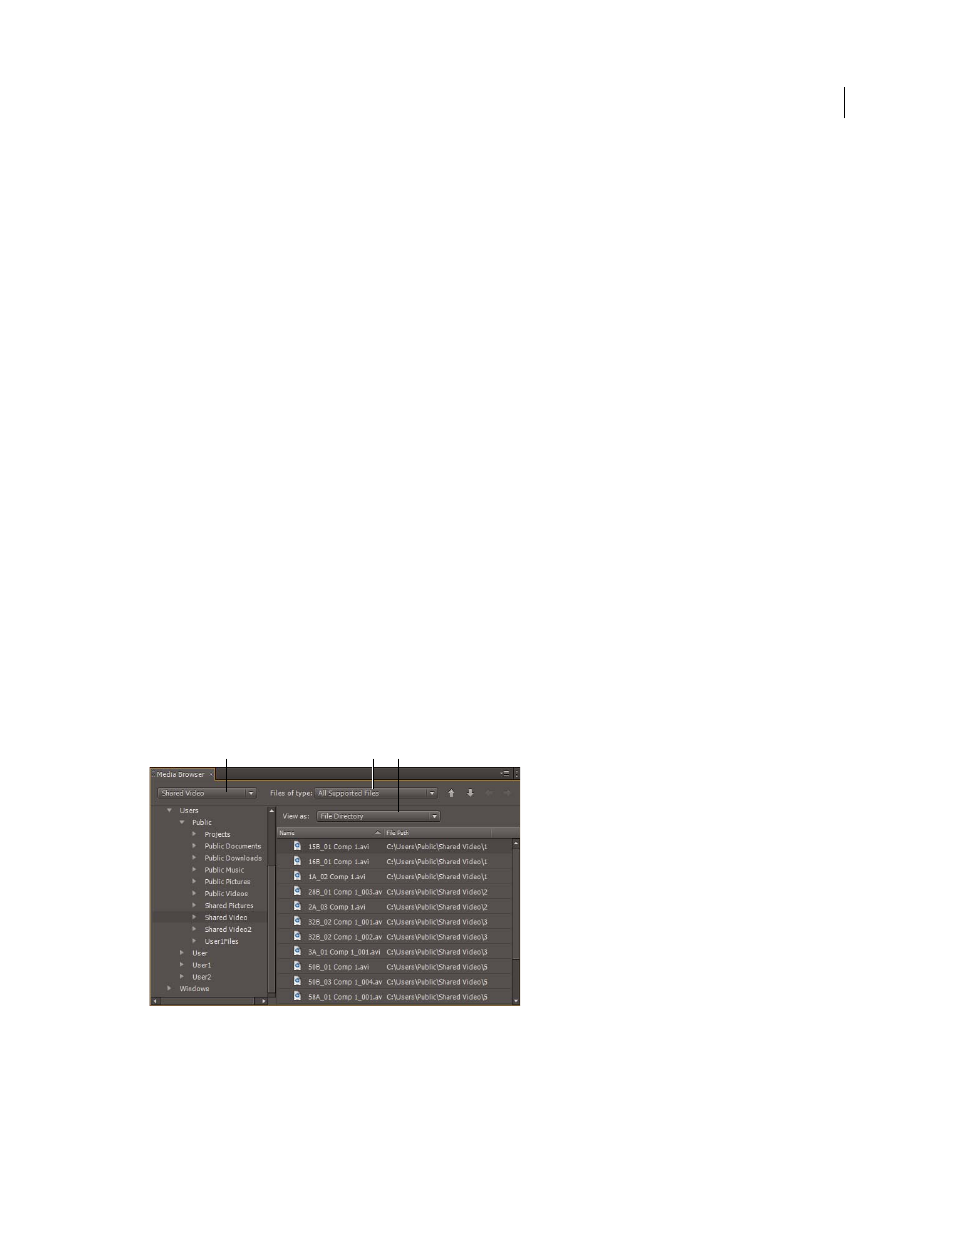
The Media Browser panel
A Recent Directories menu B Files Of Type menu C. View As menu
1
Select Window > Media Browser.
2
To browse to the desired files, do one of the following:
•
To open a folder recently opened, click the triangle in the Recent Directories menu, and select the folder.
B
C
A