Paint bucket effect – Adobe Premiere Pro CS4 User Manual
Page 378

372
USING ADOBE PREMIERE PRO CS4
Effects and transitions
Last updated 11/6/2011
Width, Width Variation
The width of the main lightning bolt and how much the width of different segments can vary.
Width changes are randomized. A value of 0 produces no width changes; a value of 1 produces the maximum width
changes.
Core Width
The width of the inner glow, as specified by the Inside Color value. Core Width is relative to the total width
of the lightning bolt.
Outside Color, Inside Color
The colors used for the outer and inner glows of the lightning bolt. Because the Lightning
effect adds these colors on top of existing colors in the composition, primary colors often produce the best results.
Bright colors often become much lighter, sometimes becoming white, depending on the brightness of colors beneath.
Pull Force, Pull Direction
The strength and direction of a force that pulls the lightning bolt. Use the Pull Force value
with the Stability value to create a Jacob’s Ladder appearance.
Random Seed
An input value for the random noise generator that’s the basis of the Lightning effect.
Note: The random movement of the lightning could interfere with another image in the clip. Try different values for
Random Seed until you find one that works for the clip.
Blending Mode
The blending mode to use to composite the lightning on top of the original clip.
Rerun At Each Frame
Regenerates the lightning at each frame. To make the lightning behave the same way at the same
frame every time you run it, don’t select this option. Selecting this option increases rendering time.
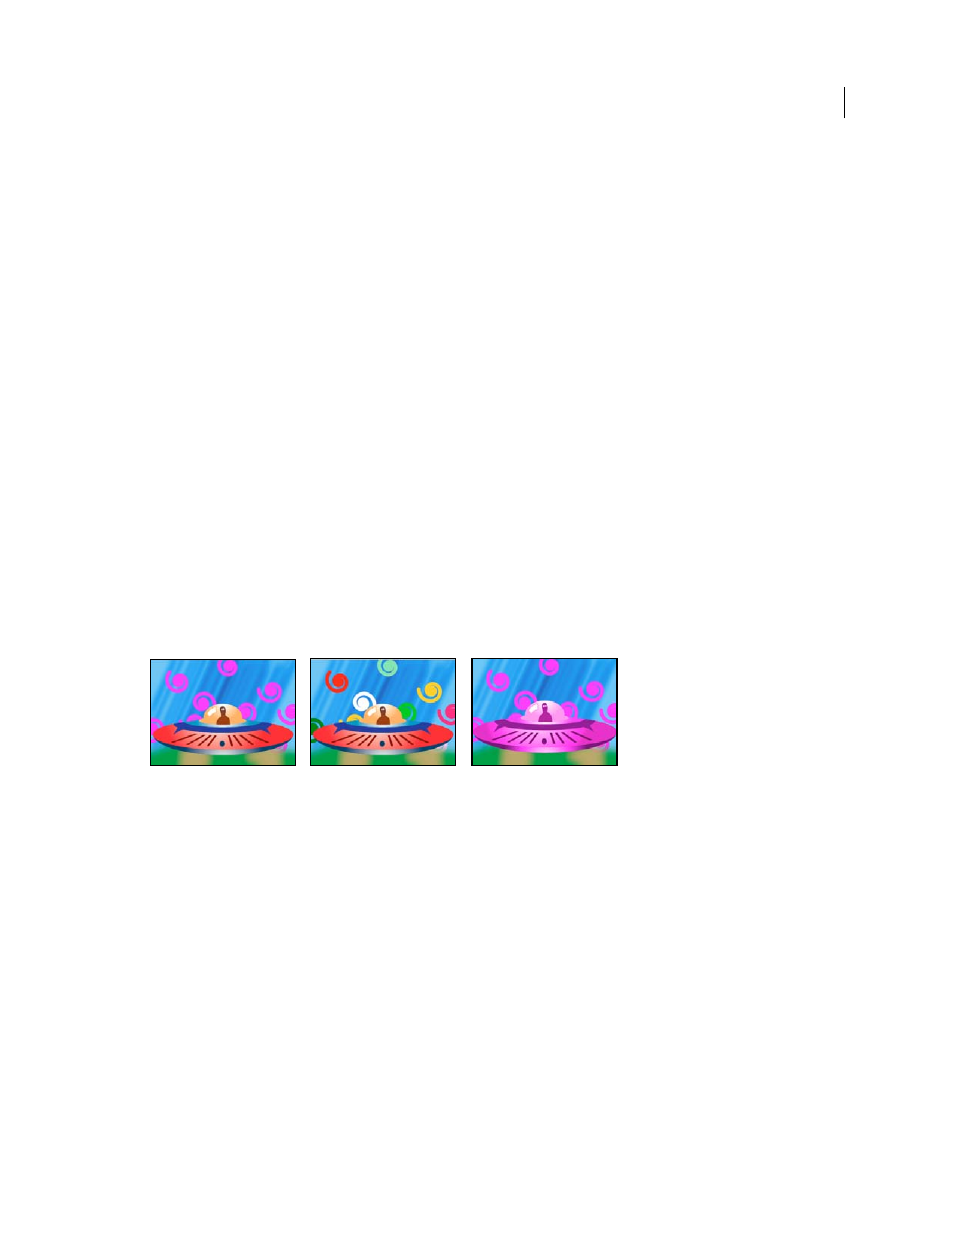
Paint Bucket effect
The Paint Bucket effect is a nondestructive paint effect that fills an area with a solid color. It works much like the Paint
Bucket tool in Adobe Photoshop. Use Paint Bucket for colorizing cartoon-type outlined drawings or replacing areas
of color in an image.
Colors fill spiral shapes on separate tracks (left and center); effect applied to saucer with Color blending mode (right)
Fill Point
The effect fills an area that contains the Fill Point. The area is determined by analyzing pixels that neighbor
the Fill Point and expanding the fill area by adding matching pixels. How far the fill color spreads depends upon the
Tolerance setting, as well as the option you choose from the Fill Selector menu.
Fill Selector
Which values to operate on:
•
Color & Alpha
Specifies that the effect fills the fill point’s RGB and alpha channels with the new color.
•
Straight Color
Specifies that the effect fills only the fill point area’s RGB channel with the new color.
•
Transparency
Specifies that the effect fills only the transparent areas near the fill point. You must set a fill point in
a transparent area for this option to work.
•
Opacity
Specifies that the effect fills only the opaque areas near the fill point. You must set a fill point in an opaque
area for this option to work.
•
Alpha Channel
Specifies that the effect fills either the opaque or transparent areas in the whole image, depending
upon the alpha channel value at the point you set the fill point.
