Adjust luminance using levels – Adobe Premiere Pro CS4 User Manual
Page 312

306
USING ADOBE PREMIERE PRO CS4
Effects and transitions
Last updated 11/6/2011
5
(Optional) Click the triangle to expand the Secondary Color Correction controls if you want to correct the exposure
for a specific color or range of colors. Use the Eyedropper tool or the other Secondary Color Correction controls to
specify the colors to correct.
6
Do one of the following to make curve adjustments:
•
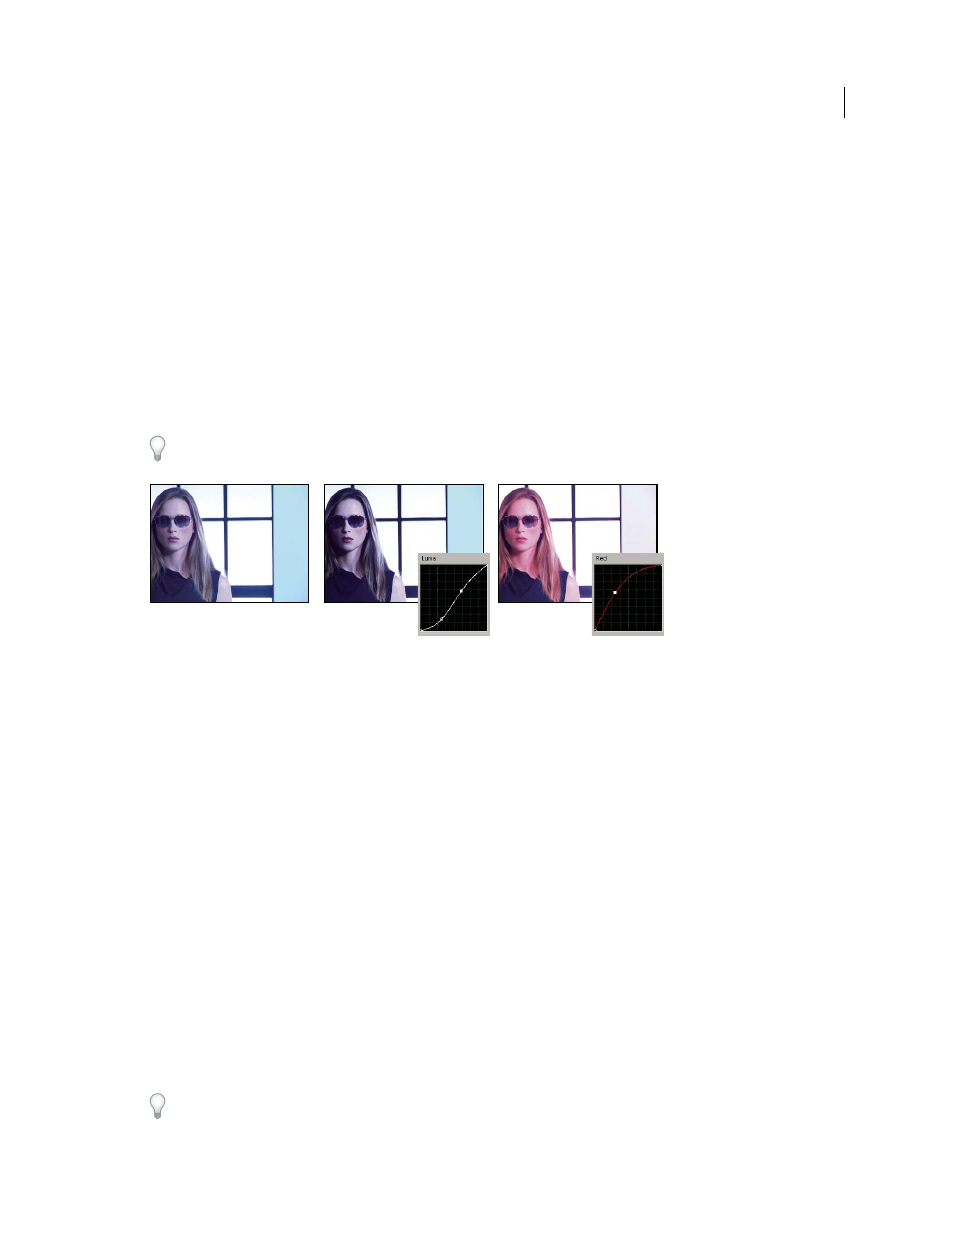
To adjust the luminance, click to add a point on the Luma or Master graph and drag to change the shape of the
curve. Bowing the curve upward lightens the clip and bowing the curve downward darkens the clip. The steeper
sections of the curve represent portions of the image with greater contrast.
•
To adjust both the color and luminance using the RGB Curves effect, click to add a point on the appropriate graph
to adjust all color channels (Master), the red channel, the green channel, or the blue channel. Drag to change the
shape of the curve. Bowing the curve upward lightens the pixel values and bowing the curve downward darkens the
pixel values. The steeper sections of the curve represent portions of the image with greater contrast.
You can add a maximum of 16 points to the curve. To delete a point, drag it off the graph.
As you make adjustments, watch carefully for banding, noise, or polarization in the image. If you notice any of these,
reduce the value you are adjusting.
Original image (left), adjusting luminance (center), adjusting color (right)
More Help topics
Specify a color or range of colors to adjust
Set up a Color Correction workspace
Adjust luminance using levels
The Fast Color Corrector and the Three-Way Color Corrector effects have Input Levels and Output Levels controls to
adjust the luminance in a clip. The controls are similar to the ones in Photoshop’s Levels dialog box. In the Fast Color
Corrector effect, control settings are applied to all three color channels in a clip. The Three-Way Color Corrector effect
lets you apply the levels adjustments to the entire tonal range in the clip, a specific tonal range, or specific range of
colors.
1
(Optional) Set up your workspace for color correction. When adjusting luminance, it might be best to view the YC
Waveform in a Reference Monitor ganged to the Program Monitor.
2
In the Effects panel, click the triangle to expand the Video Effects bin, and then click the triangle to expand the
Color Correction bin.
3
Drag the Fast Color Corrector effect or the Three-Way Color Corrector to the clip in a Timeline panel.
If the clip is already selected in a Timeline panel, you can drag the effect to the Video Effects area of the Effect Controls
panel.
