Drag video and audio to a sequence – Adobe Premiere Pro CS4 User Manual
Page 164
158
USING ADOBE PREMIERE PRO CS4
Editing sequences and clips
Last updated 11/6/2011
•
You can map the tracks of a clip in the Source Monitor to one or more tracks of a sequence by dragging the source
track indicator representing each of the source clip’s tracks into one or more selected tracks of the sequence. Audio
source track indicators can be placed only in audio tracks matching the source clip’s channel configuration. For
example, the audio track indicator for a stereo clip can be placed only in a stereo track in a sequence.
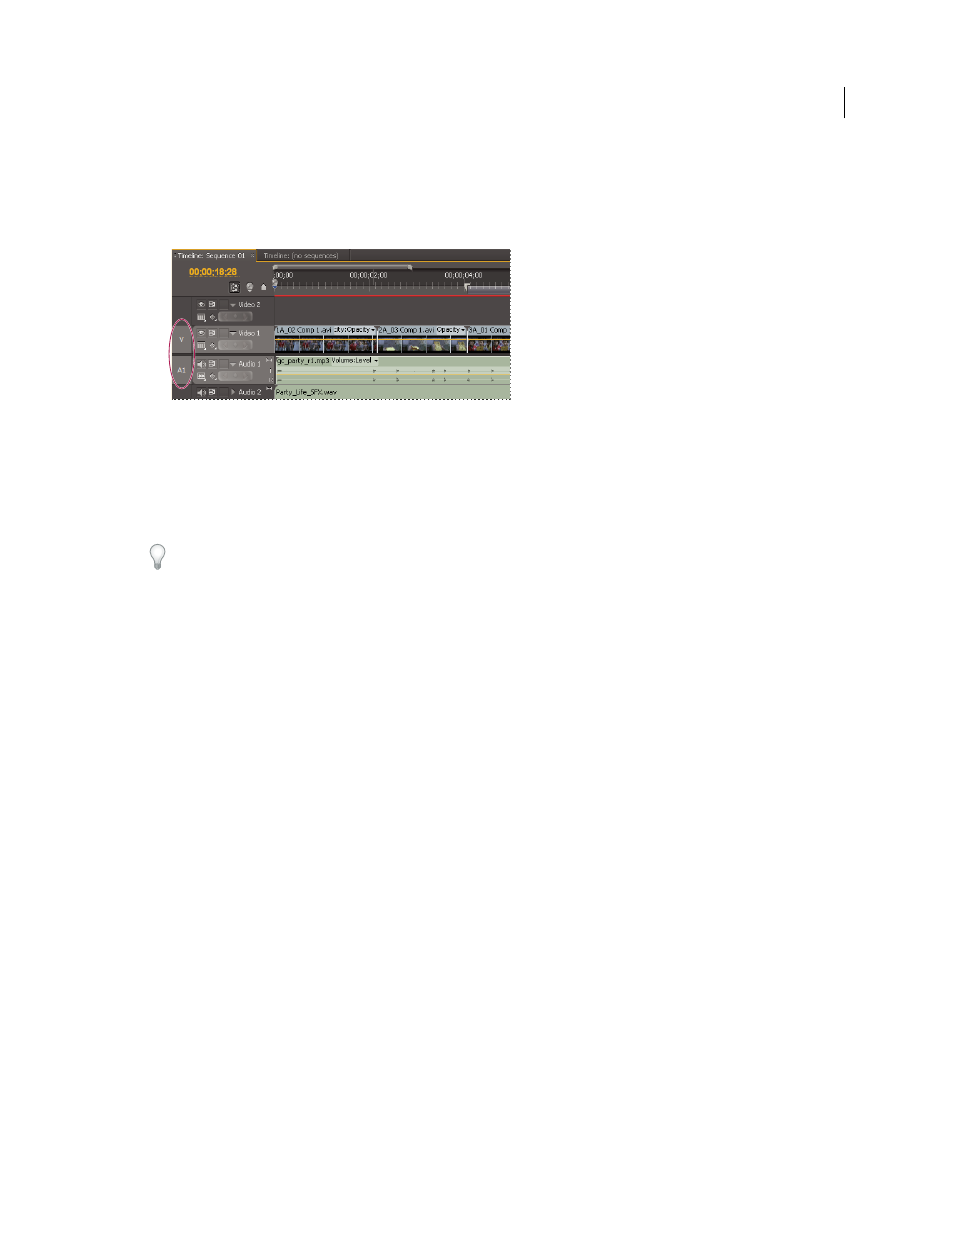
Highlighted source track indicators of video and audio tracks
If you overlay a clip, only the clips in targeted tracks are affected, whether you drag the clip or use a Source Monitor’s
Overlay button.
If you insert a clip, the clip goes into the targeted tracks, and clips in any unlocked tracks where the source clip lands
shift to accommodate the insertion. You can specify other tracks to also shift by enabling Sync Lock on them.
To insert a clip and not shift clips in other tracks, Ctrl-Alt-drag (Windows) or Command-Option-drag (Mac OS) the
clip into the track.
You can drag video clips to any video track; however, you can drag audio clips only to a compatible audio track. Audio
clips can’t be added to the master audio track or submix tracks, and they can be placed only on audio tracks of the
matching channel type: mono, stereo, or 5.1 (see “
About audio tracks in a sequence
Clips with linked video and audio can be dragged to either a video or an audio track, but the clip’s video and audio
components appear separately, in the appropriate corresponding tracks.
Note: You can drag a clip to any unlocked, compatible track in a sequence, no matter which tracks are currently targeted.
You can’t target a locked track. Locking a target track deselects it as the target.
Drag video and audio to a sequence
By default, when dropped into a sequence, the video and audio components of linked clips appear in corresponding
tracks (for example, Video 1 and Audio 1), unless the audio channel type of the clip is incompatible with the target
track. In this case, the linked audio appears in the next compatible track, or a compatible track is created automatically.
Note: An audio clip dragged to an incompatible track automatically shifts to the next compatible track, even if the track
is occupied by another audio clip. Therefore, take care not to disturb clips already in the sequence.
However, you can alter this behavior by holding the Shift key while you drag.
Note: For information about creating tracks that are compatible with your assets, see
Work with tracks
and
Create a
custom sequence preset
.
The Program Monitor can help you determine where to position a clip you’re adding to a sequence. During an overlay
edit, it displays the frames in the sequence adjacent to the new clip’s head and tail. During an insert edit, it displays the
frames adjacent to the insertion point.
1
(Optional) Open a clip in the Source Monitor, and mark its In and Out points. (See “