Adobe Premiere Pro CS4 User Manual
Page 313
307
USING ADOBE PREMIERE PRO CS4
Effects and transitions
Last updated 11/6/2011
4
In the Effect Controls panel, click the triangle to expand the Fast Color Corrector or Three-Way Color Corrector
controls.
5
(Optional) Do any of the following to set preview options:
•
To view only the luminance values in a clip, choose Luma from the Output menu. This option only affects the
preview in the Program Monitor, it doesn’t remove the color from the video.
•
To display a before and after view of the clip in one monitor, select the Show Split View option. You can specify
whether the split view is horizontal or vertical by choosing from the Layout menu. You can also adjust the relative
proportion of the before and after views.
6
(Optional for the Three-Way Color Corrector only) Do any of the following:
•
To restrict your correction to a specific tonal range, choose Shadows, Midtones, or Highlights from the Tonal
Range menu. Choosing Master applies correction to the entire tonal range of the image. If necessary, use the Tonal
Range Definition controls to define the different tonal ranges. You can choose Tonal Range from the Output menu
to view a tritone preview of the tonal ranges in the Program Monitor.
•
To restrict your adjustments to a color or range of colors, click the triangle to expand the Secondary Color
Correction controls. Define the color or color range using the Eyedropper tool, slider controls or enter numeric
values. See also “
Specify a color or range of colors to adjust
7
Use the Output Levels slider controls to set the maximum black and white levels:
Black Output slider
Controls the resulting output of the shadows. The default is 0, where the pixels are completely
black. Moving the slider to the right specifies a lighter value for the darkest shadow.
White Output slider
Controls the resulting output of the highlights. The default is 255, where the pixels are completely
white. Moving the slider to the right specifies a darker value for the brightest highlight.
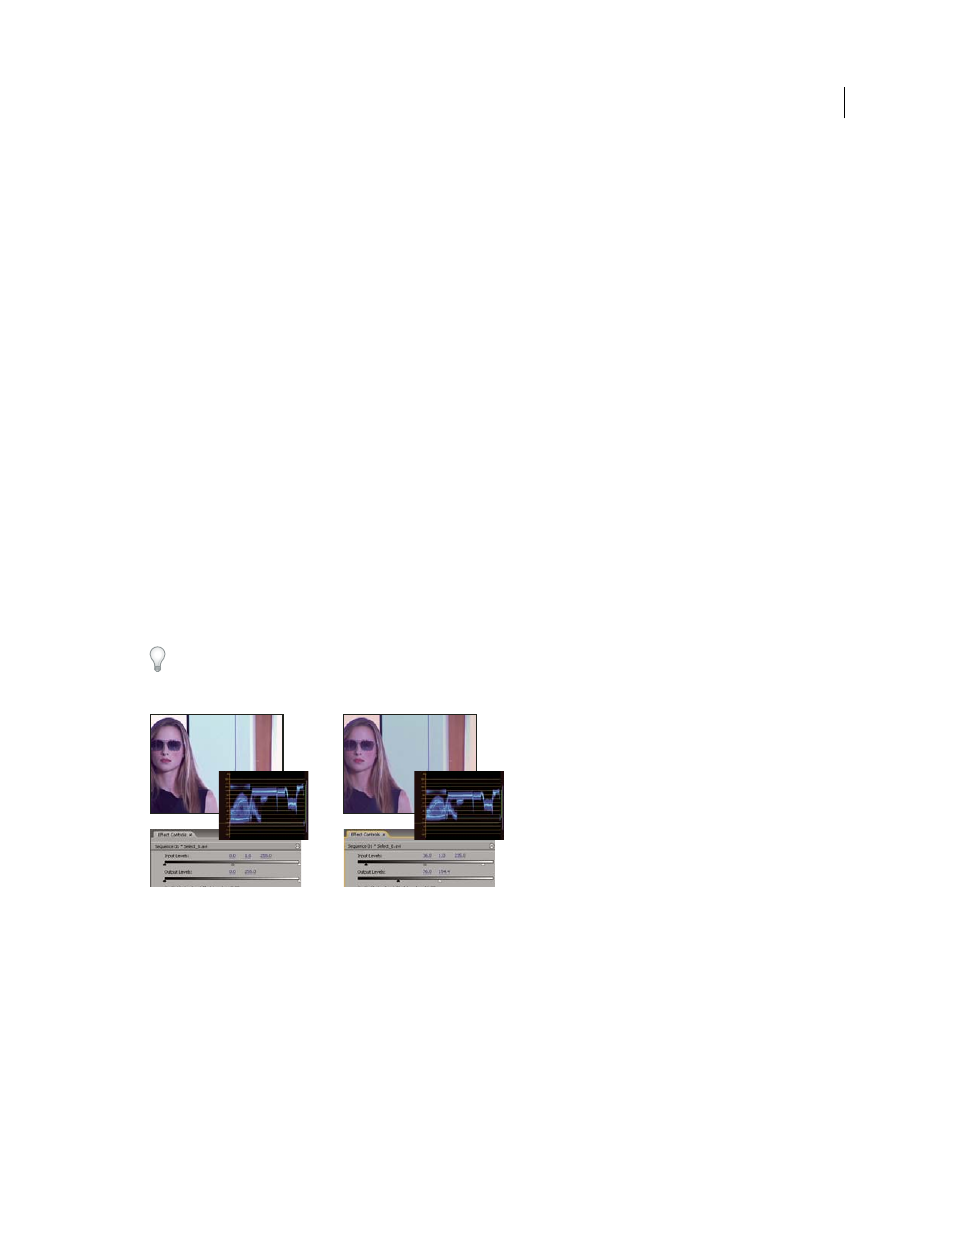
If the YC Waveform is displayed in a Reference Monitor, adjust the Black Output and White Output sliders so the
maximum black and white levels of the waveform are within 7.5 to 100 IRE. This ensures that the levels are within
broadcast standards.
Original image (left); blacks and whites corrected to broadcast limits (right)
8
Use the following controls to set the black, gray, and white input levels:
Black Level eyedropper
Maps the sampled tone to the setting of the Black Output slider. Click an area in the Program
Monitor that you want to be the darkest value in the image. You can also click the color swatch to open the Adobe
Color Picker and select a color to define the darkest shadow in the image.
Gray Level eyedropper
Maps the sampled tone to a medium gray (level 128). This changes the intensity values of the
middle range of gray tones without dramatically altering the highlights and shadows. You can also click the color
swatch to open the Adobe Color Picker and select a color to define the medium gray in the image.