Adjust color balance and saturation – Adobe Premiere Pro CS4 User Manual
Page 310
304
USING ADOBE PREMIERE PRO CS4
Effects and transitions
Last updated 11/6/2011
Adjust color balance and saturation
Although the following procedure uses the color wheel adjustments. The same adjustments can be made by entering
numeric values or using the slider controls in the Fast Color Corrector and Three-Way Color Corrector effects.
1
Set up your workspace for color correction.
2
Select the clip in a Timeline panel and apply either the Fast Color Corrector or the Three-Way Color Corrector
effect. See also “
3
In the Effect Controls panel, click the triangle to expand the Fast Color Corrector or the Three-Way Color
Corrector controls.
4
(Optional) Select the Show Split View option if you want to view a before and after comparison of your adjustment
in the Program Monitor. You can specify whether the split view is horizontal or vertical by choosing from the
Layout menu. You can also adjust the relative proportion of the before and after views.
5
(Optional for the Three-Way Color Corrector only) Do any of the following:
•
To restrict your color correction to a specific tonal range, choose Shadows, Midtones, or Highlights from the Tonal
Range menu. Choosing Master applies color correction to the entire tonal range of the image. If necessary, use the
Tonal Range Definition controls to define the different tonal ranges. You can choose Tonal Range from the Output
menu to view a tritone preview of the tonal ranges in the Program Monitor.
•
To restrict your adjustments to a color or range of colors, click the triangle to expand the Secondary Color
Correction controls. Define the color or color range using the Eyedropper tool, slider controls or enter numeric
values. See also “
Specify a color or range of colors to adjust
6
To adjust the color balance, do any of the following using the color wheel:
•
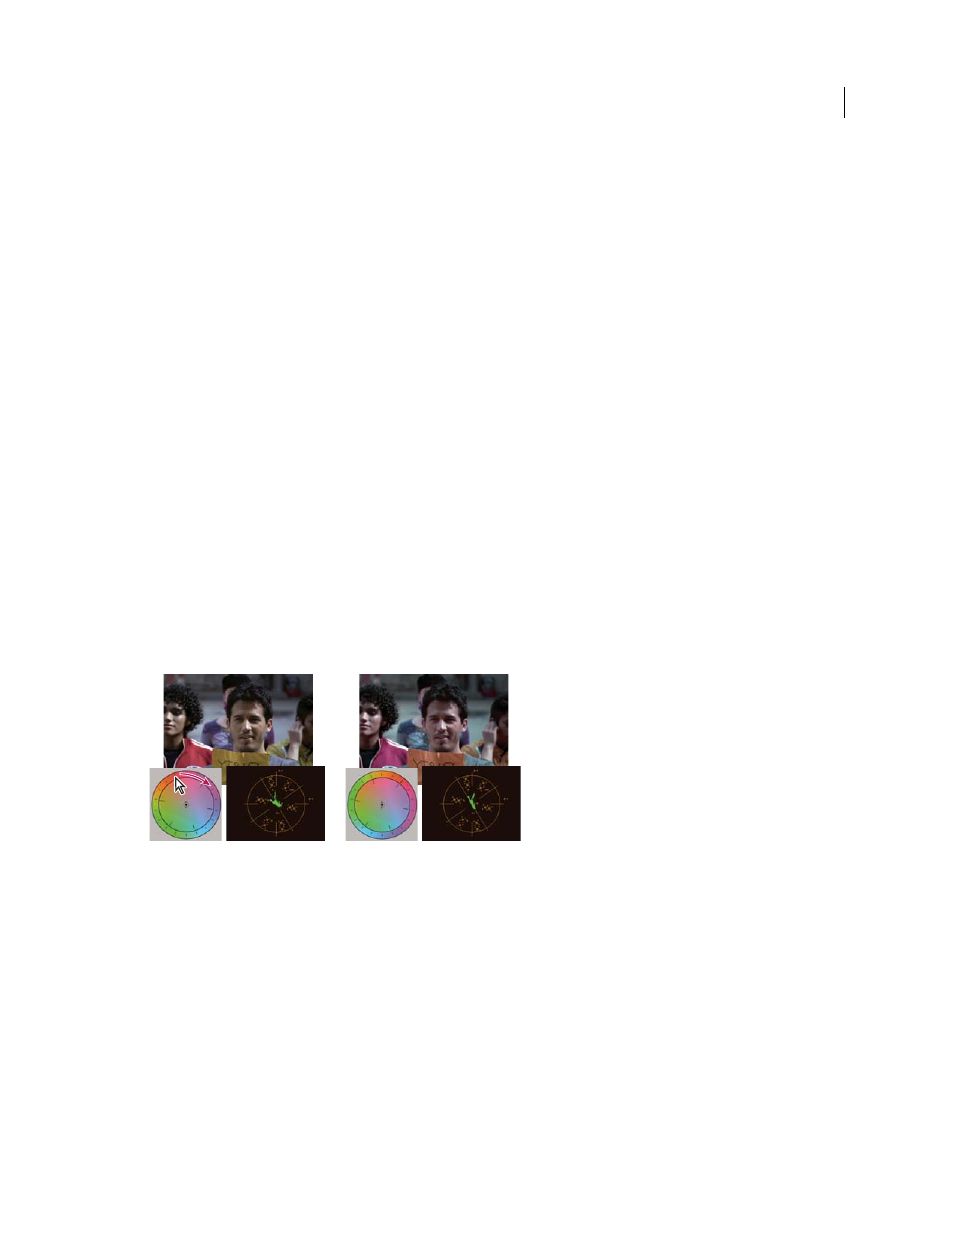
To change all the colors without affecting the gain or magnitude, rotate the outer ring. Rotating the ring to the left,
rotates all colors toward green. Rotating the ring to the right, rotates all colors toward red.
Rotating the outer ring of the color wheel (left) changes the hue angle (right).
•
To shift the colors toward a target color with gain and magnitude adjustment, drag the Balance Magnitude circle
out from the center toward the color you want introduced into the image. The farther you drag the Balance
Magnitude from the center, the introduced color is more intense. Drag the Balance Gain handle to fine-tune the
intensity of the Balance Magnitude adjustment. You can make the adjustment very subtle.