Adobe Premiere Pro CS4 User Manual
Page 366
360
USING ADOBE PREMIERE PRO CS4
Effects and transitions
Last updated 11/6/2011
Auto Contrast
Applies both the Auto Black Level and Auto White Level simultaneously. This makes the highlights
appear darker and shadows appear lighter.
Auto White Level
Lowers the white levels in a clip so the lightest levels do not exceed 100 IRE. A portion of the
highlights is clipped and the intermediate pixel values are redistributed proportionately. As a result, using Auto White
Level darkens the highlights in an image.
Black Level, Gray Level, White Level
Sets the levels for darkest shadow, midtone gray, and lightest highlight using the
different Eyedropper tools to sample a target color in the image or anywhere on your monitor’s desktop. You can also
click the color swatch to open the Adobe Color Picker and select a color to define the black, midtone gray, and white.
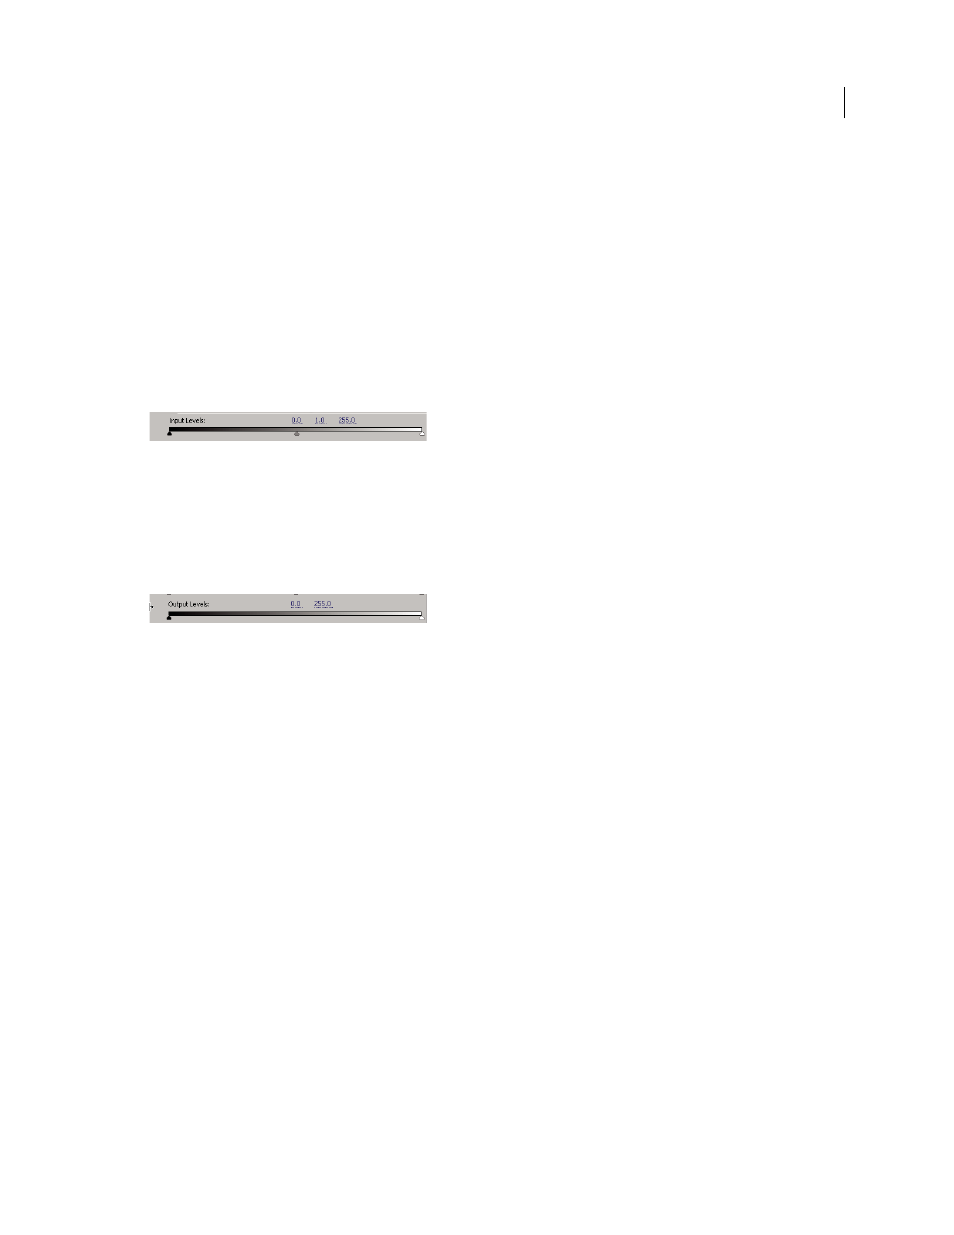
Input Levels
The outer two Input Levels sliders map the black point and white point to the settings of the Output
sliders. The middle Input slider adjusts the gamma in the image. It moves the midtone and changes the intensity values
of the middle range of gray tones without dramatically altering the highlights and shadows.
Input Levels slider
Output Levels
Map the black point and white point input level sliders to specified values. By default, the Output sliders
are at level 0, where the shadows are completely black, and level 255, where the highlights are completely white. So, in
the default position for the Output sliders, moving the black input slider maps the shadow value to level 0, and moving
the white point slider maps the highlight value to level 255. The remaining levels are redistributed between levels 0 and
255. This redistribution increases the tonal range of the image, in effect increasing the overall contrast of the image.
Output Levels slider
Input Black Level, Input Gray Level, Input White Level
Adjust the black point, midtone, and white point input levels
for the highlights, midtones, or shadows.
Output Black Level, Output White Level
Adjust the mapped output levels for the input black and input white levels for
the highlights, midtones, or shadows.
Secondary Color Correction
Specifies the color range to be corrected by the effect. You can define the color by hue,
saturation, and luminance. Click the triangle to access the controls.
Note: Choose Mask from the Output menu to view the areas of the image that are selected as you define the color range.
Center
Defines the central color in the range that you’re specifying. Select the Eyedropper tool and click anywhere on
your screen to specify a color, which is displayed in the color swatch. Use the + Eyedropper tool to extend the color
range, and use the – Eyedropper tool to subtract from the color range. You can also click the swatch to open the Adobe
Color Picker and select the center color.
Hue, Saturation, and Luma
Specify the color range to be corrected by hue, saturation, or luminance. Click the triangle
next to the option name to access the threshold and softness (feathering) controls to define the hue, saturation, or
luminance range.
Soften
Makes boundaries of the specified area more diffuse, blending the correction more with the original image. A
higher value increases the softness.
Edge Thinning
Makes the specified area more sharply defined. The correction becomes more pronounced. A higher
value increases the edge definition of the specified area.
Invert Limit Color
Corrects all colors except for the color range that you specified with the Secondary Color Correction
settings.