Adobe Premiere Pro CS4 User Manual
Page 318
312
USING ADOBE PREMIERE PRO CS4
Effects and transitions
Last updated 11/6/2011
6
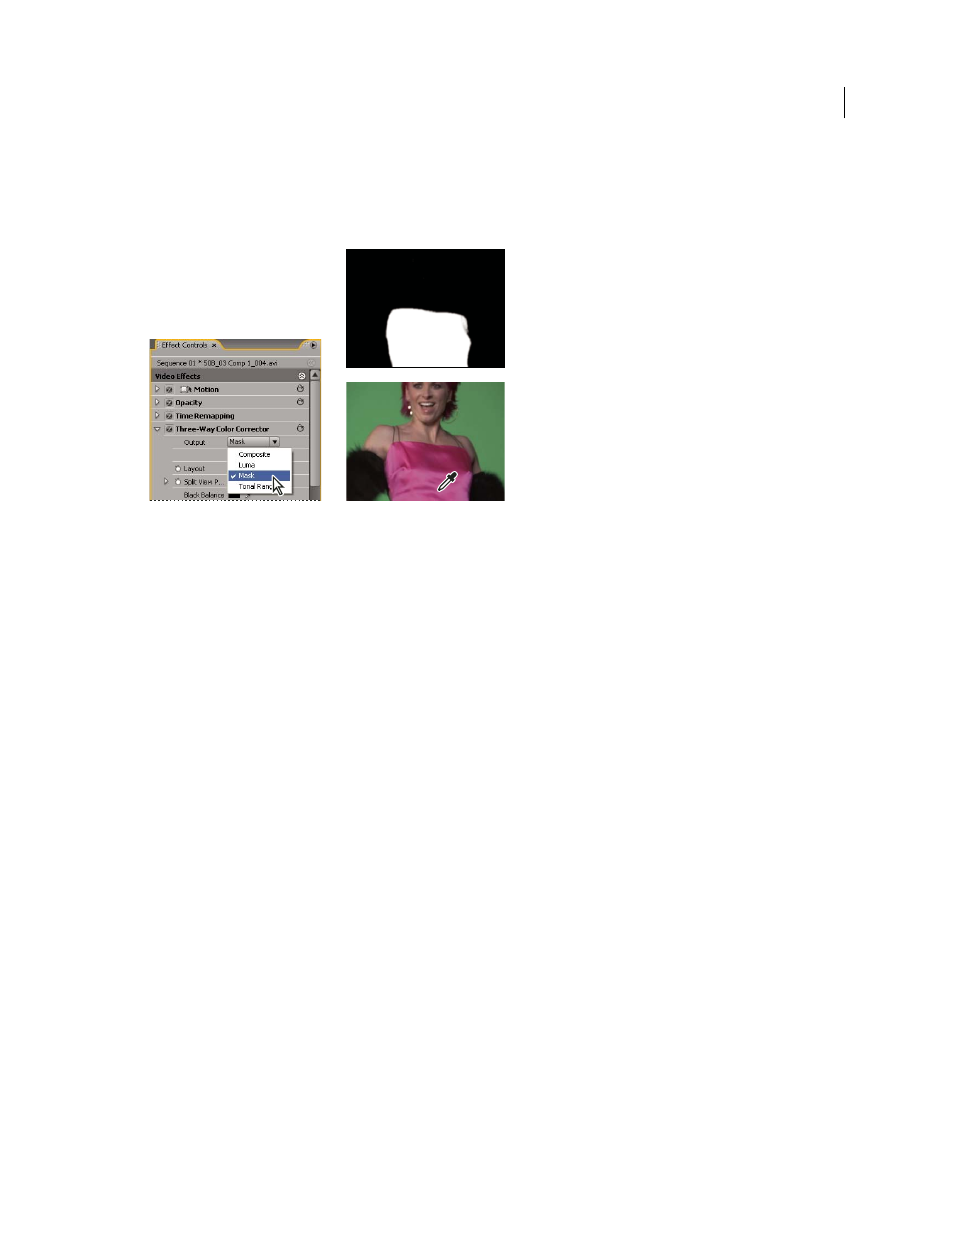
(Optional) Choose Mask from the Output menu to view the areas selected for adjustment. White represents areas
that allow 100% color correction, and black represents areas protected (masked) from color correction. The gray
areas allow partial application of the color correction. This Mask view updates as you make further adjustments to
the Secondary Color Correction controls.
Choosing Mask from Output menu to display selected areas (white) and protected areas (black).
7
Use the following controls to specify how a color correction is applied to a color or range of colors:
Soften
Applies a Gaussian blur to the selected area generated by the Secondary Color Correction controls. The range
is from 0 to 100, and the default setting is 50. This control is useful for softening the application of the color correction
to selected areas so that it blends with the rest of the image.
Edge Thinning
Thins or spreads the edge of the selected area generated by the Secondary Color Correction controls.
The range is from –100 (thin, sharply defined edges) to +100 (spread, diffused edges). The default value is 0.
8
Select the Invert Limit Color option to adjust all colors except the range that you specified using the Secondary
Color Correction controls.
More Help topics