Chapter 3: workflows and system setup, Basic workflow – Adobe Premiere Pro CS4 User Manual
Page 25
19
Last updated 11/6/2011
Chapter 3: Workflows and system setup
The steps you take in editing video, from import or capture through final output, make up your workflow. The basic
workflow describes the most general steps you would take with most projects. Specific types of workflows, such as the
P2 workflow or the cross-platform workflow, explain the noteworthy settings, variations, or issues specific to each type.
Reviewing the entire workflow for a production before creating a new project and first sequence can help you optimize
Premiere Pro for the needs of that production. It can also help you plan for the special needs your program may have
at any particular step. For example, if you consider, before you begin, what type of footage you will need to capture at
the third step of a workflow, or whether you will need to export video for playback on phones at the last step, you will
be able to select the best sequence presets for your production at the start.
Basic workflow
Whether you use Premiere Pro to edit video for broadcast, DVD, or the web, you’re likely to follow a similar workflow.
For a video overview of the basic workflow, see the
. This video was created for Premiere Pro
CS3, but the basic workflow is the same for the current version.
1.
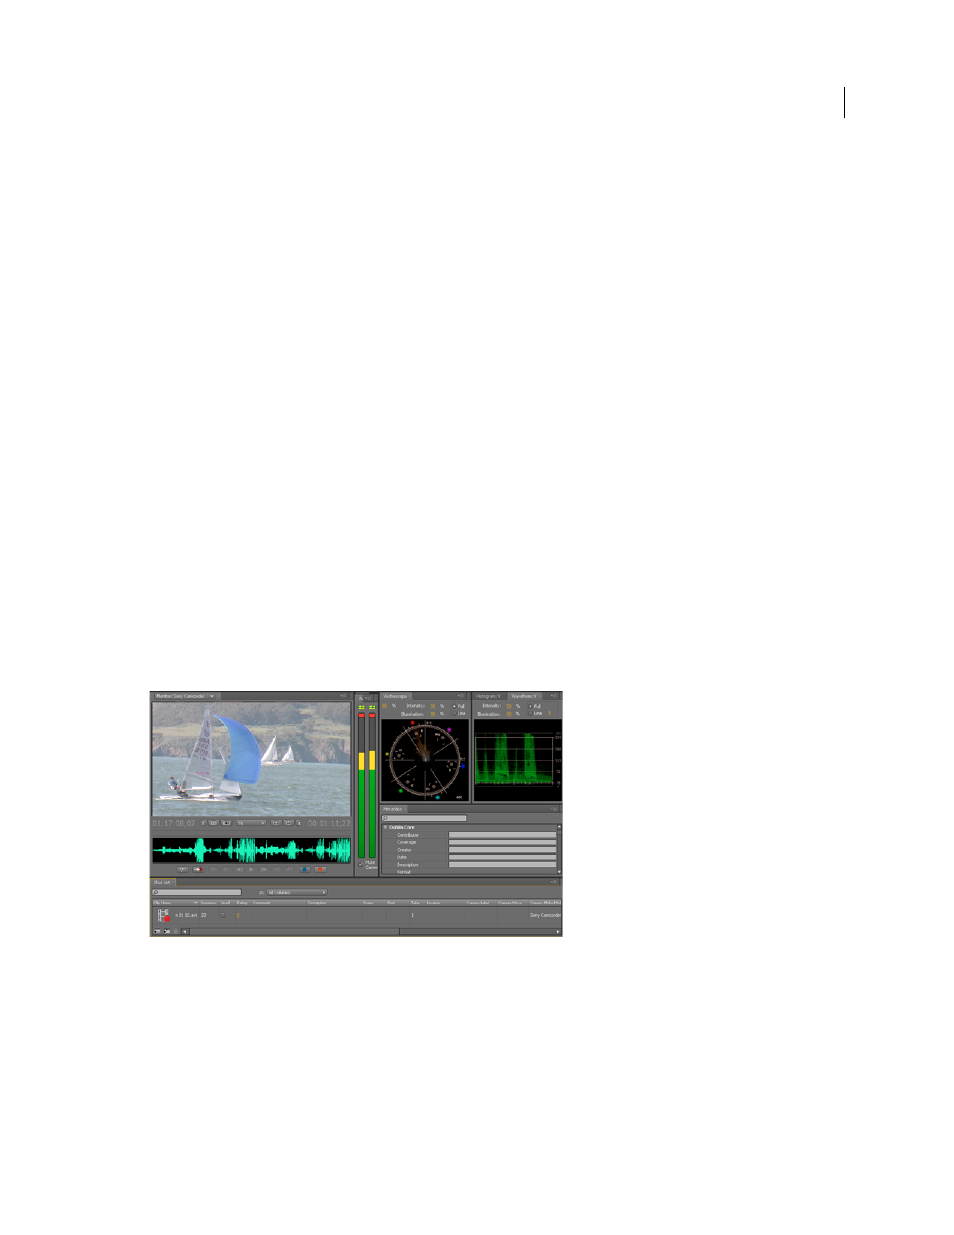
Shoot video with Adobe OnLocation
Adjust the video signal coming from your camcorder before you shoot, and then shoot directly to your hard drive with
Adobe® OnLocation™, the signal monitoring application bundled with Premiere Pro.
Adobe OnLocation
2.
Start or open a project
Open an existing project, or start a new one from the Premiere Pro Quick--start screen. When starting a new project,
you can specify the television standard, video format, and other settings for your project. (See “