Change clip speed and duration with the, Rate stretch tool – Adobe Premiere Pro CS4 User Manual
Page 296
290
USING ADOBE PREMIERE PRO CS4
Effects and transitions
Last updated 11/6/2011
Changing clip speed omits or repeats the source frames during playback, thereby making the clip play faster or slower.
A change in speed results in a corresponding change in duration, unless the clip is simultaneously trimmed. You can,
for example, ungang speed from duration in the Clip Speed/Duration dialog box. Then, when you increase the speed,
Premiere Pro uses more of the clip to fill the duration between the In point and the Out point. When you decrease the
speed, Adobe Premiere Pro uses less of the clip to fill the duration.
You can ungang speed and duration with more than one clip selected. Then, you can change the duration of the clips.
For example, you can change the speeds only enough to make all the clips last the same duration.
When you change the speed of a clip containing interlaced fields, you can adjust how Premiere Pro treats the fields.
Consider making this adjustment especially when the speed drops below 100% of the original speed. (See “
interlaced or non-interlaced clips
The duration of a clip is the length of time it takes to play from the In point to the Out point. You can set a duration
for video or audio clips, letting them speed up or slow down to fill the duration. You can do the same for still-image
clips, but without the changes in speed.
You can change the speed and duration for one or more clips at a time.
You can also set clip speed to fill a duration by performing a four-point edit.
1
In a Timeline panel or Project panel, select one or more clips. Shift-click to select clips in a Timeline panel or a
contiguous group in a Project panel. Ctrl-click (Windows) or Command-click (Mac OS) clips to select a non-
contiguous group of clips in a Project panel. To change speed or duration of all the clips in a bin in the Project panel
and its nested bins, select the bin. The change does not affect non-media clips, such as Sequences and offline clips,
in the bin.
2
Choose Clip > Speed/Duration.
3
Do any of the following:
•
To change the duration without changing the speed of the selected clips, click the gang button so that it shows a
broken link
. Unganging also allows you to change the speed without changing the duration.
The speed remains at the percentage set while you trim the clip or clips. Alternatively, the duration remains at the
percentage set while you change the speed of the clip or clips.
•
To play the clips backward, check Reverse Speed.
•
To keep the audio at its current pitch while the speed or duration changes, check Maintain Audio Pitch.
•
To keep the clips following the changing clips adjacent to them, click Ripple Edit, Shifting Trailing Clips. (This
option is available only when changing the speed or duration of clips in a Timeline panel.)
4
Click OK.
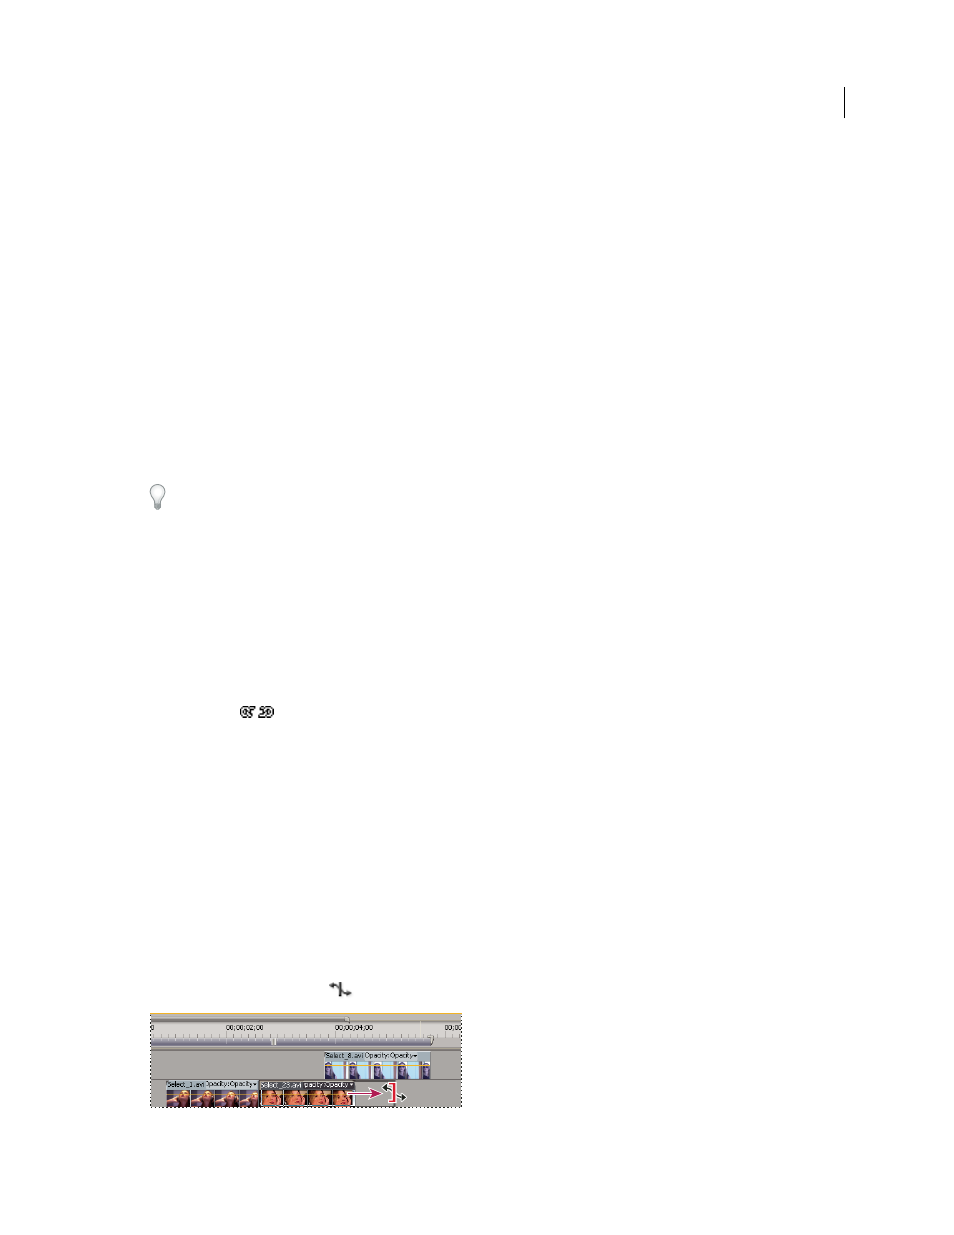
Change clip speed and duration with the Rate Stretch tool
You can change a clip’s speed to fit a duration.
❖
Select the Rate Stretch tool
, and drag either edge of a clip in a Timeline panel.
Changing clip speed using the Rate Stretch tool