Select a preset for a vst effect, Recording audio mixes, About recording audio changes – Adobe Premiere Pro CS4 User Manual
Page 231: Record changes to sound tracks

225
USING ADOBE PREMIERE PRO CS4
Editing Audio
Last updated 11/6/2011
Note: The option controls for VST plug-in effects are also available at the bottom of the Effects And Sends panel.
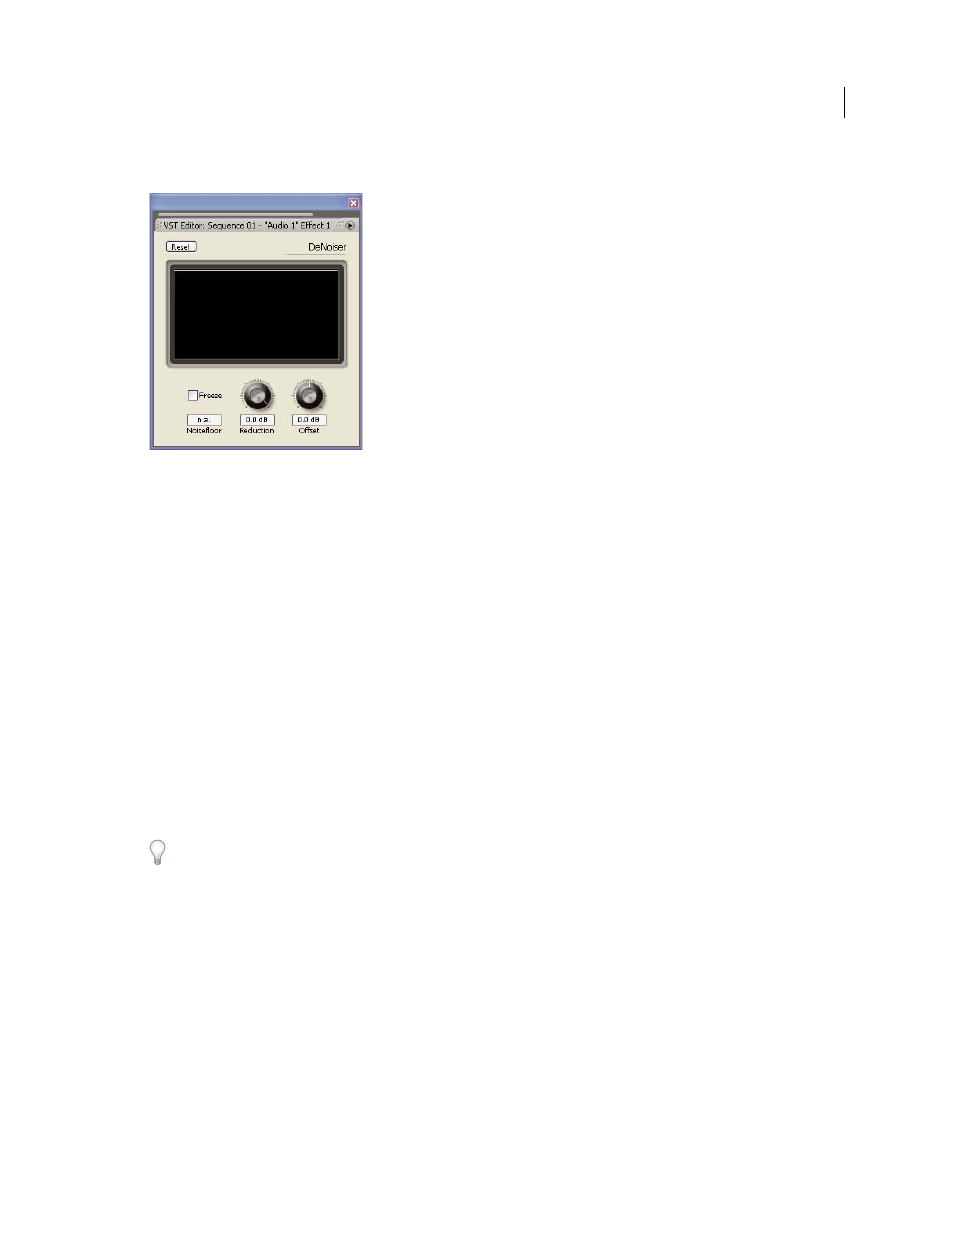
VST Editor panel for DeNoiser effect
Select a preset for a VST effect
❖
Right-click (Windows) or Control-click (Mac OS) the effect name in the Effects And Sends panel of the Audio
Mixer, and choose a preset listed at the bottom of the menu.
Note: If an effect doesn’t support presets, Default is the only choice. Default resets all option values for the effect.
Recording audio mixes
About recording audio changes
Using the Audio Mixer, you can apply changes to audio tracks as a sequence plays back. You can instantly hear the
results of any changes you make. You can control the volume, pan, and mute settings of a track or its sends. You can
control all effect options for track effects, including the bypass setting.
The Audio Mixer records the changes as track keyframes in the audio tracks. It doesn’t make changes to the source
clips.
It’s best to make adjustments to multitrack sequences one track at a time. Ride the controls on one track while playing
a sequence. Then play it again from the beginning while riding the controls on another track. The changes you made
to the first track are preserved if you set the track’s automation setting to Off or Read.
More Help topics
Record changes to sound tracks
Each channel of the Audio Mixer corresponds to an audio track in the Timeline. You can use the controls in each
Audio Mixer channel to record changes to its corresponding audio track. For example, to vary the volume level of clips
in the Audio 1 track, use the Volume slider in the Audio 1 channel of the Audio Mixer.
1
In a Timeline panel or Audio Mixer panel, set the current time to the point where you want to start recording
automation changes.
