Chapter 8: editing sequences and clips, Creating and changing sequences, About timeline panels – Adobe Premiere Pro CS4 User Manual
Page 133: Open additional timeline panels
127
Last updated 11/6/2011
Chapter 8: Editing sequences and clips
In Premiere Pro, you specify the settings for each sequence, trim your clips, and assemble clips in sequences.
Every Premiere Pro project can contain one or more sequences, and each sequence in a project can have settings
different from the settings for the others. For example, one project can contain one sequence optimized for 30 fps
widescreen DV assets, another for standard 24 fps DV assets, and still another for HDV footage.
Creating and changing sequences
About Timeline panels
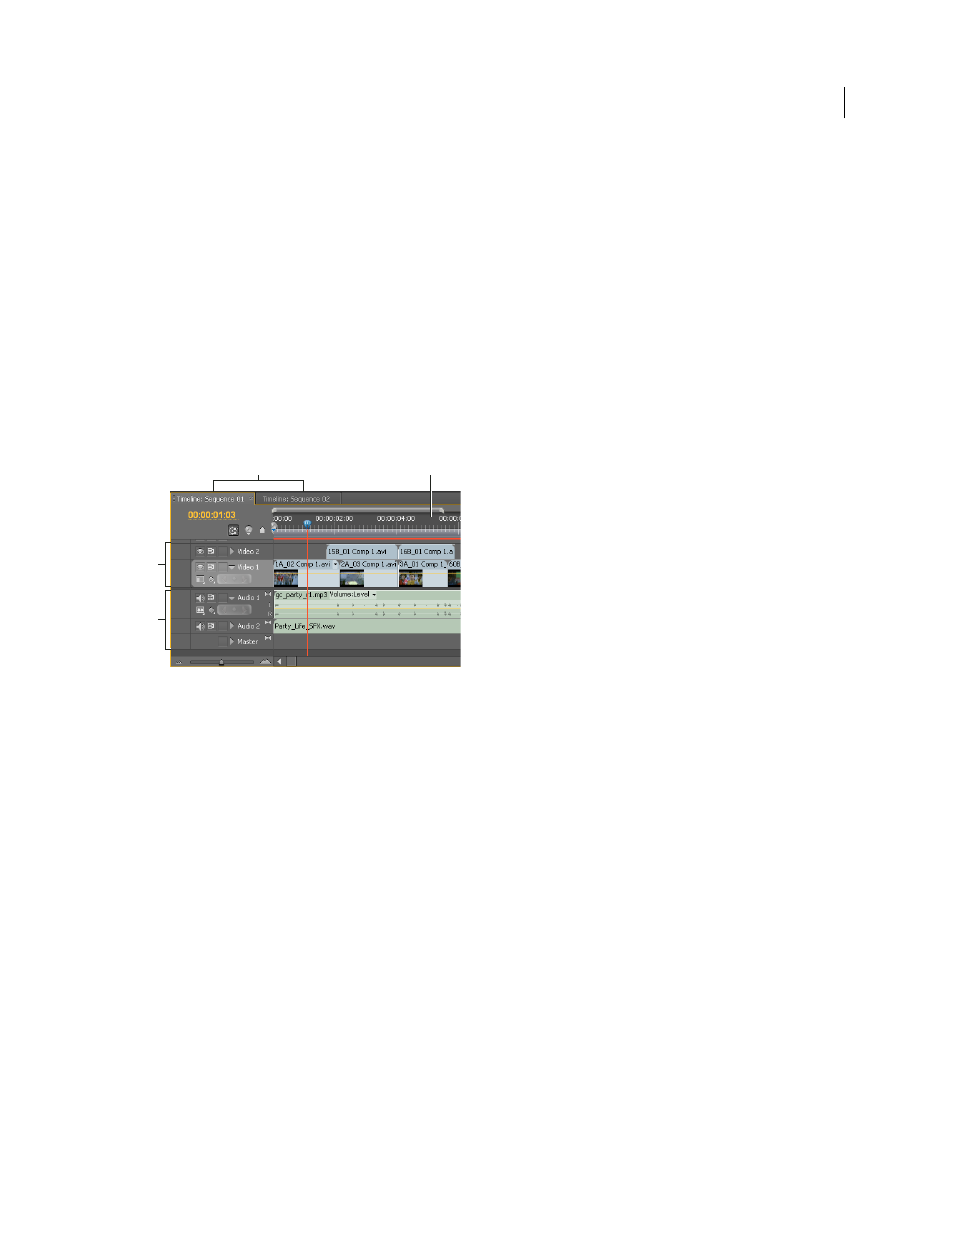
Timeline panel
A. Sequence tabs B. Time ruler C. Video tracks D. Audio tracks
A single Timeline panel appears in a frame in the lower central portion of the screen when you first launch Premiere
Pro, open any of its default workspaces, or create a project. You can remove all sequences from a Timeline panel, or
add multiple sequences to it, each appearing as a tab within that Timeline panel. You can also open multiple Timeline
panels, each within its own frame, with each containing any number of sequences.
More Help topics
About audio tracks in a sequence
Play video in the Source Monitor and Program Monitor
Open additional Timeline panels
You can open more than one Timeline panel if you have more than one sequence in a project.
1
Open more than one sequence. For more information about opening sequences see “
Each will appear in its own tab in the default Timeline panel.
2
Drag a sequence tab and drop it into another docking area.
The sequence tab appears in a new Timeline panel.
A
B
C
D