Tips for importing omf files into pro tools – Adobe Premiere Pro CS4 User Manual
Page 457

451
USING ADOBE PREMIERE PRO CS4
Exporting
Last updated 11/6/2011
5
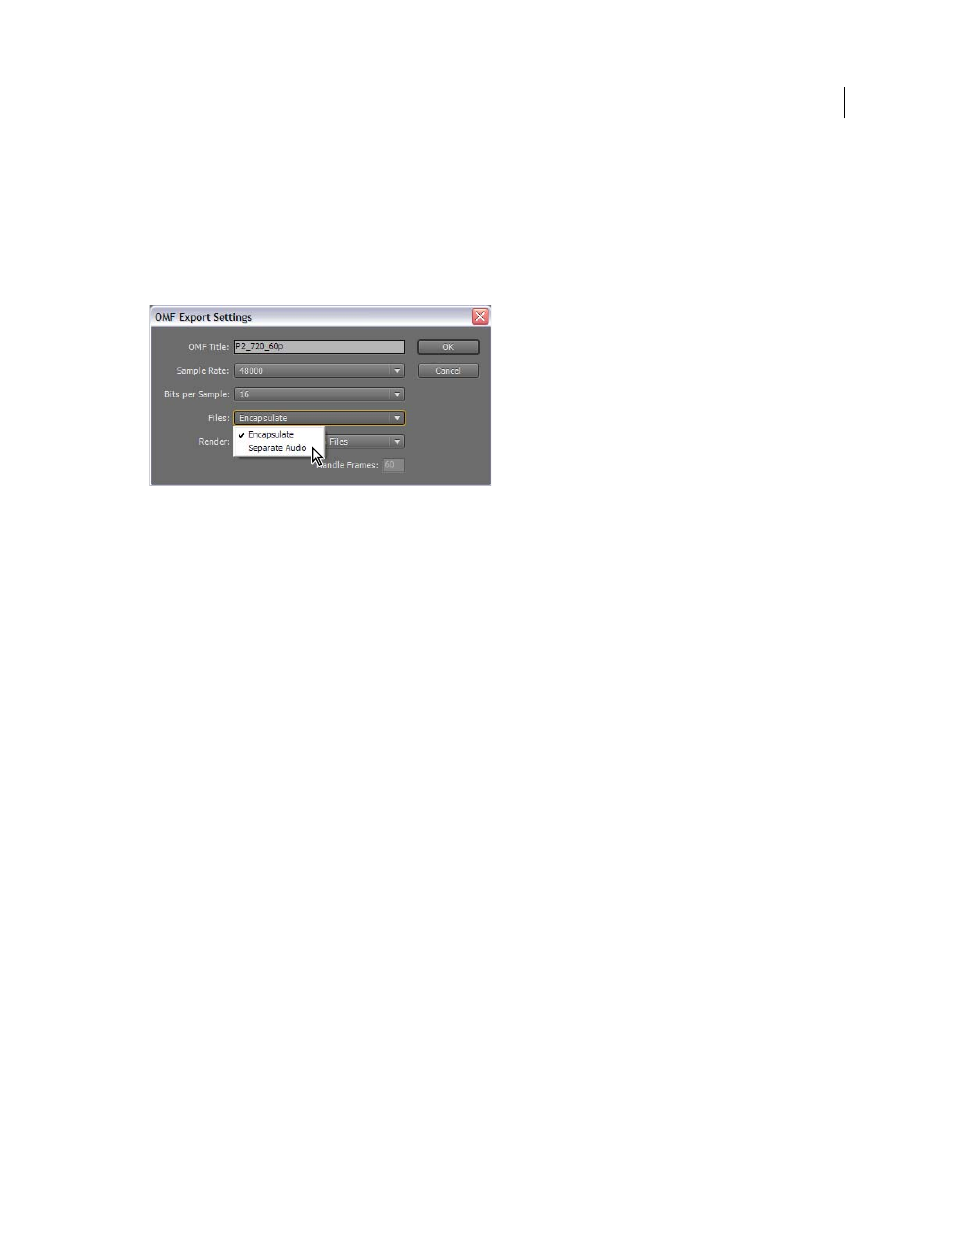
From the Files menu, choose one of the following:
Encapsulate
With this setting, Premiere Pro exports an OMF file containing the project metadata and all the audio for
the selected sequence. Encapsulated OMF files typically are large.
Separate Audio
With this setting, Premiere Pro exports individual mono AIF files into an _omfiMediaFiles folder.
The folder name contains the OMF filename. Using AIF files assures maximum compatibility with legacy audio
systems.
Selecting the Separate Audio option in the OMF Export Settings dialog box
6
From the Render menu, choose one of the following:
Copy Complete Audio Files
With this setting, Premiere Pro exports audio for the entirety of each clip used in the
sequence, no matter how many times the clip is used nor how many parts of the clip are used.
Trim Audio Files
With this setting, Premiere Pro exports only the portions of each clip that are used in the sequence:
the clip instances. You can choose to export each clip instance with extra length, handles, added to the start and end of
the file.
7
In the Handle Frames field, specify the length of the handles, in video frames. This amount of time is added to the
start and end of the exported files when you choose Consolidate Media. The default setting is one second, in frames,
at the sequence frame rate. If the length of the handles you specify exceeds the length of the clip instance, Premiere
Pro exports the whole clip instance.
8
Launch Pro Tools, and import the OMF file. For more information on importing files into Pro Tools, see Pro Tools Help.
Tips for importing OMF files into Pro Tools
In the DigiTranslator dialog box:
•
Deselect Pan Odd Tracks Left/Even Tracks Right.
•
For automatic gain control, select Convert Clip Based Gain To Automation.
•
Leave Sample Rate Conversion deselected, unless you need sample rate conversion.
In the Missing Files dialog box:
•
Change the default setting to Manually Find And Relink, and press OK.
•
Deselect all options.
•
Navigate to the
