Adobe Premiere Pro CS4 User Manual
Page 323
317
USING ADOBE PREMIERE PRO CS4
Effects and transitions
Last updated 11/6/2011
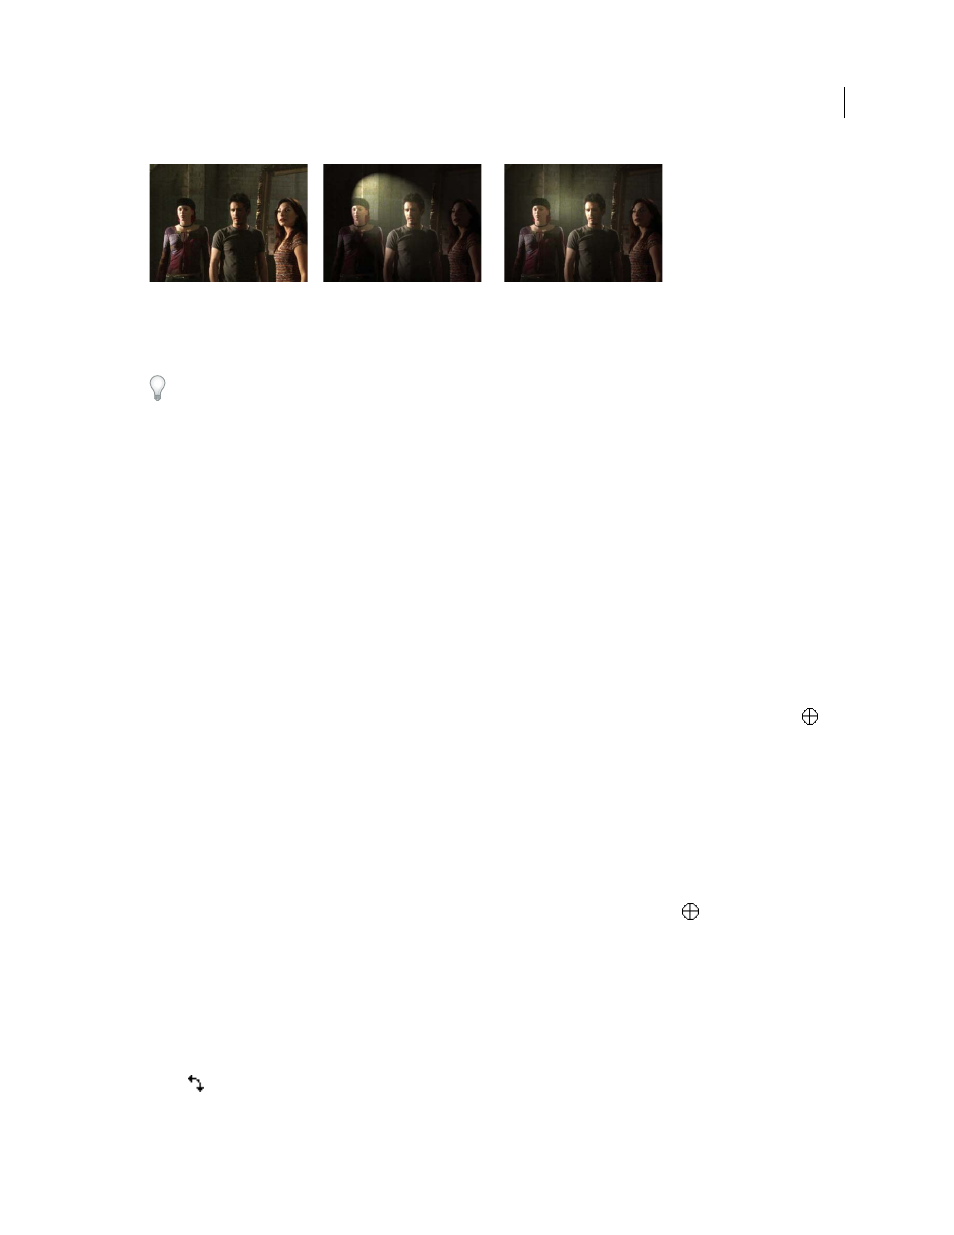
Lighting Effects: Original image (left), Spotlight applied to image (center), and Omnilight applied to image (right)
1
In the Effects panel, expand the Video Effects bin, expand the Adjust bin, and then drag the Lighting Effects onto
a clip in a Timeline panel.
If a clip is already selected in a Timeline panel, you can drag the Lighting Effects directly to the Video Effects section
of the Effect Controls panel.
2
In the Effect Controls panel, click the triangle to expand the Lighting Effects.
3
Click the triangle to expand Light 1.
4
Choose a light type from the menu to specify the light source:
None
Turns off a light.
Directional
Shines light from far away so that the light angle doesn’t change—like the sun.
Omni
Shines light in all directions from directly above the image—like a light bulb over a piece of paper.
Spotlight
Casts an elliptical beam of light.
5
To specify a color for the light, do one of the following:
•
Click the color swatch, select a color using the Adobe Color Picker, and then click OK.
•
Click the Eyedropper icon and then click anywhere on the computer desktop to select a color.
6
(Optional) Click the Transform icon to display the light’s handles and Center circle in the Program Monitor. You
can directly manipulate the position, scale, and rotation of a light by dragging its handles and Center circle
.
Note: If you have more than one light, Center circles for each light appear in the Program Monitor. Clicking a Center
circle displays the handles for a specific light.
7
In the Effect Controls panel, use the following controls to set the properties for the individual source light:
Center
Moves the light using X and Y coordinate values for the center of the light. You can also position a light by
dragging its Center circle in the Program Monitor.
Major Radius
Adjusts the length of an Omni light or Spotlight. You can also drag one of the handles in the Program
Monitor.
Projected Radius
Adjusts the proximity of a Directional light’s source to the Center circle
. A value of 0 positions
the light at the Center circle and floods the image with light. A value of 100 moves the light source far from the Center
circle, decreasing the light falling on the image. In the Program Monitor, you can also drag the light source point to
adjust its distance from the Center circle.
Minor Radius
Adjusts the width of a Spotlight. Once the light becomes a circle, increasing the Minor Radius also
increases the Major Radius. You can also drag one of the handles in the Program Monitor to adjust this property.
Angle
Changes the direction of a Directional light or Spotlight. Adjust this control by specifying a value in degrees.
You can also move the pointer outside a handle in the Program Monitor until it turns into a double-headed curved
arrow
, and then drag to rotate the light.
Intensity
Controls whether a light is bright or less intense.