Add and remove clips, Adding clips overview, 99 add and remove clips 99 – Apple Final Cut Pro X (10.1.2) User Manual
Page 99: 99 and
Chapter 7
Edit your project
99
Navigate between selections in an event
m
To go to the start of the range selection: Choose Mark > Go to > Range Start (or press Shift-I).
Repeat this command to go to the start of the previous range selection, or to the start of the clip.
m
To go to the end of the range selection: Choose Mark > Go to > Range End (or press Shift-O).
Repeat this command to go to the end of the next range selection, or to the end of the clip.
m
To select the previous clip (or its ranges): Press Up Arrow.
To add to the selection, press Shift–Up Arrow.
m
To select the next clip (or its ranges): Press Down Arrow.
To add to the selection, press Shift–Down Arrow.
Add and remove clips
Adding clips overview
You build a movie project by adding clips to the Timeline in a chronological arrangement. To suit
your particular editing style or need, you can choose from a wide variety of tools and techniques
for adding clips. You can change the arrangement of the clips in the Timeline at any time.
In Final Cut Pro, you can edit your projects without worrying about maintaining clip connection
or synchronization. For example, when you drag a clip into the Timeline, Final Cut Pro
automatically rearranges the Timeline to fit each new clip without disturbing your existing work.
This is true for all kinds of clips: video, audio, titles, generators, still images, and so on.
You can use clips from multiple events in a single project. You can also add clips from the
Final Cut Pro media browsers and from the Finder. Deleting clips from the Timeline does not
affect clips or files in the Browser, the media browsers, or the Finder.
Connected clips and storylines remain attached to, and synchronized with, clips in the primary
storyline until you explicitly move or remove them.
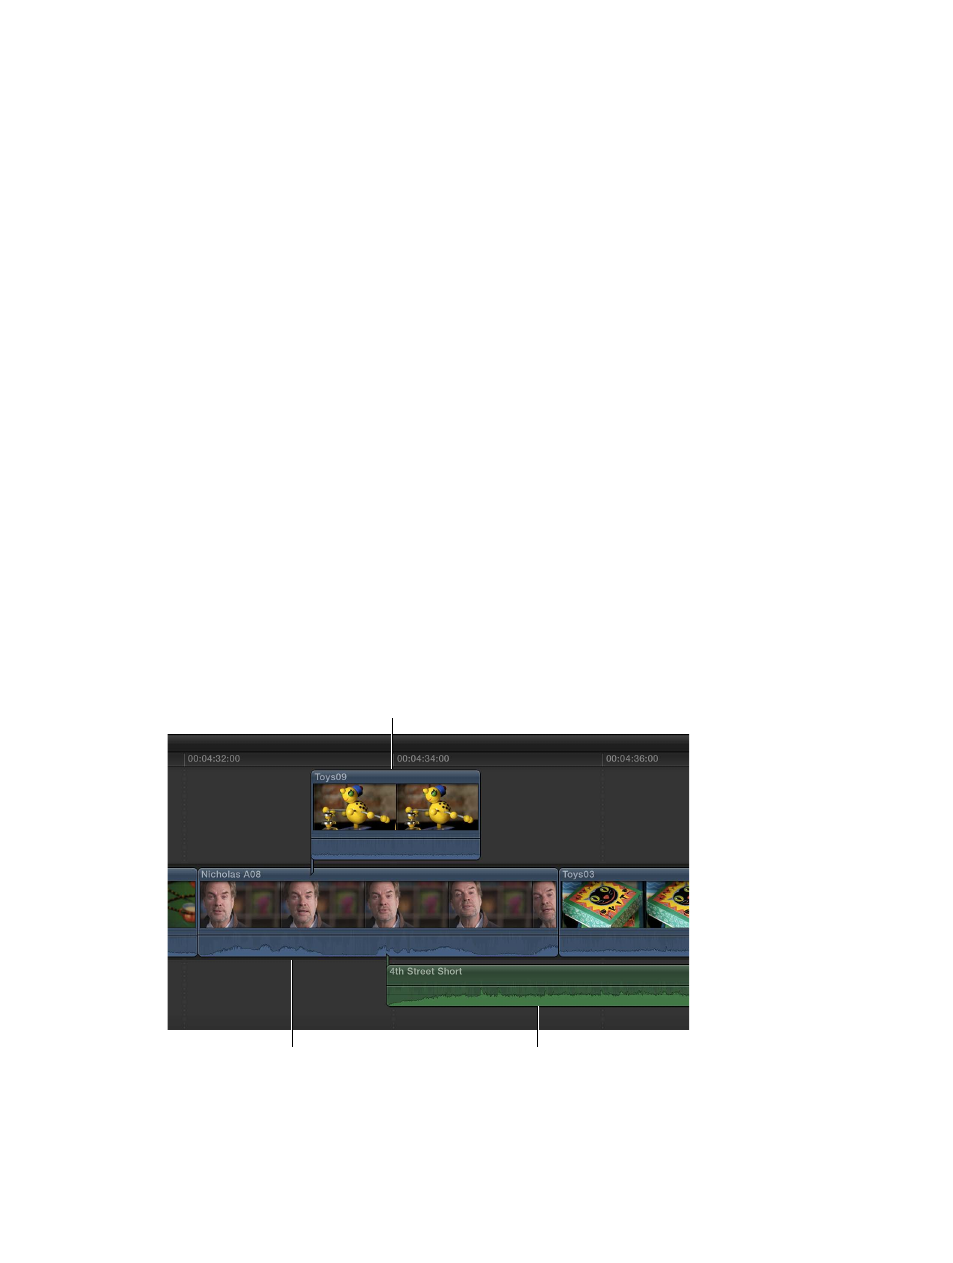
Connected clip
Connected
audio-only clip
Primary storyline
67% resize factor