Apple Final Cut Pro X (10.1.2) User Manual
Page 356
Chapter 11
Keying and compositing
356
3
Select the foreground clip in the Timeline, and click the Effects button in the toolbar.
Tip: For best results, also position the playhead at a point within the foreground clip that shows
the maximum amount of the color to be keyed.
4
In the Effects Browser, select the Keyer effect.
Tip: Type “keyer” in the Effects Browser’s search field to quickly find the Keyer effect.
5
Do one of the following:
•
Drag the effect to the Timeline foreground clip to which you want to apply it.
•
Double-click the effect thumbnail to apply it to the selected clip.
The Keyer effect automatically analyzes the video to detect a green or blue dominant color
and configures itself to remove that color. If the resulting key is not right or you would like to
improve it, you can adjust the chroma key effect.
Adjust the chroma key effect
The following steps assume you have applied the chroma key effect.
1
In the Timeline, select the foreground clip with the Keyer effect, and open the Video inspector.
Controls for modifying and improving the Keyer effect appear.
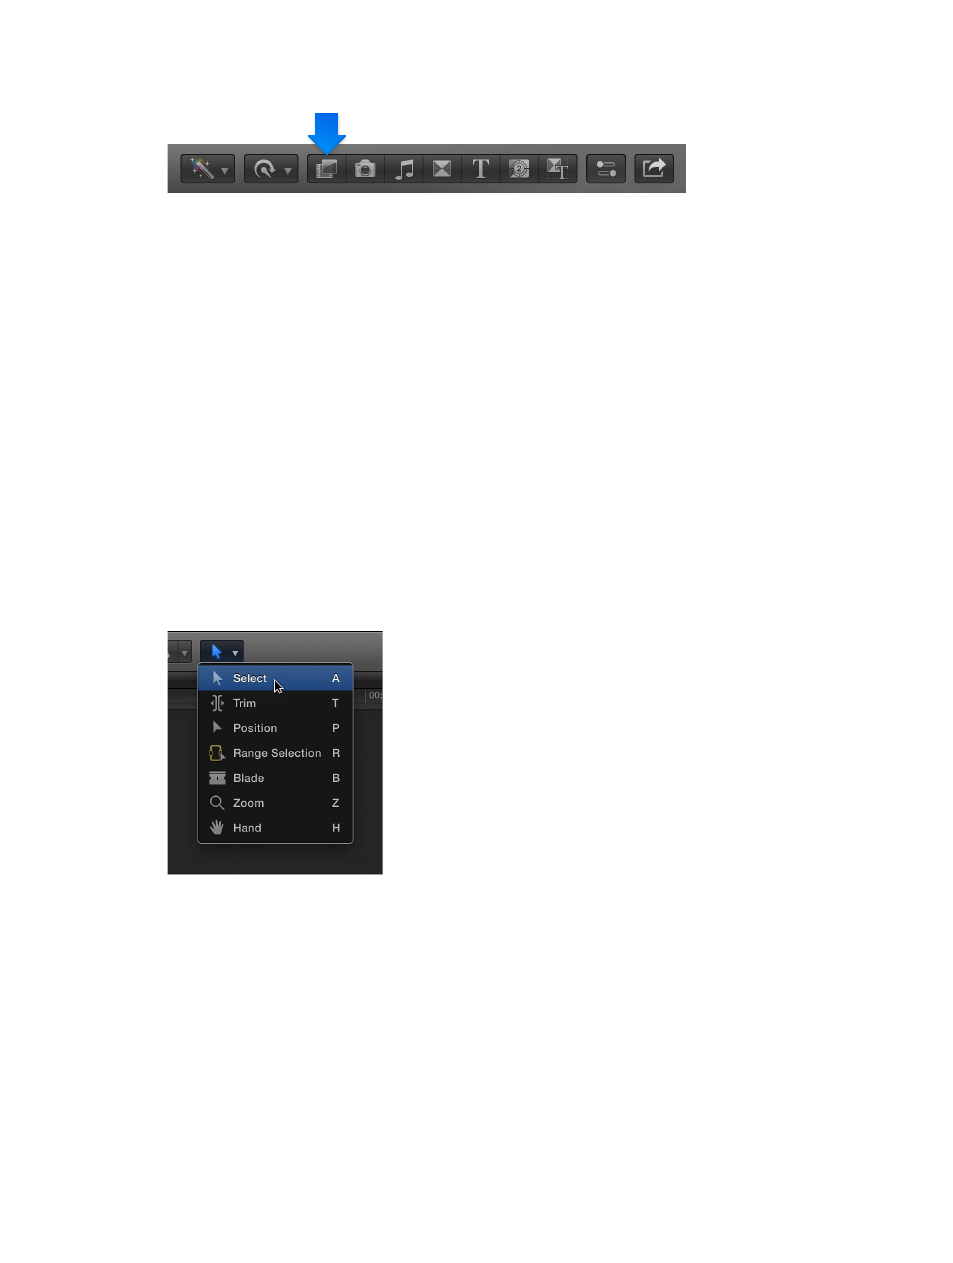
2
If the Select tool is not the active tool, choose it from the Tools pop-up menu in the toolbar (or
press A).
3
To improve the key using controls in the Viewer, use the Refine Key and Strength controls to do
any of the following:
•
To identify areas of the foreground clip that might still have some of the chroma key color showing:
Click the Sample Color thumbnail image in the Video inspector and draw a rectangle in the
Viewer over the area where the chroma key color needs to be removed.
67% resize factor