Find a timeline clip’s source clip – Apple Final Cut Pro X (10.1.2) User Manual
Page 116
Chapter 7
Edit your project
116
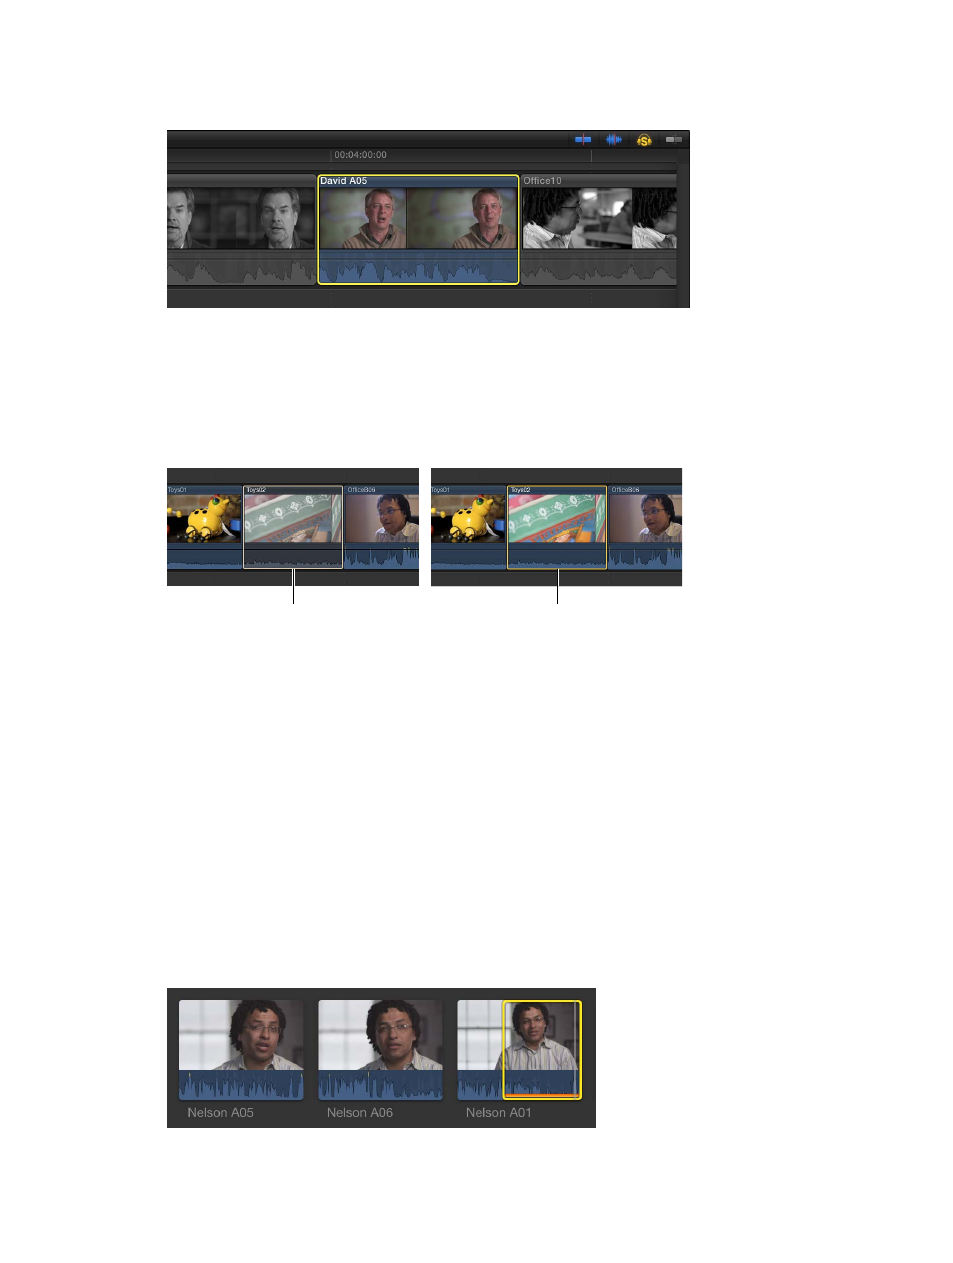
When solo is turned on, the Solo button turns yellow, and nonsoloed clips are shown in black
and white, making the soloed clips outlined in yellow easy to identify.
3
To turn off solo, click the Solo button again.
Disable and reenable one or more clips
1
Select one or more clips in the Timeline.
2
Choose Clip > Disable (or press V).
Disabled clips are dimmed in the Timeline and are invisible and silent during playback.
Disabled clip
Enabled clip
3
To reenable the disabled clips, select them in the Timeline and choose Clip > Enable (or press V).
Find a Timeline clip’s source clip
You can quickly find the source event clip for any clip you’re using in your project in the Timeline.
This is particularly useful if you want to duplicate a clip in your project or add the same clip to a
different project.
Find and reveal the source event clip for a Timeline clip
1
In the Timeline, select the clip whose source event clip you want to locate.
2
Do one of the following:
•
Choose File > Reveal in Browser (or press Shift-F).
•
Control-click the clip and choose Reveal in Browser from the shortcut menu.
A selection border appears around the source clip or range in the Browser, and the playhead
position in the source clip matches the playhead position in the Timeline clip. An orange line
along the bottom of the source clip indicates that the clip is being used in the current project
(open in the Timeline).
67% resize factor