Apple Final Cut Pro X (10.1.2) User Manual
Page 197
Chapter 8
Edit audio
197
•
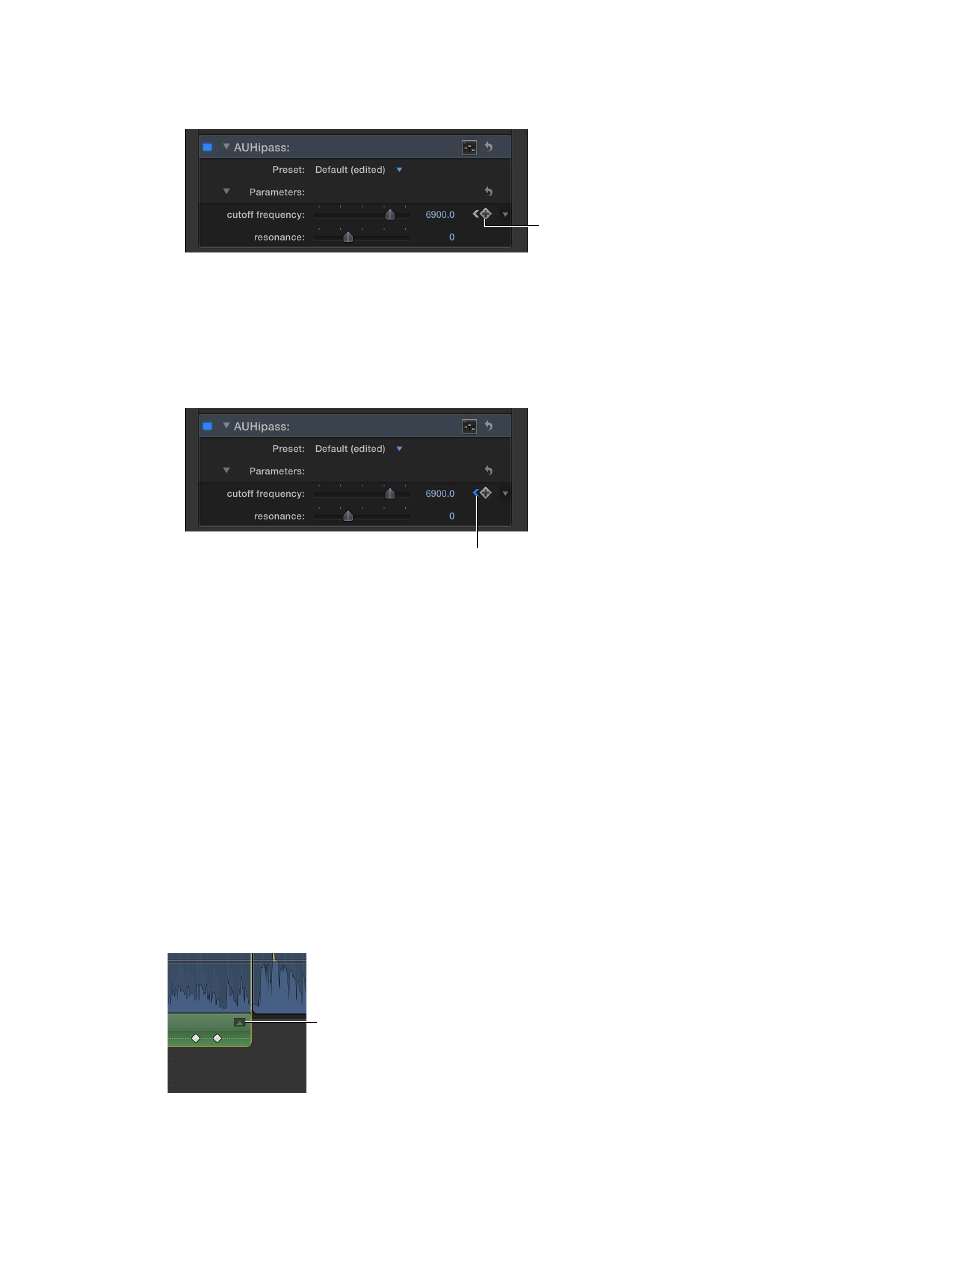
In the Audio inspector: Position the playhead in the Timeline at the point where you want to
add a keyframe, and click the Keyframe button (or press Option-K).
Keyframe button
Once you add a keyframe, the Keyframe button changes to yellow, indicating that the
playhead currently sits on this keyframe.
When you move the playhead in the Timeline, arrows appear next to the Keyframe button
in the Audio inspector to indicate which side of the playhead has keyframes. To go to the
previous keyframe, click the left arrow or press Option-Semicolon (;). To go to the next
keyframe, click the right arrow or press Option-Apostrophe (‘).
Click an arrow to go to the
previous or next keyframe.
5
Add keyframes as needed.
Tip: After you’ve added one keyframe, you can add another automatically by moving the
playhead in the Timeline and then adjusting the effect parameter (or the Volume slider when
keyframing volume) in the Audio inspector.
Add keyframes automatically across a selected area
For volume adjustments to a clip in the Timeline, you can use the Range Selection tool to add
keyframes automatically across a selected range.
If an effect appears in the Audio Animation Editor with a disclosure button, you can use either
the Select or Range Selection tool to add keyframes across a selected area.
1
Do one of the following:
•
Select the clip in the Timeline, and choose Clip > Show Audio Animation (or press Control-A).
•
Control-click the clip in the Timeline, and choose Show Audio Animation from the shortcut menu.
If you’re adding keyframes for volume adjustment only, go to step 3.
2
Select an effect, and click the disclosure button to expand it in the Audio Animation Editor.
Disclosure button
67% resize factor