Apple Final Cut Pro X (10.1.2) User Manual
Page 44
Chapter 3
Import media
44
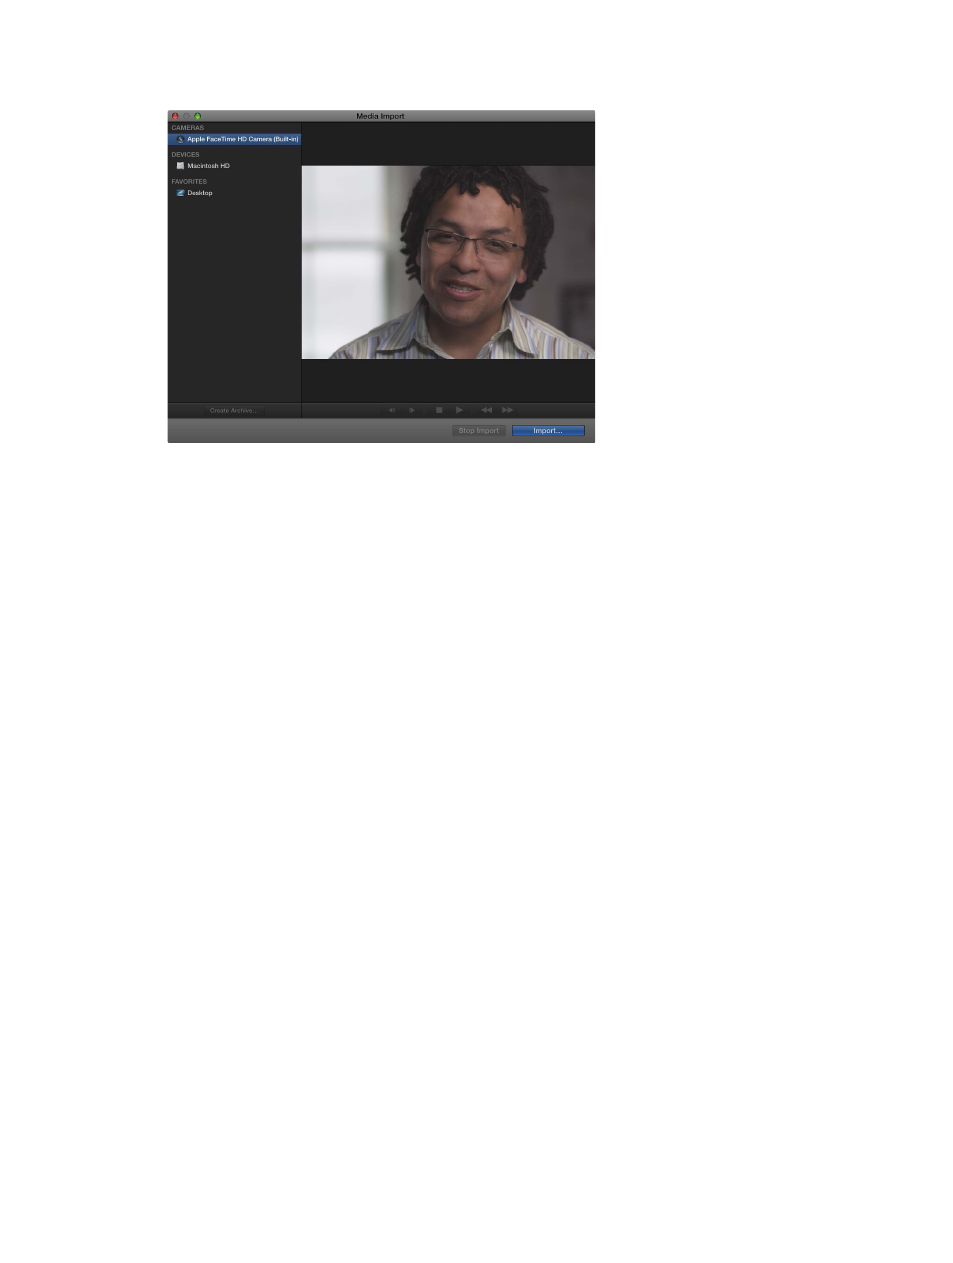
A live video image from the camera appears in the Media Import window.
3
Click Import.
4
In the window that appears, choose how you want to organize the imported media in your library:
•
To add the imported clips to an existing event: Select “Add to existing event,” and choose the
event from the pop-up menu.
•
To create a new event: Select “Create new event in,” use the pop-up menu to choose the
library in which you want to create the event, and type a name (for example, “Chris and Kim
Wedding”) in the text field.
To learn more about events, see
on page 56.
Note: You can set storage locations for each of your libraries using the Library Properties
inspector. For more information, see
on page 434.
5
If you want to create optimized or proxy media, analyze the video, or analyze the audio, select
the relevant checkboxes in the Transcoding, Keywords, Video, and Audio sections.
If you don’t set Final Cut Pro to analyze your media during the import process, you can analyze it
later (if necessary) in the Browser.
Note: Some import options are available only when you import files from a storage device. For
more information, see
Organize files while importing
on page 42 and
on
page 38.
6
When you’re ready to begin recording, click Import.
The camera begins recording immediately.
7
When you want to stop recording, click Stop Import.
A new video clip is created. You can click Import to begin recording again. You can repeat this
process as many times as necessary.
Tip: You can also capture live video from some video camcorders over a FireWire cable using
QuickTime X. For more information, see QuickTime Player Help (available from the Help menu
when QuickTime Player is open).
67% resize factor