Fade audio in or out – Apple Final Cut Pro X (10.1.2) User Manual
Page 176
Chapter 8
Edit audio
176
Adjust volume automatically across a selected area
For volume adjustments of a clip in the Timeline, you can use the Range Selection tool to add
keyframes automatically across a selected range.
1
Select the clip in the Timeline.
2
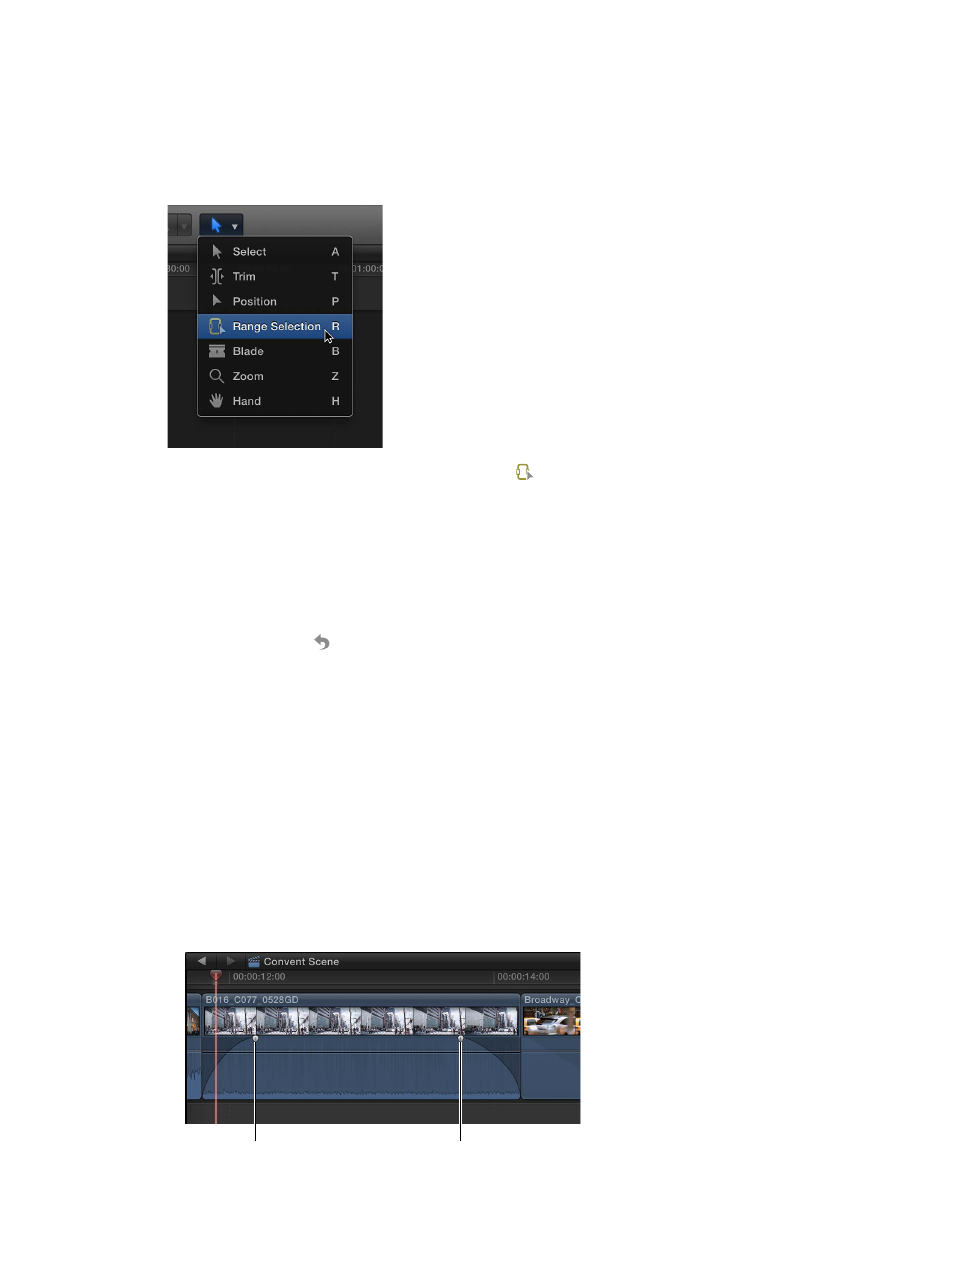
Choose Range Selection from the Tools pop-up menu in the toolbar (or press R).
The pointer changes to the Range Selection tool icon .
3
Drag across the area where you want to adjust the volume.
4
Adjust the volume within the range by dragging the horizontal control up or down.
Keyframes are automatically created along the adjustment points within the range.
Reset all volume adjustments
1
Select an audio clip or video clip with audio in the Browser or the Timeline.
2
Click the Reset button in the Volume and Pan section of the Audio inspector.
Fade audio in or out
There are several ways to create fade-ins or fade-outs on the audio portion of a clip or an audio
component in Final Cut Pro:
•
Automatic crossfades during transitions: When you add a transition to a video clip with attached
audio, Final Cut Pro automatically applies a crossfade transition to the audio. If the audio is
detached or expanded from the video, the audio is not affected by the video transition. See
Add transitions to your project
on page 214.
•
Crossfades: When trimming the audio waveform in clips, you can apply a crossfade to the edit
point. See
on page 122.
•
Fade handles: You can quickly create fade-ins and fade-outs on the audio portion of a clip or an
audio component in the Timeline by using fade handles, which appear in the top-left or top-
right corner of the audio waveform when you place the pointer over the clip.
Fade handle
Fade handle
67% resize factor