Manage multiple range selections in event clips, Manage multiple range selections in, Event clips – Apple Final Cut Pro X (10.1.2) User Manual
Page 97
Chapter 7
Edit your project
97
Manage multiple range selections in event clips
In the Browser, you can set multiple ranges within one or more clips, and you can select and
deselect ranges after you set them. For example, you might set multiple ranges in a long event
clip, and then deselect some of the ranges before adding all of the selected ranges to the
Timeline at once.
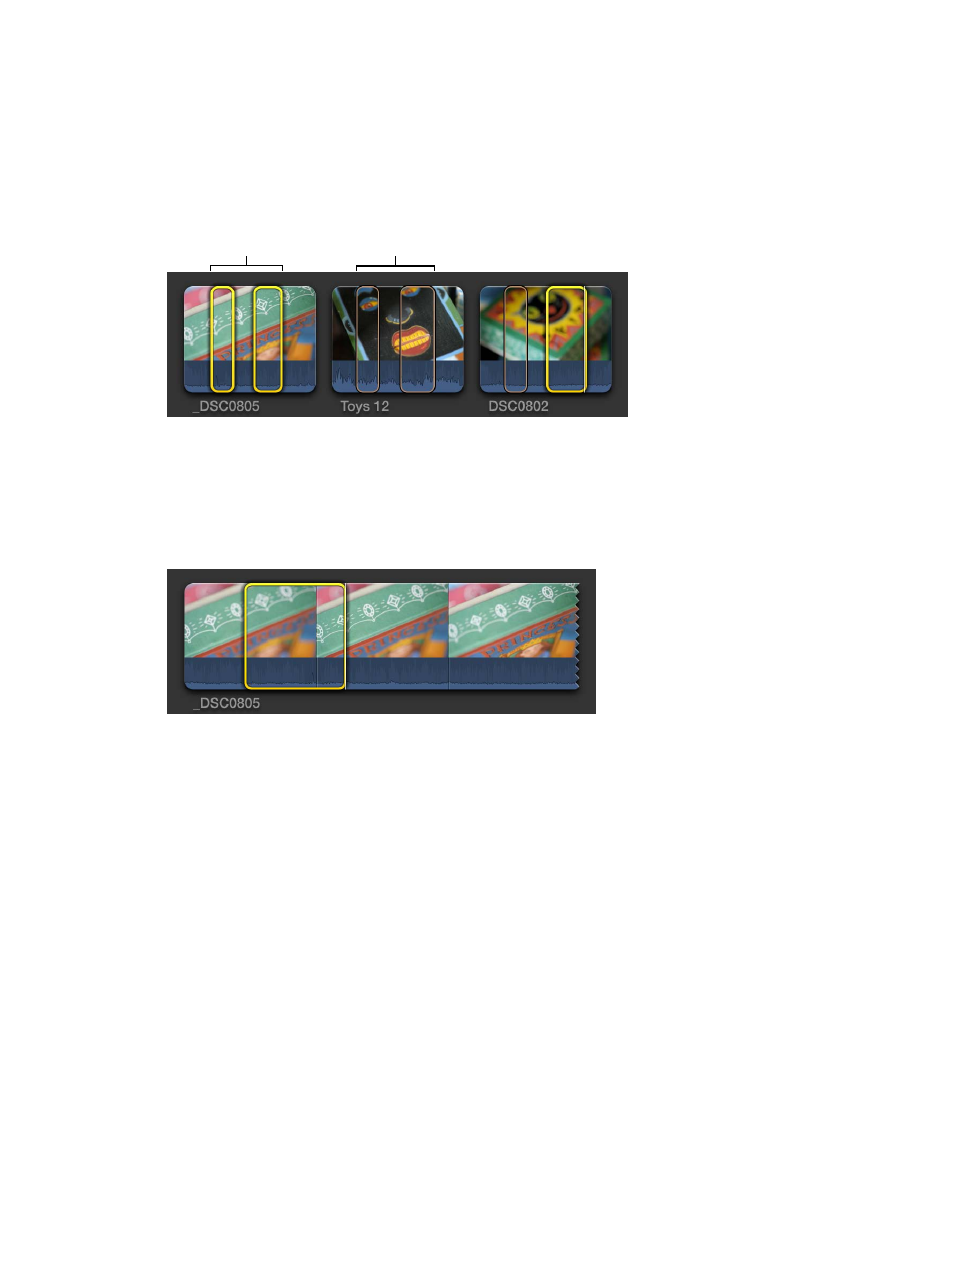
Note: Selected ranges have a thick yellow border. Unselected ranges have a thin orange border.
Editing commands operate on yellow selections only.
Selected ranges
Unselected ranges
Note: The commands described in this section require the Browser to be the active portion of
the Final Cut Pro interface. You can make the Browser active by moving the pointer over it or
clicking it. When the Browser is active, its background has a lighter gray color.
Set multiple ranges in an event clip
1
In the Browser, select a range within a clip.
2
To set an additional range, do one of the following:
•
Command-drag in a different section of the clip.
•
Move the skimmer (or the playhead) to the frame where you want the additional range to
start and press Shift-Command-I. Move the skimmer or playhead to the frame where you want
the additional range to end and press Shift-Command-O.
Note: These keyboard shortcuts also work during playback, so you can set additional ranges
on the fly.
•
Option-drag over or within existing ranges to replace them with a new range.
•
Command-click a colored marker line at the top of a clip.
These marker lines can indicate any of the following: Favorite (green), Rejected (red), manually
applied keywords (blue), or analysis keywords (purple).
67% resize factor