Apple Final Cut Pro X (10.1.2) User Manual
Page 437
Chapter 14
Manage media, libraries, and archives
437
Archive the media on your tape-based camera or camcorder
1
If you want to save the archive to an external storage device, connect it to your computer.
2
Connect the camera or camcorder to your computer using the cable that came with it, and turn
it on.
If you’re using a camcorder, set it to PC Connect mode. The name of this transfer mode may be
different on your device. Your camcorder may automatically go into “connect” mode if you turn
it on in playback mode while it’s connected to your computer. For more information, see the
documentation that came with your camcorder.
3
In Final Cut Pro, do one of the following:
•
Choose File > Import > Media (or press Command-I).
•
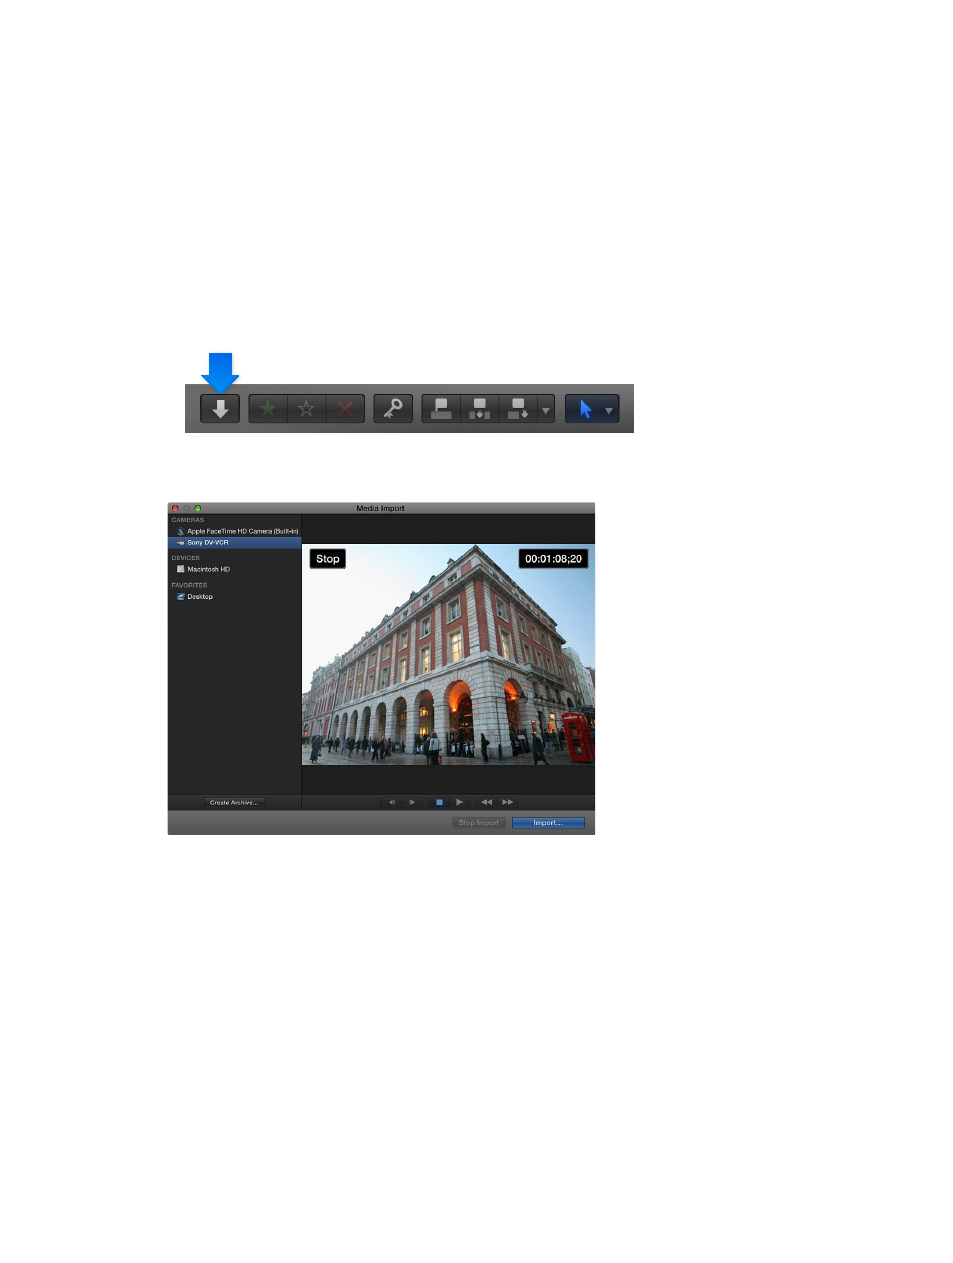
Click the Import Media button on the left end of the toolbar.
4
In the Media Import window that appears, select the device whose content you want to archive
from the list of cameras on the left.
5
Click the Create Archive button at the bottom-left corner of the window.
6
In the “Create Camera Archive as” field, type a name for the archive.
7
Choose a location to save the archive from the Destination pop-up menu, and click OK.
Note: To protect your media, it is recommended that you save your archive to a disk or partition
different from the one where you store the media files used with Final Cut Pro.
Final Cut Pro begins archiving from the current location on the tape. It will continue to archive
until one of the following occurs:
•
It reaches the end of the tape.
•
You manually stop the archiving process by clicking Stop Import or Close (to close the Media
Import window).
67% resize factor