Arrange clips in the timeline, 117 arrange clips in the timeline – Apple Final Cut Pro X (10.1.2) User Manual
Page 117
Chapter 7
Edit your project
117
Arrange clips in the Timeline
In Final Cut Pro, you can arrange and reorder the clips in your project however you want. If you
add or move a clip in the Timeline by dragging, Final Cut Pro moves other clips to make room for
it. Other reordering techniques include moving clips numerically by entering a timecode value,
nudging clips with keyboard shortcuts, overwriting with the Position tool, and moving clips
vertically from and to the primary storyline.
Move clips by dragging horizontally
m
In the Timeline, select one or more clips and drag them to a new location in the project.
As you drag your clips, you see an outline of your selection at the new position in the Timeline.
When you release the mouse button, the repositioned clip (or clips) appears at the new location.
Final Cut Pro ripples clips (and any connected clips) in the Timeline to make room for the
repositioned clips and to close the gap left by the clips that were repositioned. You can also drag
clips vertically in and out of the primary storyline.
Note: This method of moving clips horizontally is the functional equivalent of a shuffle edit in
Final Cut Pro 7, just easier.
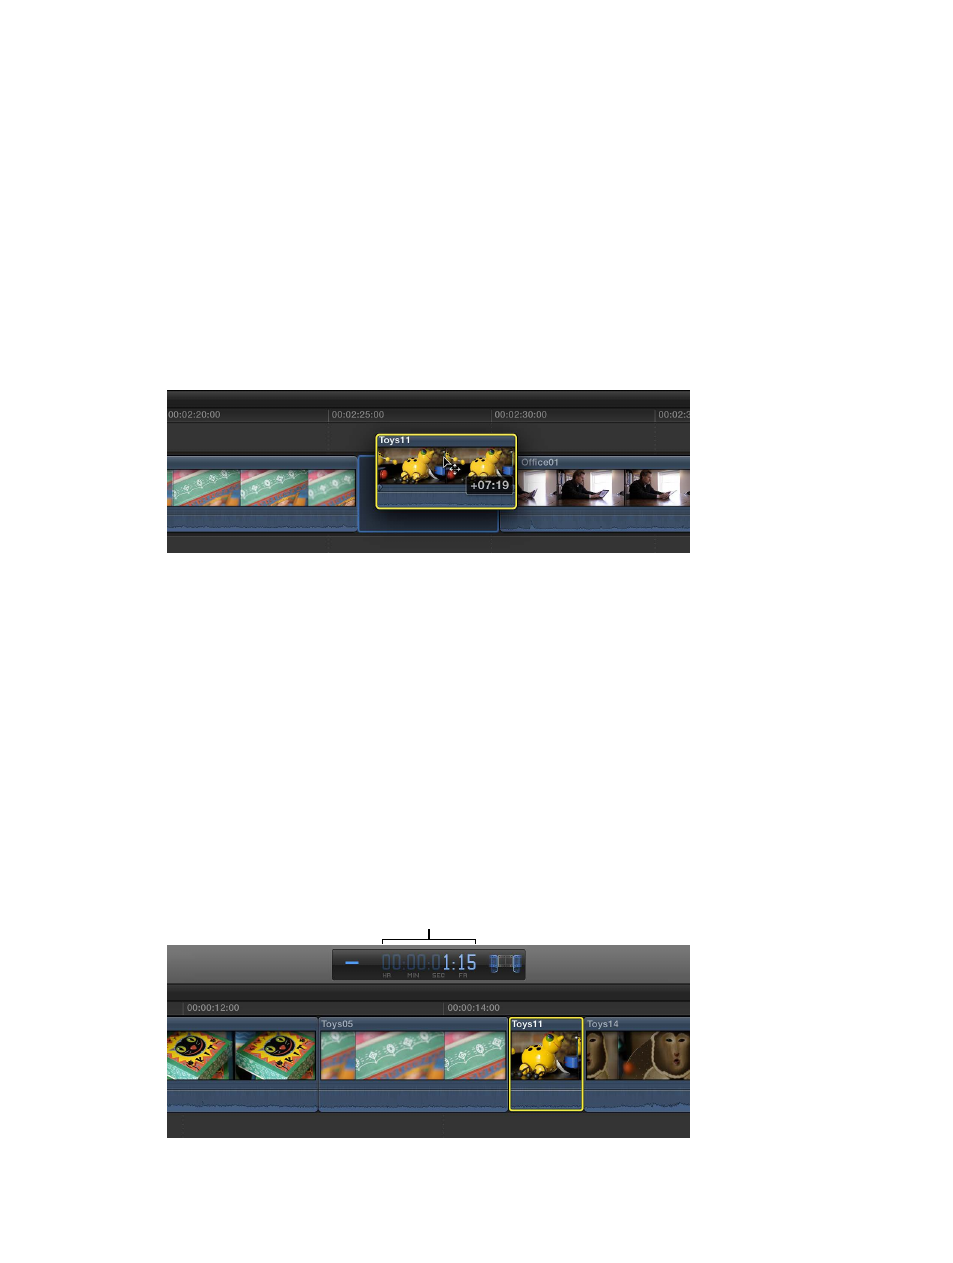
Move clips by entering a timecode value
You can move selected clips in the Timeline by entering an amount of time you want the clips
to move.
1
Select one or more clips in the Timeline.
2
Do any of the following:
•
To move the clips forward: Press the Plus Sign (+) key, and type a timecode duration for the move.
•
To move the clips back: Press the Hyphen (-) key, and type a timecode duration for the move.
Note: For more information and tips on entering timecode, see
on
page 143.
The timecode entry field (with blue numbers) appears in the Dashboard in the toolbar as
you type.
Timecode entry field
in the Dashboard
67% resize factor