View and navigate, Zoom and scroll in the timeline, 138 view and navigate 138 – Apple Final Cut Pro X (10.1.2) User Manual
Page 138
Chapter 7
Edit your project
138
Tip: You can use the Option key to change the detailed trimming feedback display on the fly. If
detailed trimming feedback is enabled, press the Option key to disable it. If detailed trimming
feedback is disabled, press the Option key to switch the view between the end point of the left
clip and the start point of the right clip.
View and navigate
Zoom and scroll in the Timeline
Being able to see and get to any point in your project is critical to efficient editing and
storytelling. There are many ways to adjust the view of the Timeline. Learning keyboard shortcuts
can save you time.
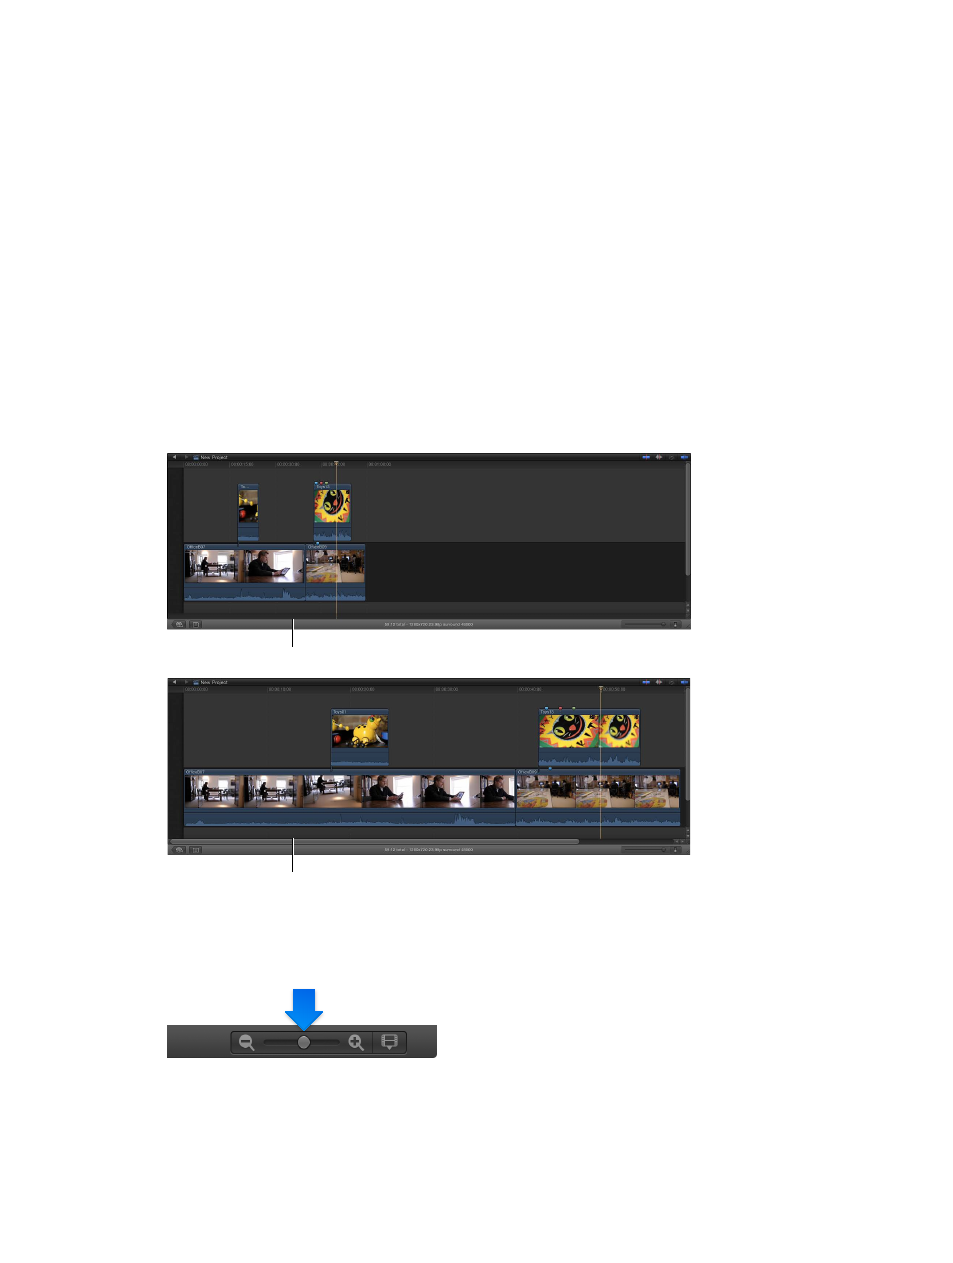
Fit the entire contents of the Timeline into the available window size
Whether you’re zoomed in to a single clip or zoomed out so far that all the clips in your project
appear on the left side of the Timeline, you can quickly change the view so that all the clips fill
the visible part of the Timeline and no scrolling is required.
m
Choose View > Zoom to Fit (or press Shift–Z).
Before choosing Zoom to Fit
After choosing Zoom to Fit
Zoom in to and out of the Timeline using the Zoom slider
m
To zoom in to the Timeline: Drag the Zoom slider to the right, or press Command–Plus Sign (+).
m
To zoom out of the Timeline: Drag the Zoom slider to the left, or press Command–Minus Sign (–).
67% resize factor