Save, back up, and make versions of your projects, Select clips and ranges, About selections and filmstrips – Apple Final Cut Pro X (10.1.2) User Manual
Page 91: 91 select clips and ranges 91
Chapter 7
Edit your project
91
Save, back up, and make versions of your projects
Final Cut Pro automatically saves all the changes you make as you work on a project, which
means you never have to save changes manually. Also, you can undo all of your changes up
to the last time you quit and reopened Final Cut Pro by choosing Edit > Undo (or pressing
Command-Z).
You can create multiple versions of a project by duplicating it. For more information, see
on page 64.
Changes you make to a clip in a project do not affect the clip’s source file. Thus, if you’ve made a
lot of changes to a clip but want to start fresh, you can easily restore the clip to its original state
by adding a new copy of the clip (located in an event in the library) to your project.
In addition, Final Cut Pro makes automatic backups of your library at 15-minute intervals. Backups
include the database portion of libraries only, not the media files. Backups are saved with the
time and date in the filename. For more information, see
Restore a library from automatic
on page 76.
Select clips and ranges
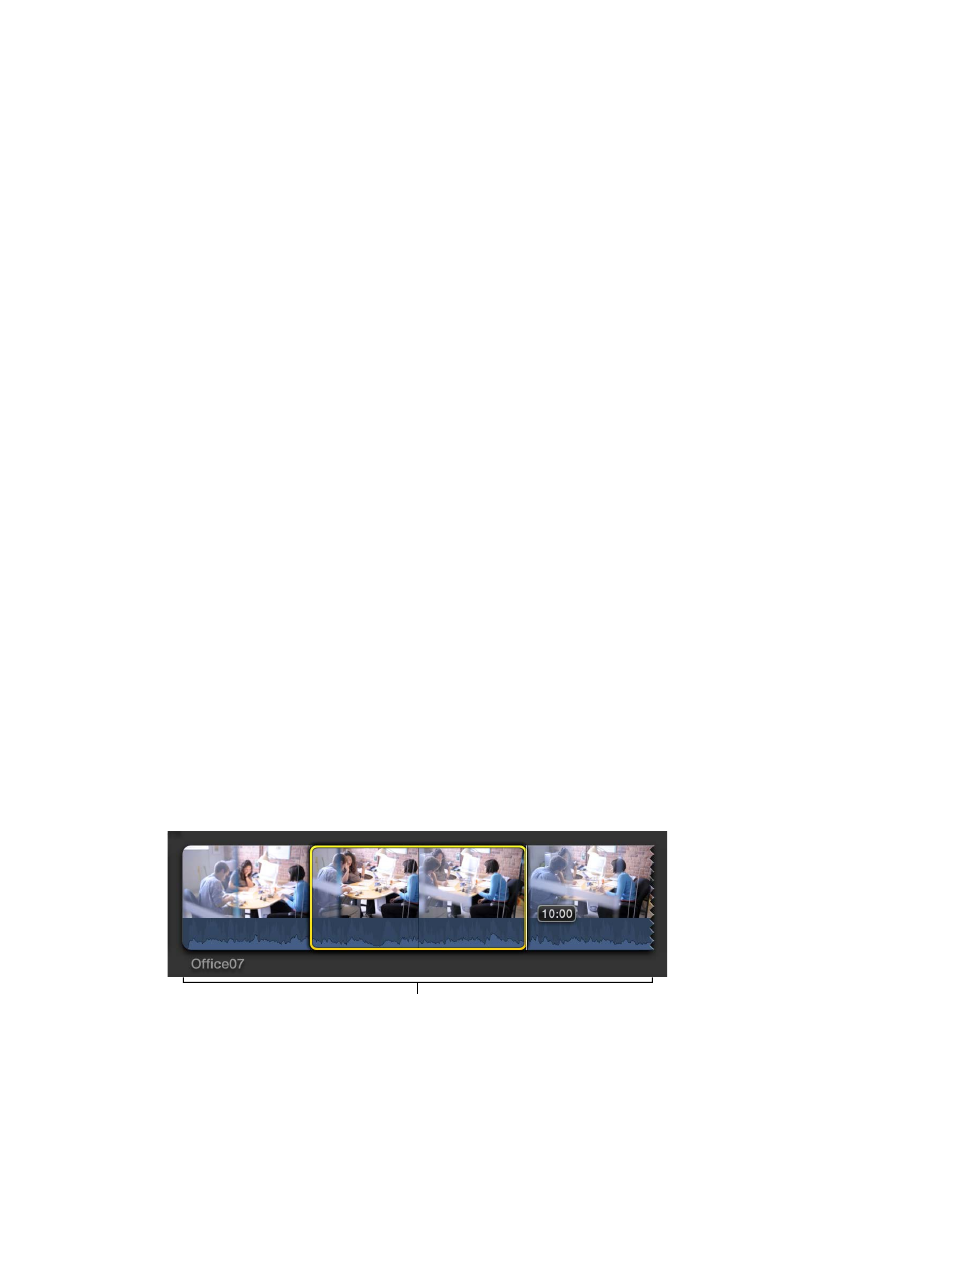
About selections and filmstrips
A fundamental step in editing a video project is choosing what you want to include in your final
movie. In Final Cut Pro you indicate what clips or portions of clips you want to act on by making
a selection. Final Cut Pro provides a variety of powerful tools for making selections with both
speed and precision, including filmstrips, which are connected series of thumbnail images. Your
video clips appear as filmstrips in the Timeline (where you build projects) and in the Browser
(where your source media is displayed). A single video filmstrip might represent several seconds
of video encompassing hundreds of video frames (individual images). Audio-only clips appear as
audio waveforms, showing the change in the audio volume over time.
When you add clips from the Browser to a project in the Timeline, you can add one or more
whole clips, or you can add a range within a clip. Then you can fine-tune the clips individually in
the Timeline, adding video effects to them, for example, or inserting transitions between them.
You can adjust the appearance of filmstrips in the Browser and the Timeline so that it’s easier to
make selections. For example, expanding the width of a filmstrip (by showing shorter durations
per thumbnail) helps you make more precise selections.
Filmstrip expanded
in the Browser for
precise selections
67% resize factor