Apple Final Cut Pro X (10.1.2) User Manual
Page 233
Chapter 9
Add transitions, titles, effects, and generators
233
3
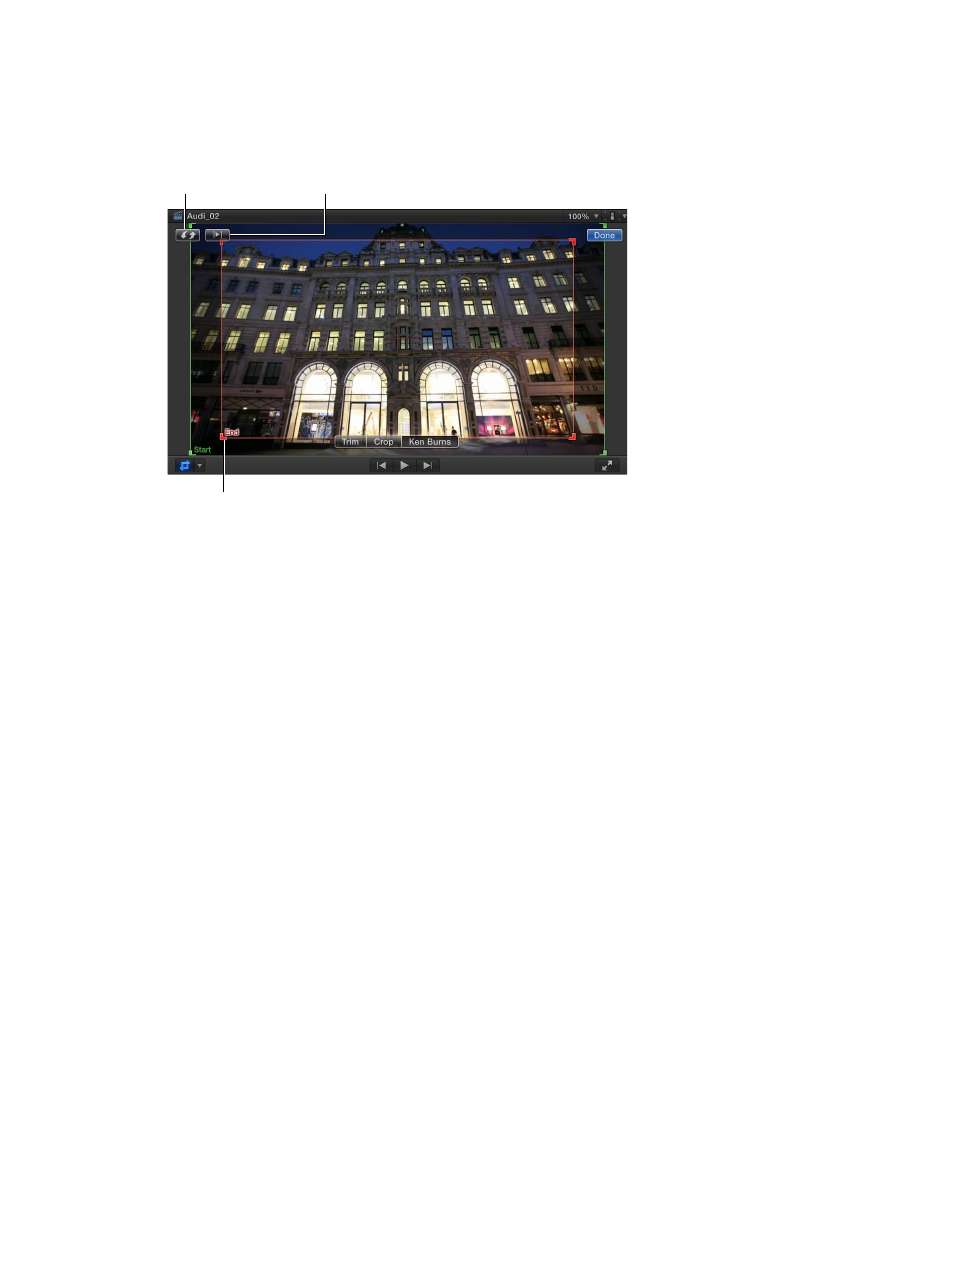
Click the Ken Burns button at the bottom of the Viewer.
Two rectangles appear in the Viewer: a green one that defines the position and size for the start
of the clip and a red one that defines the position and size for the end of the clip.
Select the green Start or
red End rectangle to adjust
the crop size and position.
Click the Swap button
to exchange the Start
and End positions.
Click the Play Loop
button to play the
clip in a loop.
The default start and end settings result in a small zoom to the center of the image.
4
To choose the part of the image that appears at the start of the effect, drag the green handles to
change the crop size of the image, and drag the window to set its position.
5
To choose the part of the image that appears at the end of the effect, drag the red handles to
change the crop size of the image, and drag the window to set its position.
A superimposed arrow shows the direction the image travels when the clip is played.
6
To have the clip with the effect play in a loop, click the Play Loop button.
7
To exchange the start and end positions, click the Swap button.
8
Click Done.
Customize the smoothness of a Ken Burns animation
By default, a Ken Burns animation performs both smoothing operations (Ease Out and Ease In),
but you can customize the effect.
1
In the Timeline, select a clip with the Ken Burns effect applied.
2
In the Viewer, Control-click anywhere in the image and choose an option from the shortcut menu:
•
Ease In and Out: Applies the easing effect to the beginning and the end of the animation.
•
Ease In: Limits the easing effect to the end of the animation.
•
Ease Out: Limits the easing effect to the beginning of the animation.
67% resize factor