Apple Final Cut Pro X (10.1.2) User Manual
Page 84
Chapter 6
Play back and skim media
84
3
To select an A/V output device, choose Final Cut Pro > Preferences (or press Command-Comma),
click Playback, and choose the external monitor from the A/V Output pop-up menu.
4
In Final Cut Pro, choose Window > A/V Output.
The Viewer contents appear on the broadcast monitor. Viewer features (such as onscreen
controls and the title-safe and action-safe overlays) can be viewed only in Final Cut Pro.
Note: Video and audio are synced at the video frame (not audio sample) level.
To turn off A/V output, choose Window > A/V Output.
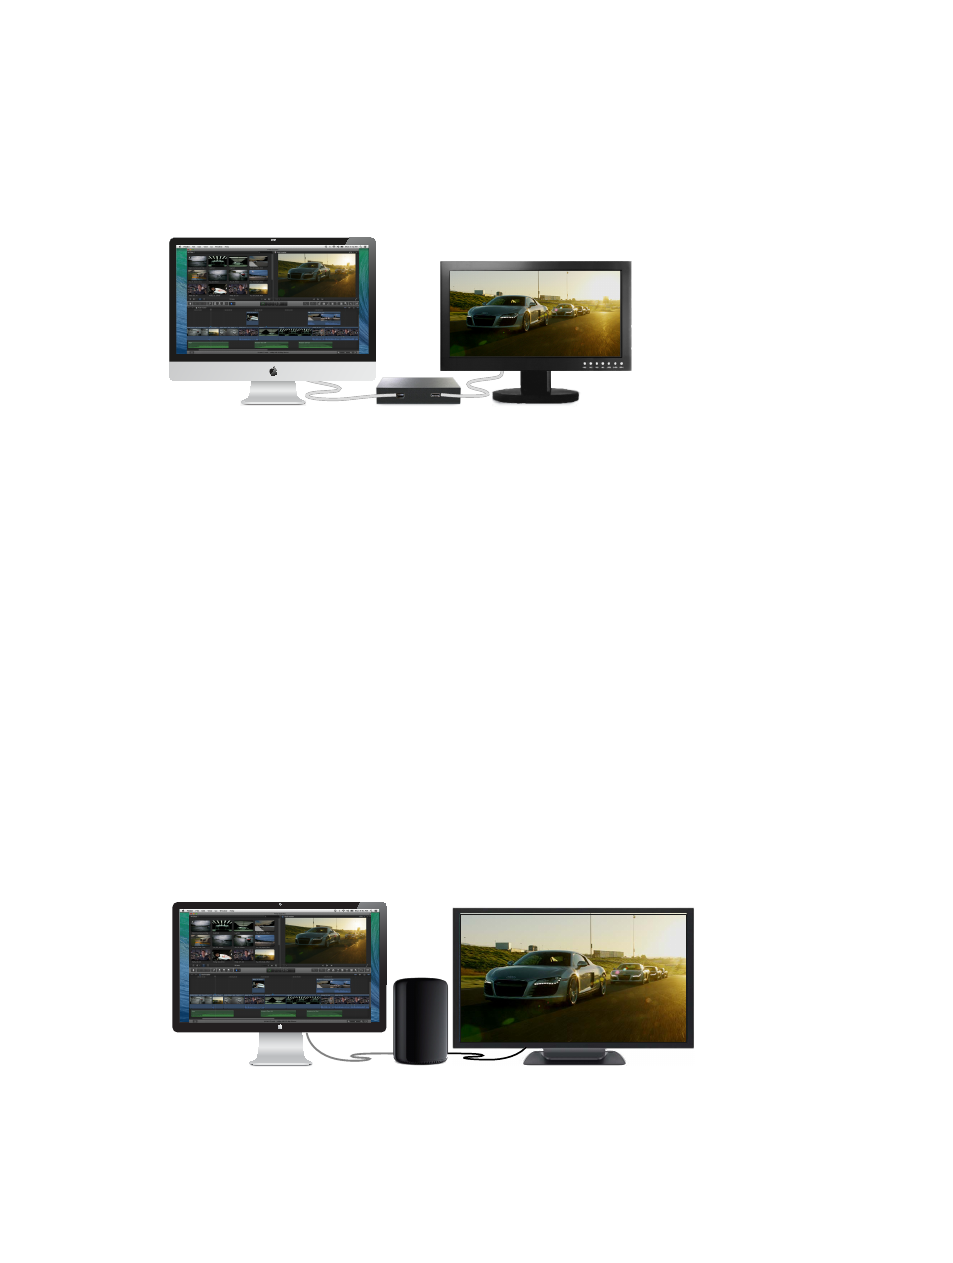
View playback on an external monitor using HDMI
If you’re using Final Cut Pro 10.1 or later on a 4K-capable Mac with an HDMI port, you can play 4K
or HD 1080 video on an external video monitor connected to the HDMI port.
For a list of compatible Mac computers, go to
.
1
Use an HDMI cable to connect the external (HDMI) video monitor to the HDMI port on your Mac,
and make sure the monitor is connected to power and turned on.
2
To configure the HDMI monitor, choose Apple menu > System Preferences, and click Displays.
3
In Displays preferences, set the HDMI monitor to be a secondary display.
4
Select Scaled, and in the list that appears, select 4096 x 2160, 3840 x 2160, 1080i, or 1080p.
Note: You may need to press the Option key while you click Scaled to see additional resolutions
for the HDMI monitor.
5
To select the monitor in Final Cut Pro, choose Final Cut Pro > Preferences (or press Command-
Comma), click Playback, and choose the HDMI monitor from the A/V Output pop-up menu.
6
In Final Cut Pro, choose Window > A/V Output.
The Viewer contents appear on the HDMI monitor. Viewer features (such as onscreen controls
and the title-safe and action-safe overlays) can be viewed only in Final Cut Pro.
Note: Video and audio are synced at the video frame (not audio sample) level.
To turn off A/V output, choose Window > A/V Output.
67% resize factor